Greetings Neighbors! Easter is one of my favorite holidays. It has the best candy and a message of hope for so many. Here is a fun craft that’s quick enough to do in one evening. I’ve added an Easter DIY youtube playlist at the bottom of the page, in case we run out of time on the show. The basket templates are also at the bottom of the page. Just print them out and trace them. This is a messy craft so wear gloves and do it in the kitchen or the bathtub. The kids will LOVE getting messy. We had so much fun. I found you can marble anything with the right paint. Acrylic paint works well for porous surfaces such as paper and wood. For non porous surfaces such as glass and plastic, ALCOHOL INKS work very well. Here’s the video where I got the idea for edible eggs. It’s worth watching!
Here’s what you will need:
SUPPLIES FOR THE NATURAL EGGS
White eggs
Vinegar
Food coloring
Shaving Foam (not cream, gel or anything fancy)
Pan
Latex gloves
Stick or paint brush
Paper towels
SUPPLIES FOR THE BASKET
(anything porous will take the paint as shown with the heart picture frame.)
Pan
Heavy paper or card stock
Acrylic paint (metallics looks fantastic)
Shaving foam
Stick
Credit card or old bill, greeting card, etc for scraping
INSTRUCTIONS FOR THE REAL EGGS
Boil the eggs, then cover them in a bath of vinegar for about 15 minutes. This helps the color be more vibrant.
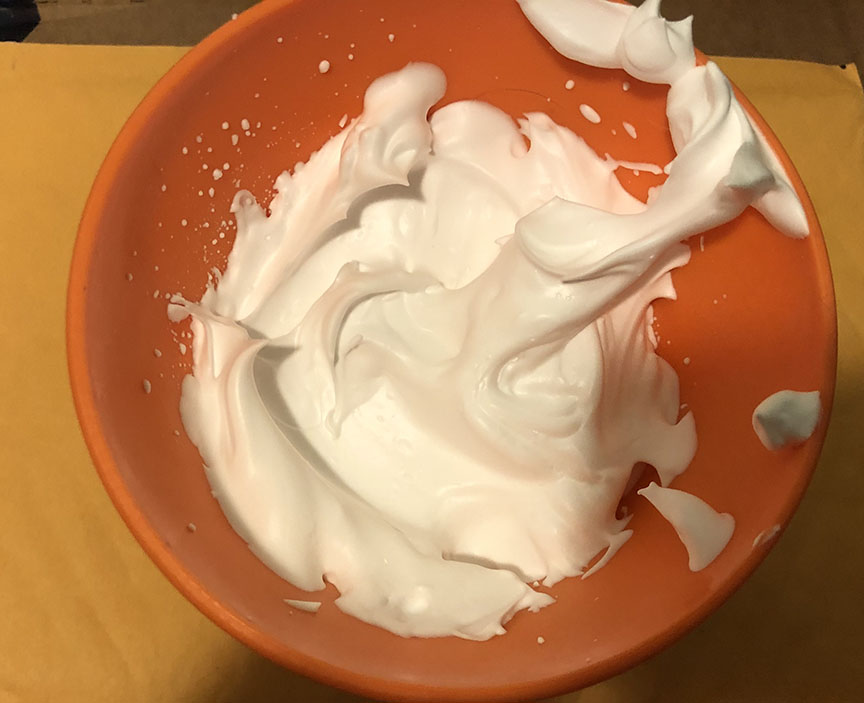
Add shaving foam to a container. 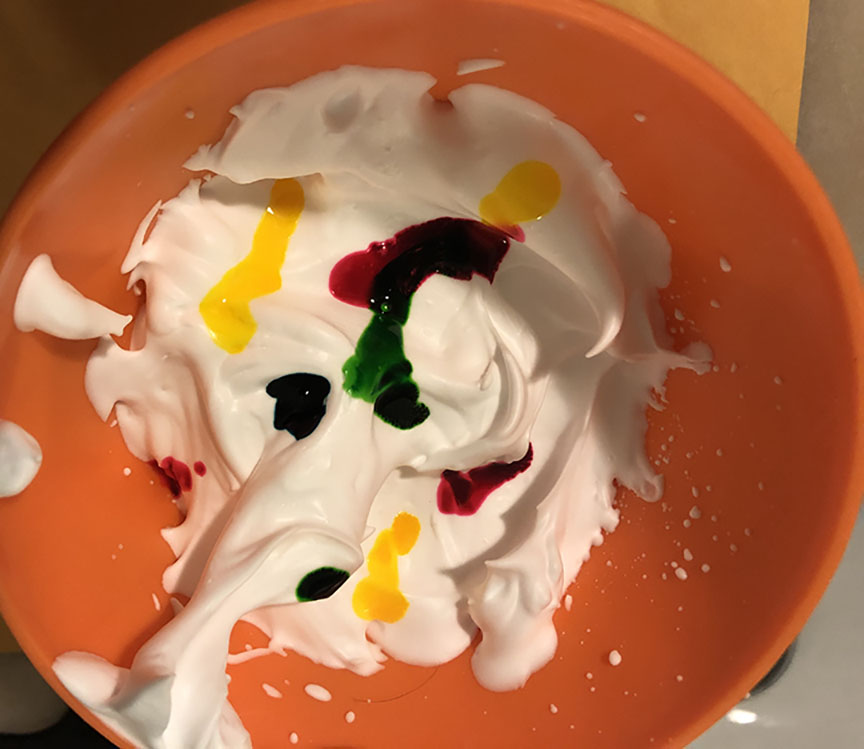
Drop a good amount of food coloring on the top. 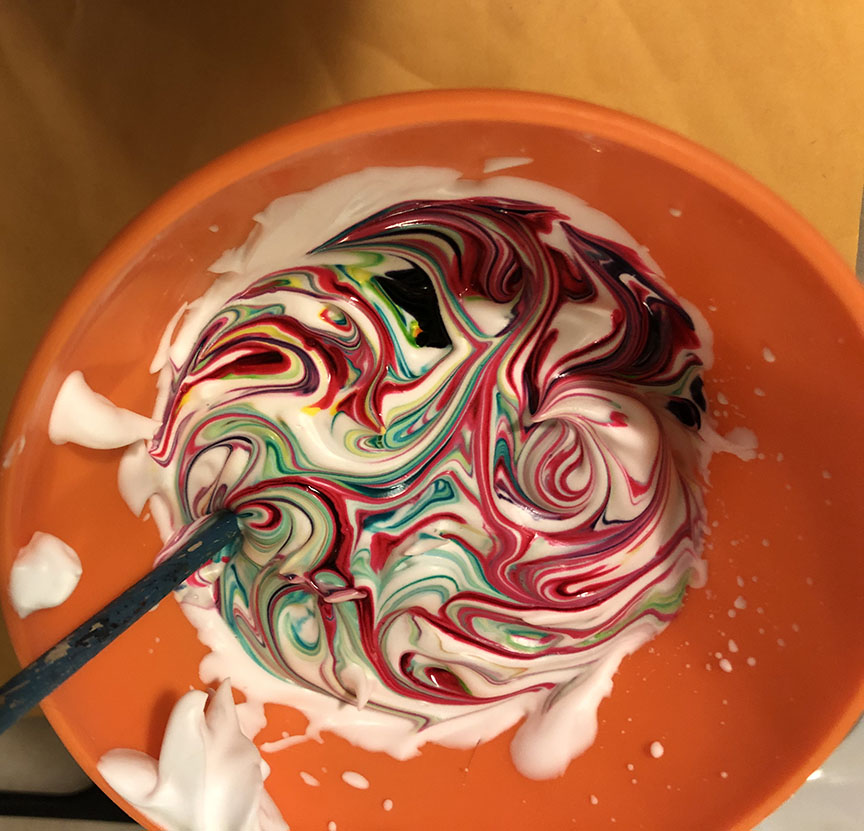
Gently swirl top layer with a stick. 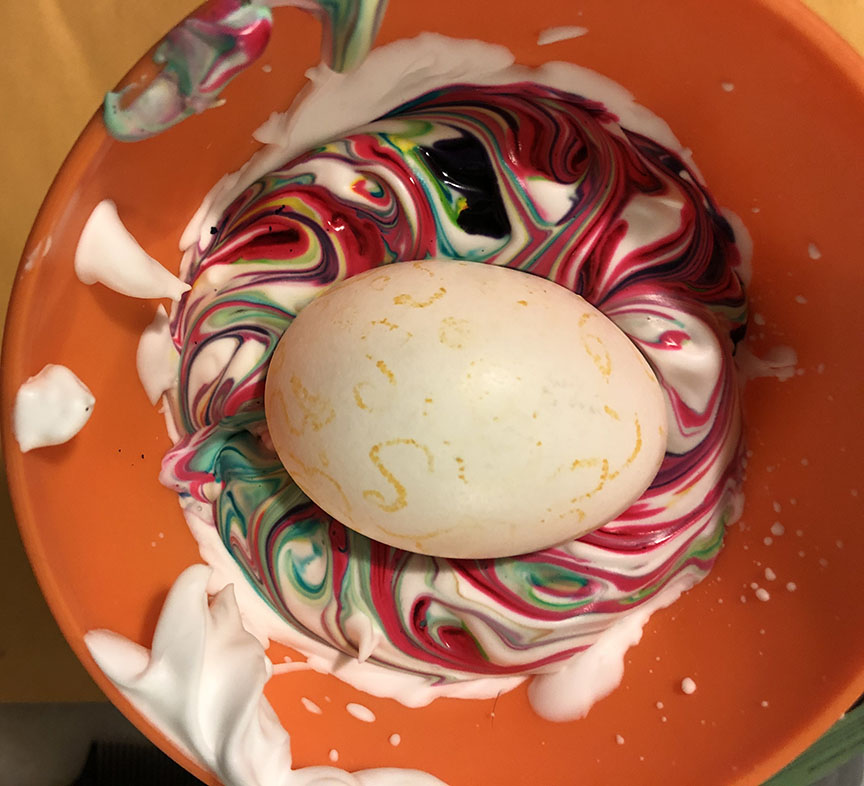
Drop in the egg and swirl it around so it’s all covered. 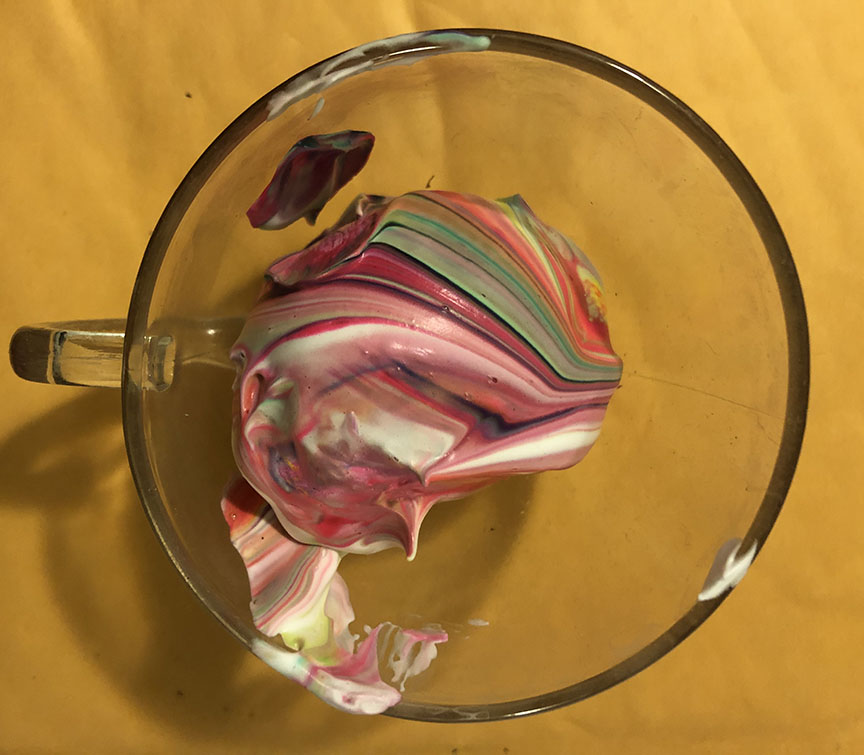
Allow to set for 30 minutes.
Once the eggs are set, you can gently pat them with paper towels to remove the food coloring. Do not rub or it will remove the design. Then dip the egg in water. If you want to keep your eggs, I would suggest piercing a hole in the top and the bottom and blowing out the egg from the top hole.
INSTRUCTIONS FOR MARBLING PAPER & WOOD
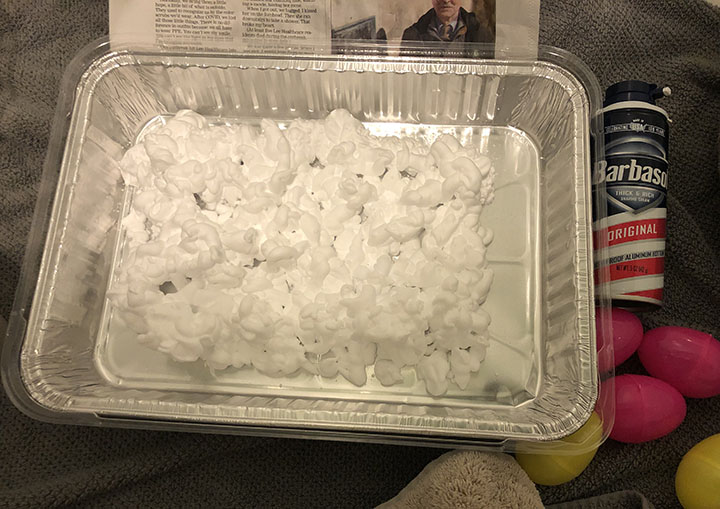
Put the shaving foam into a pan. 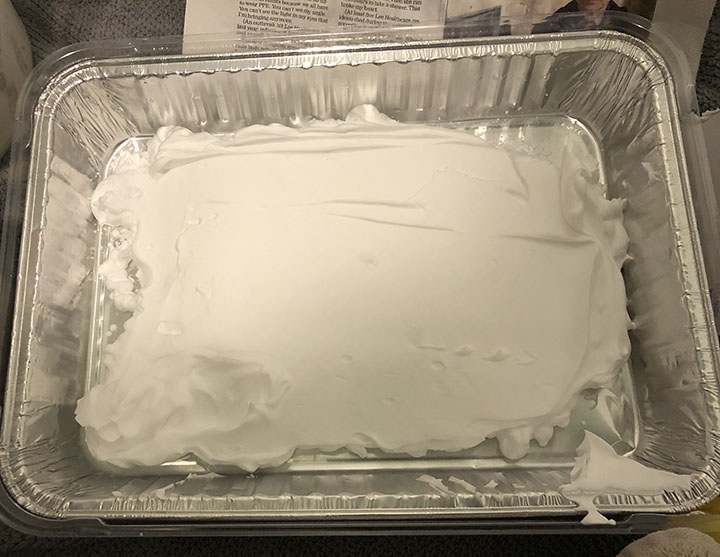
Smooth the foam flat. 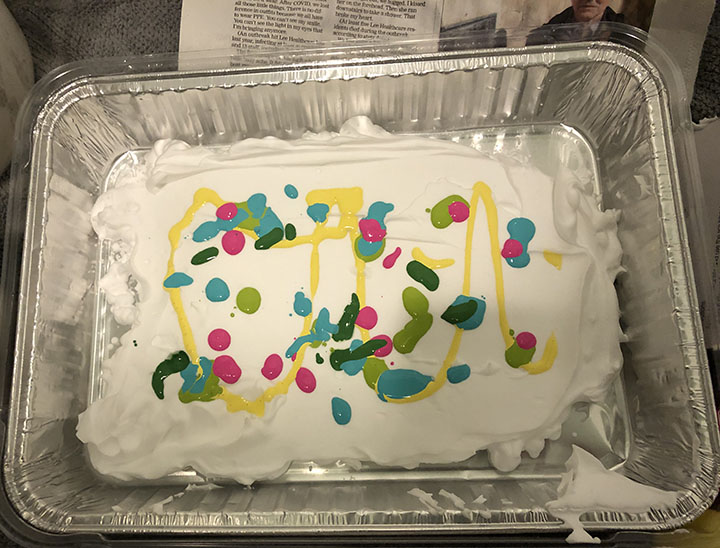
Drop in colors of acrylic paint. 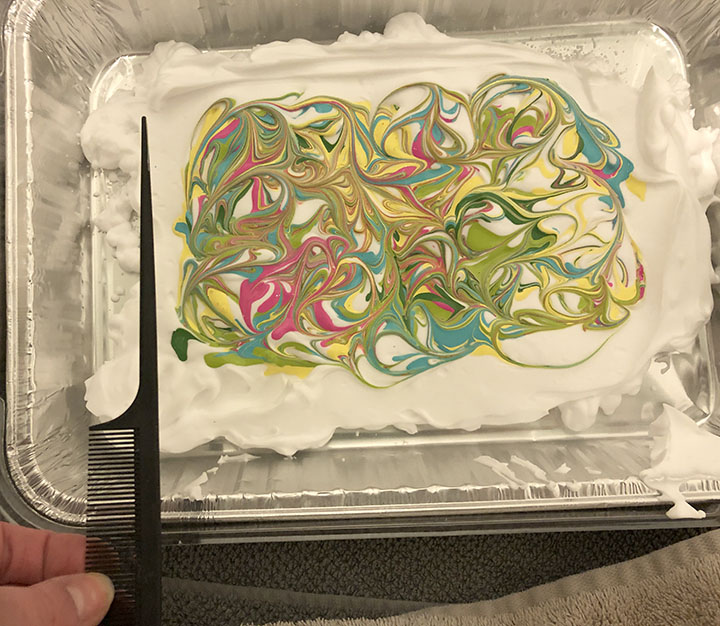
Swirl the paint into desired pattern. 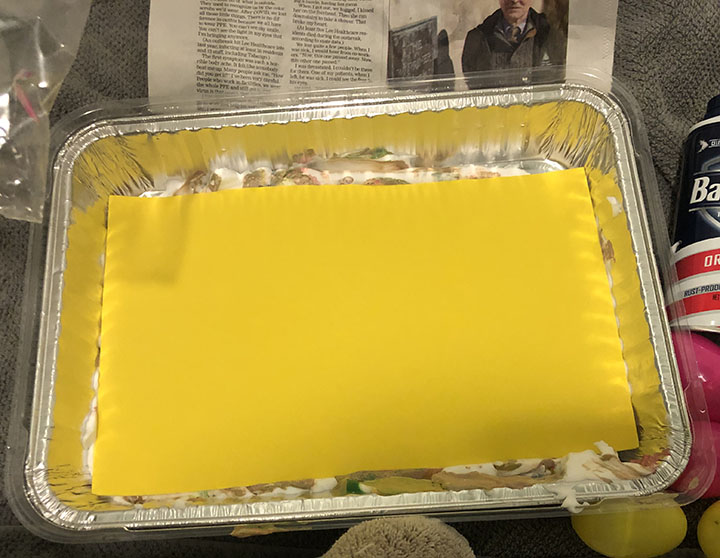
Lay the paper onto the foam. Press in and let sit for a few minutes. 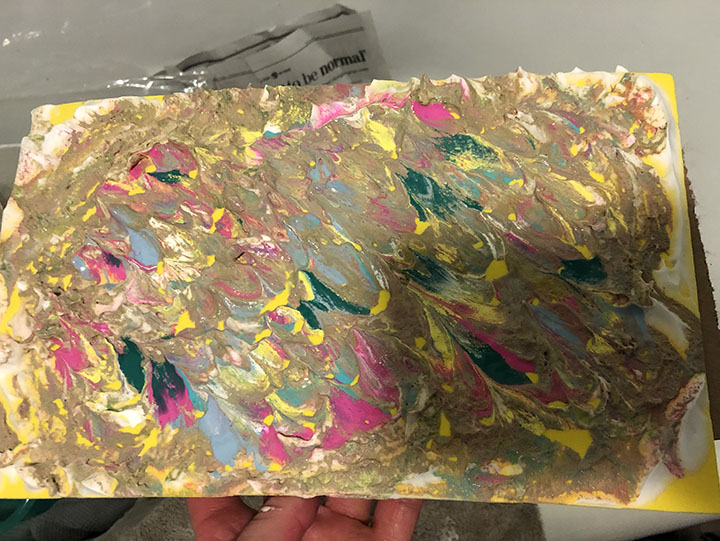
Pull up from one side and let sit for 10 minutes. 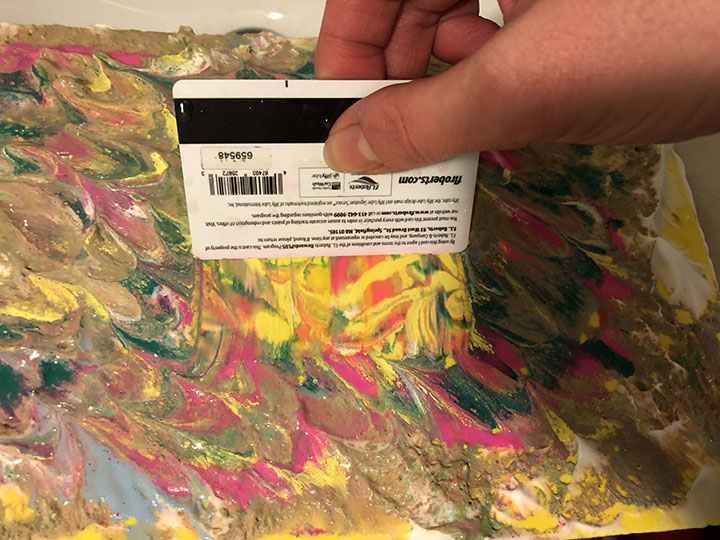
Scrape off the paint & foam in one direction. 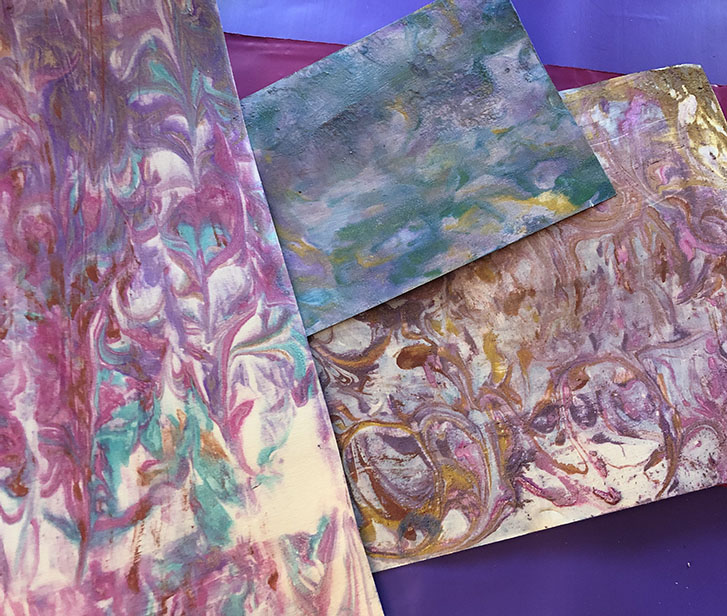
Allow paper to dry overnight. Iron on the back if it’s not flat.
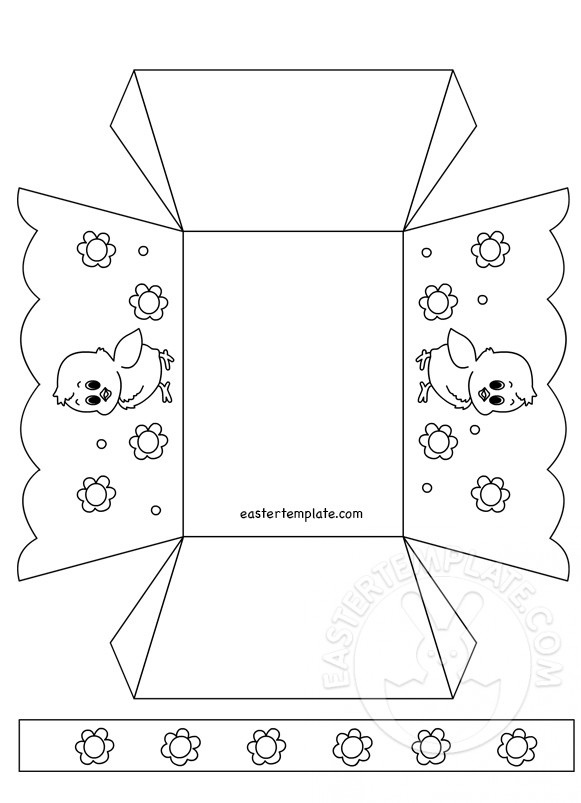
Use the templates below and trace them on the back of the marbled paper. If they don’t print, just email me and I’ll send them to you.
MORE FREE EASTER TEMPLATES
https://www.sundayschoolkids.com/activities-lent-easter/1-easter-basket-2013-instru.htm
http://www.printables.se/en/holidays/easter
https://line.17qq.com/articles/gepbbpfhz_p3.html
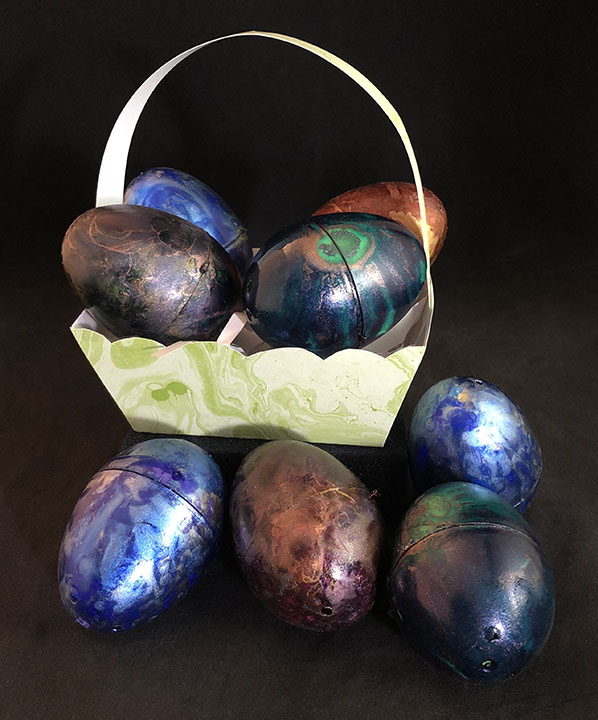
This technique will work on any porous surface. I made the wood box and the heart picture frame the same way.
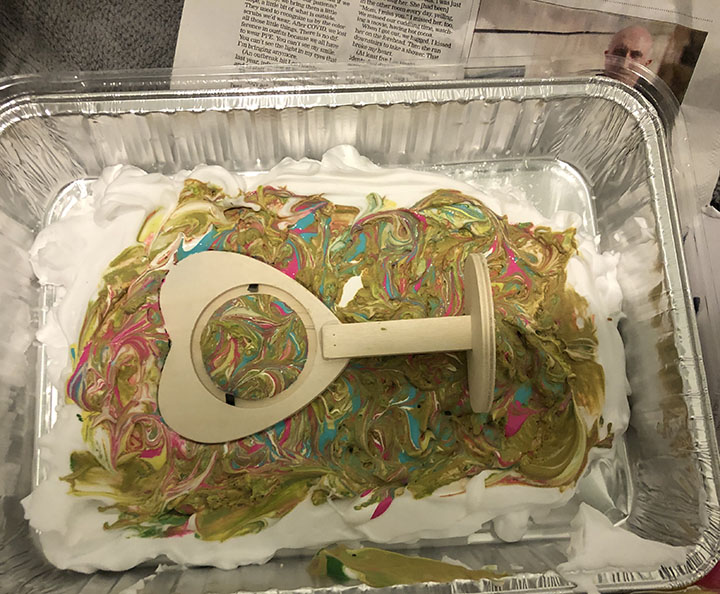
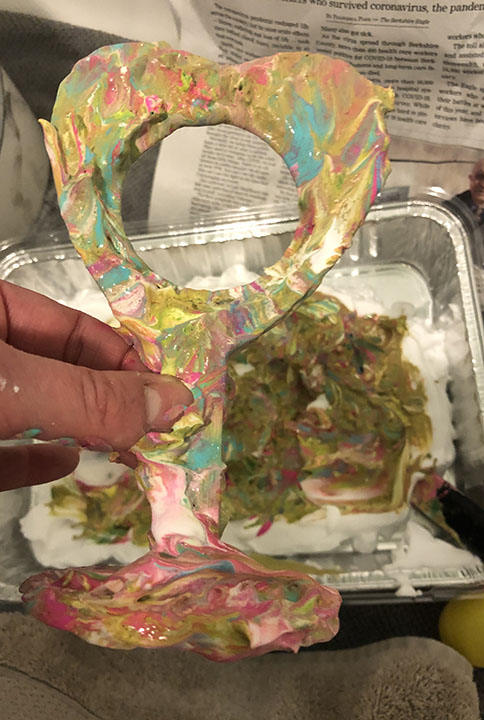
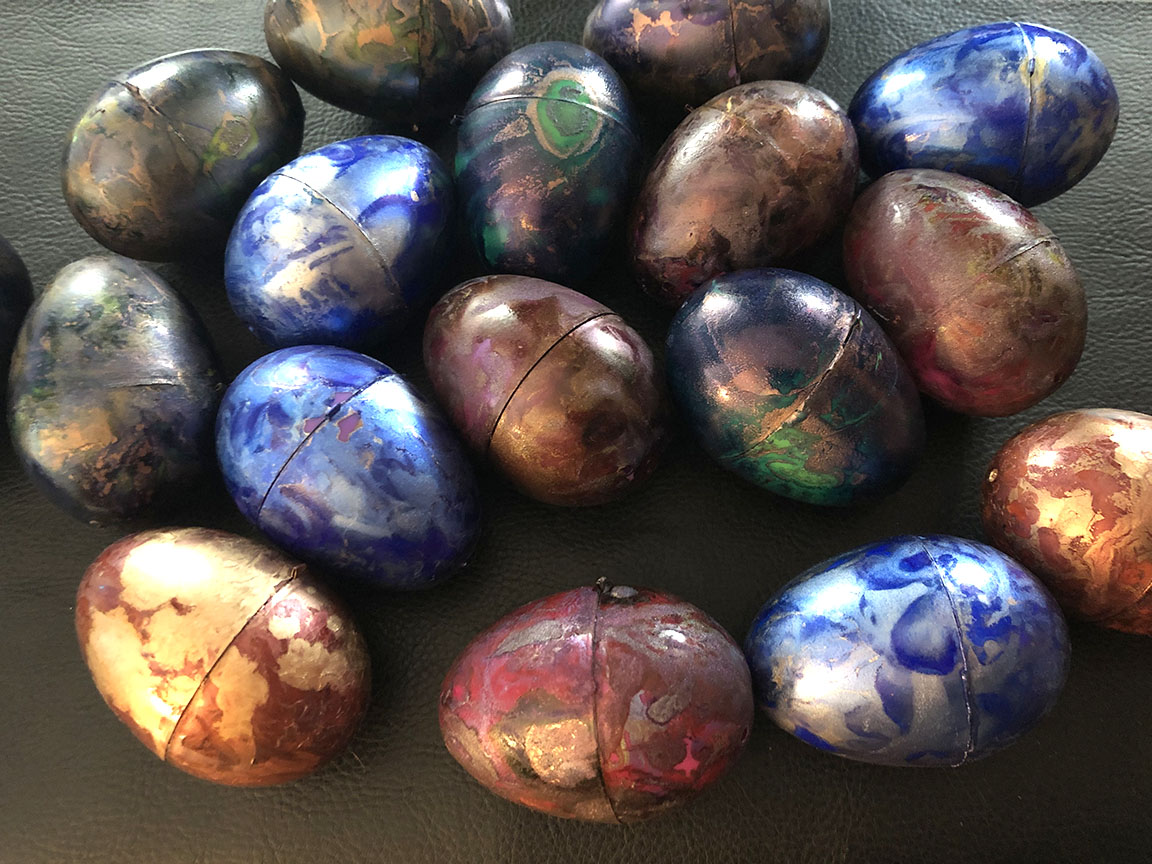
To marble plastic eggs, you will want to use alcohol inks. I simply dropped the ink on the egg and swished it around in a plastic bowl. Let them dry for 30 minutes, then I sprayed them with clear coat sealer.
Here are my favorite Easter and marbling craft videos for you. This will keep you busy!
DIY MARBLING INSTRUCTIONAL VIDEOS
Let me know how you liked the segment. You can text or leave a message on the studio # and I will get them. (It may take a few days but I will respond!) I will see you in a few weeks on Mass Appeal for another fun DIY jewelry video.
Happy Easter!
Malena
Fancy That Antiques 413-512-3714 [email protected]
