Supplies
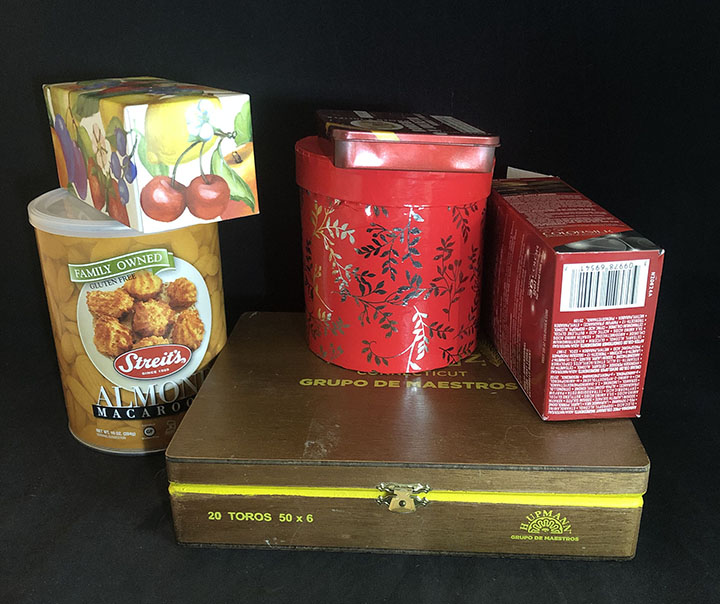
Cookie tin, shoe box, oatmeal container, etc.
Acrylic paint
Mod Podge glue
Decorative paper
Plastic sandwich bag
Paint brush
Scissors
Nail file
OPTIONAL SUPPLIES
Beads, flowers, stickers, etc.
Glue Gun
E600 glue
With this technique you can use printer paper, scrapbook paper, magazines, cards… any type of paper you choose and it will work just fine. This technique will cut down on wrinkles too. The kids can do this without much help. The supplies you will need can ALL be found at the local dollar store. The total cost of this project was less than $5 including the decorative paper.
Step 1
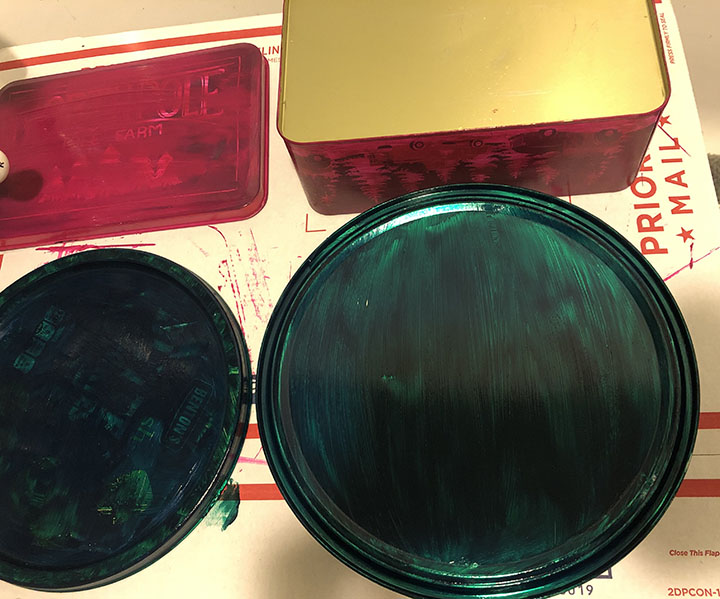
Paint your item with acrylic paint and allow the paint to completely dry. I painted on 3 coats for the cookie tin. Chalk paint works best but just use what you have. It will mostly be covered with paper anyway.
Step 2
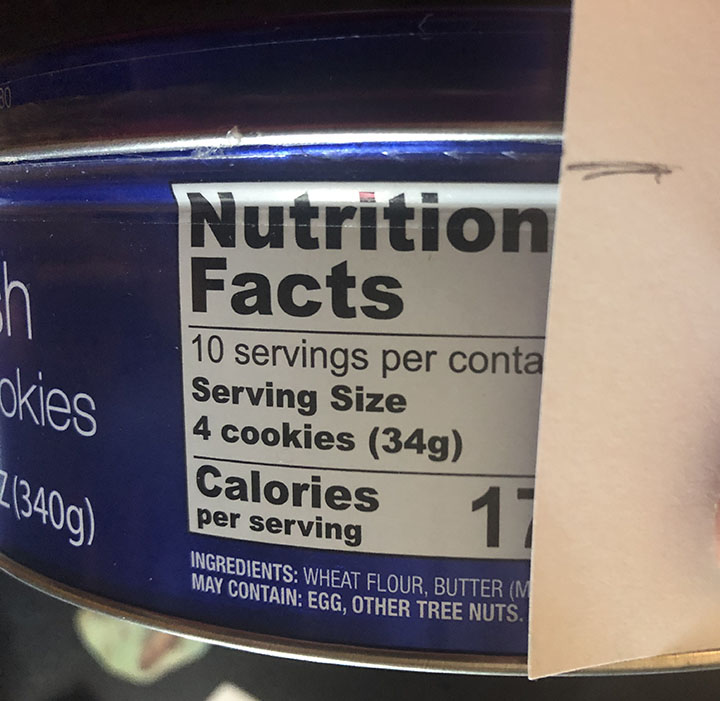
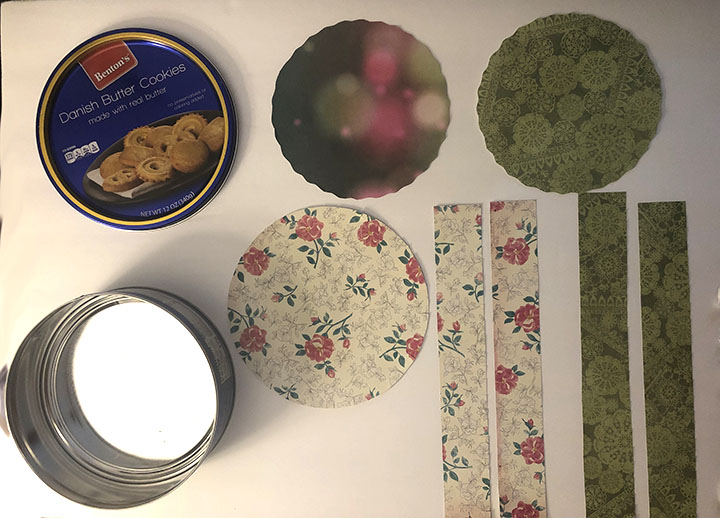
Use the tin or box as a guide to make your patterns. You will need 2 small circles for the top outside and the top inside, and one large circle for the inside bottom. You will need 4 strips to cover the sides of the inside and outside, as shown below.
*I got the cookie tin from Aldi. We always have an abundance of cookie tins at my house. You don’t get this happily chubby by eating veggies now! Ahhh the joys of getting older and living in New England. It’s paradise!
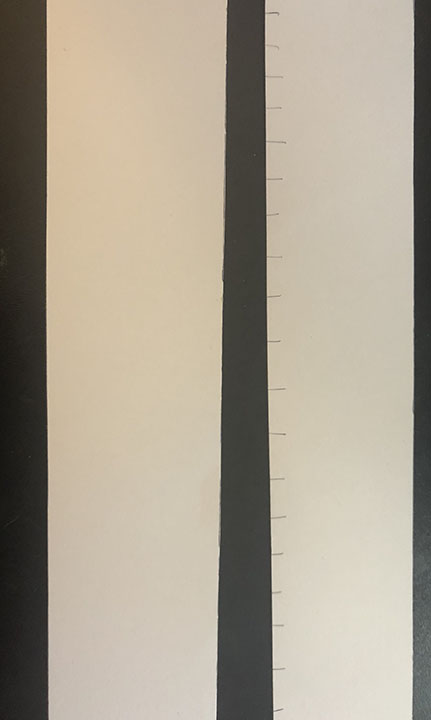
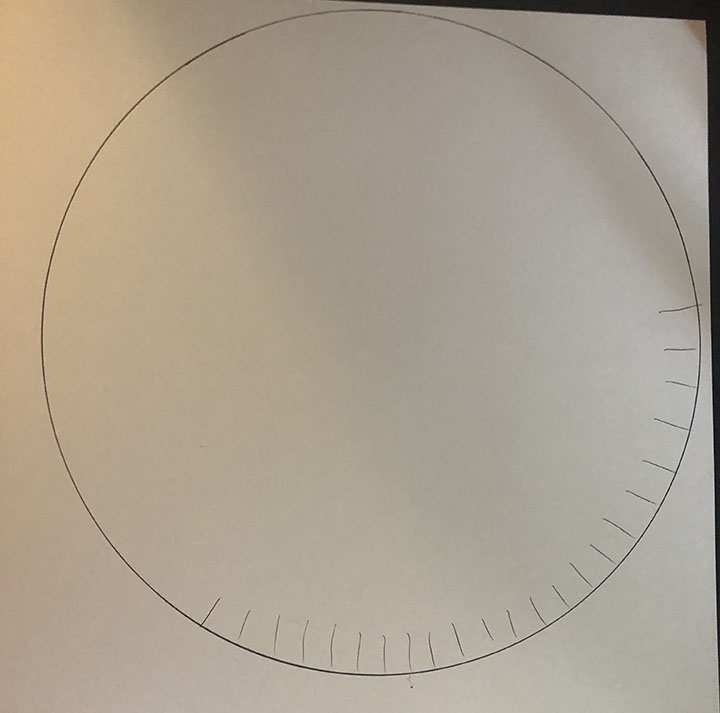
Use the tin and trace around the bottom, sides and top on the plain side of your papers. Cut small vertical strips on the bottom edge so the paper can easily fit around the bottom.
Step 3
Submerge your paper in hot water and then dab off the remaining water with a wash cloth. Paint on a THIN layer of Mod Podge on the box. Place the dampened paper on the glued section. Starting in the middle, paint on a thin layer of Mod Podge and work outward in a star pattern. Use a plastic baggie or plastic wrap to firmly press down on the image from the center outward, smoothing out any wrinkles. Allow the item to dry completely. Paint on another layer of Mod Podge and completely cover the inside and outside of the box. Allow this to dry completely… I’d say over night. Use a nail file to sand any edges. Sand in ONE direction and this will remove the excess paper and give you a smooth line. You can spray seal the box with Triple Thick varnish if you know it will get a lot of use.
Step 4
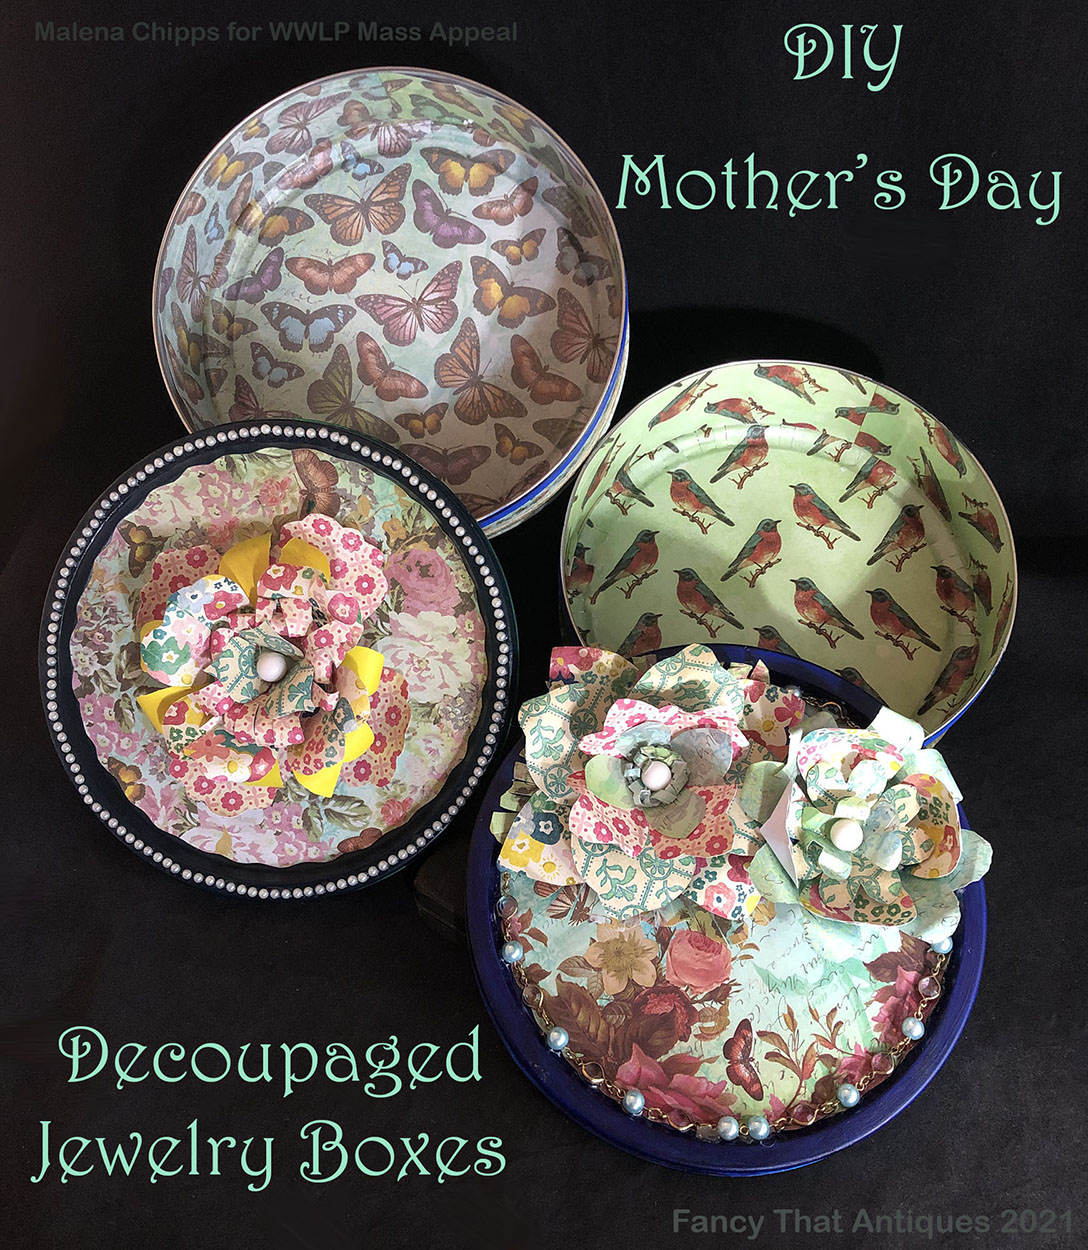
DECORATE! This is my favorite step! You can use E6000 to glue on beads, pearls and other bits. You can also make paper flowers as I did. After making the flowers, you can glue them on the box with a glue gun. And that’s it! Easy peasy lemon squeezy! Let me know if you need any beads or anything. This idea was requested by our viewer friend Marissa C. Thank you dear lady! I will see you all again Friday June 4th!
Happy Crafting!
Malena Chipps
Here is the video on how to make the flowers:
Here is a playlist I’ve compiled for you where you can learn all about decoupage!
Here is a playlist to make DIY jewelry boxes.
