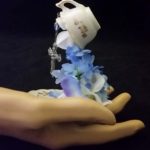
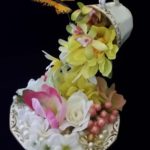
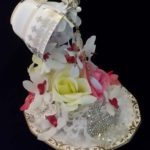
- A tiny tea cup!
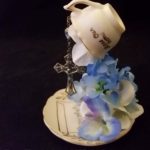
- This is a great way to recycle religious jewelry!
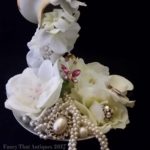
- Recycling Grandma’s costume jewelry!
- Recycling Soft Paste china!
I recently did a show on Mass Appeal about “What’s Hot and What’s Not in Antiques”. We decided we would focus on doing crafts this year from the “What’s Not” category to help you find a purpose for those antiques you don’t want to get rid of but don’t know what to do with. This week we are making dish gardens and cascading tea cups! This is all the rage on Pinterest. It will make your guests and your Mother say, “HOW did you do that?!” It’s very simple and so fun to do! Most of us don’t use china anymore but we don’t want to drill it or smash it like many craft ideas require. This idea will keep your Mom’s heirloom china in one piece and give it cheerful new life!
PROJECT #1 Floating Tea Cup Floral Cascade

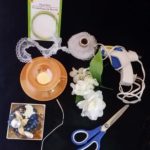
ITEMS NEEDED
Tea cup and saucer
Glue gun
Flimsy metal fork or 2 wire cable 18-20cm
Silk flowers
Costume Jewelry
INSTRUCTIONS
Bend the fork at a 90 degree angle so it will lay flat on the saucer. Bend the handle so it will flush flat inside the cup. (I will show you on Tuesday). Glue the fork down onto the saucer and use TONS of glue so it is completely covered. Allow it to dry for a minute or so, then glue the handle inside the cup. The cup should be leaning forward slightly to give the arrangement stability. Allow the cup to stand alone to make sure it doesn’t fall over. If it falls, you need to bend the fork more and put the tea cup further toward the center so the weight is evenly distributed.
Take an old beaded necklace and wrap it around the fork, gluing securely as you go. You can also glue little flowers or peat moss onto the handle if you don’t want to use jewelry. Take your flowers and start with the large ones first. Glue a large flower over the fork handle and the fork bottom on the saucer. You can make your design any way you want! You can glue tiny flowers in the bottom of the cup so it looks like they are pouring out. In floral design they use flowers in twos or threes, so pick two colors and one accent color. You can have one pink accent flower and then glue in yellow and white flowers in twos so it’s symmetrical. However the great thing about this craft is, you can’t get it wrong! You can add one of your Grandma’s/Mother’s brooches or old clip earrings to your arrangement to give it meaning as I did.
If you are making this with your child, they might like to add a little doll or a butterfly. You can do a themed tea cup and add a tea light or twinkling lights if they have a special doll they love like Princess Elsa or Alice. (I did that in the next craft to give you an example.) Above photo from DIY)
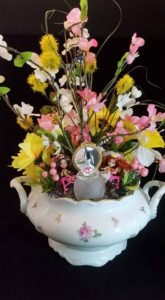
Project #2 China Tureen Fairy Garden
ITEMS NEEDED
2 Styrofoam disks (Dollar store)
Plastic bags
Glass marbles, rocks or peat moss
Glue gun
Silk flowers
Small dolls and furniture (Dollar Store & Goodwill)
Birds, butterflies or other accents are optional
INSTRUCTIONS
*For this craft you will want to establish a theme first before going to the store or you will end up buying too much stuff you don’t need. For example, if you want to make a tiny beach scene, you will need white sand, blue marbles and some seashells. If you are making a fairy forest, you will need peat moss and tiny trees. Kids LOVE this craft and it’s a good way to teach them how to handle Grandma’s china.
Take the plastic bags and place them in the bottom of the tureen, then glue the floral foam disks over the top. Cover the foam with peat moss. If you are doing a beach scene, you can cut a piece of foam board in the shape of the tureen opening and glue it to the foam beneath.
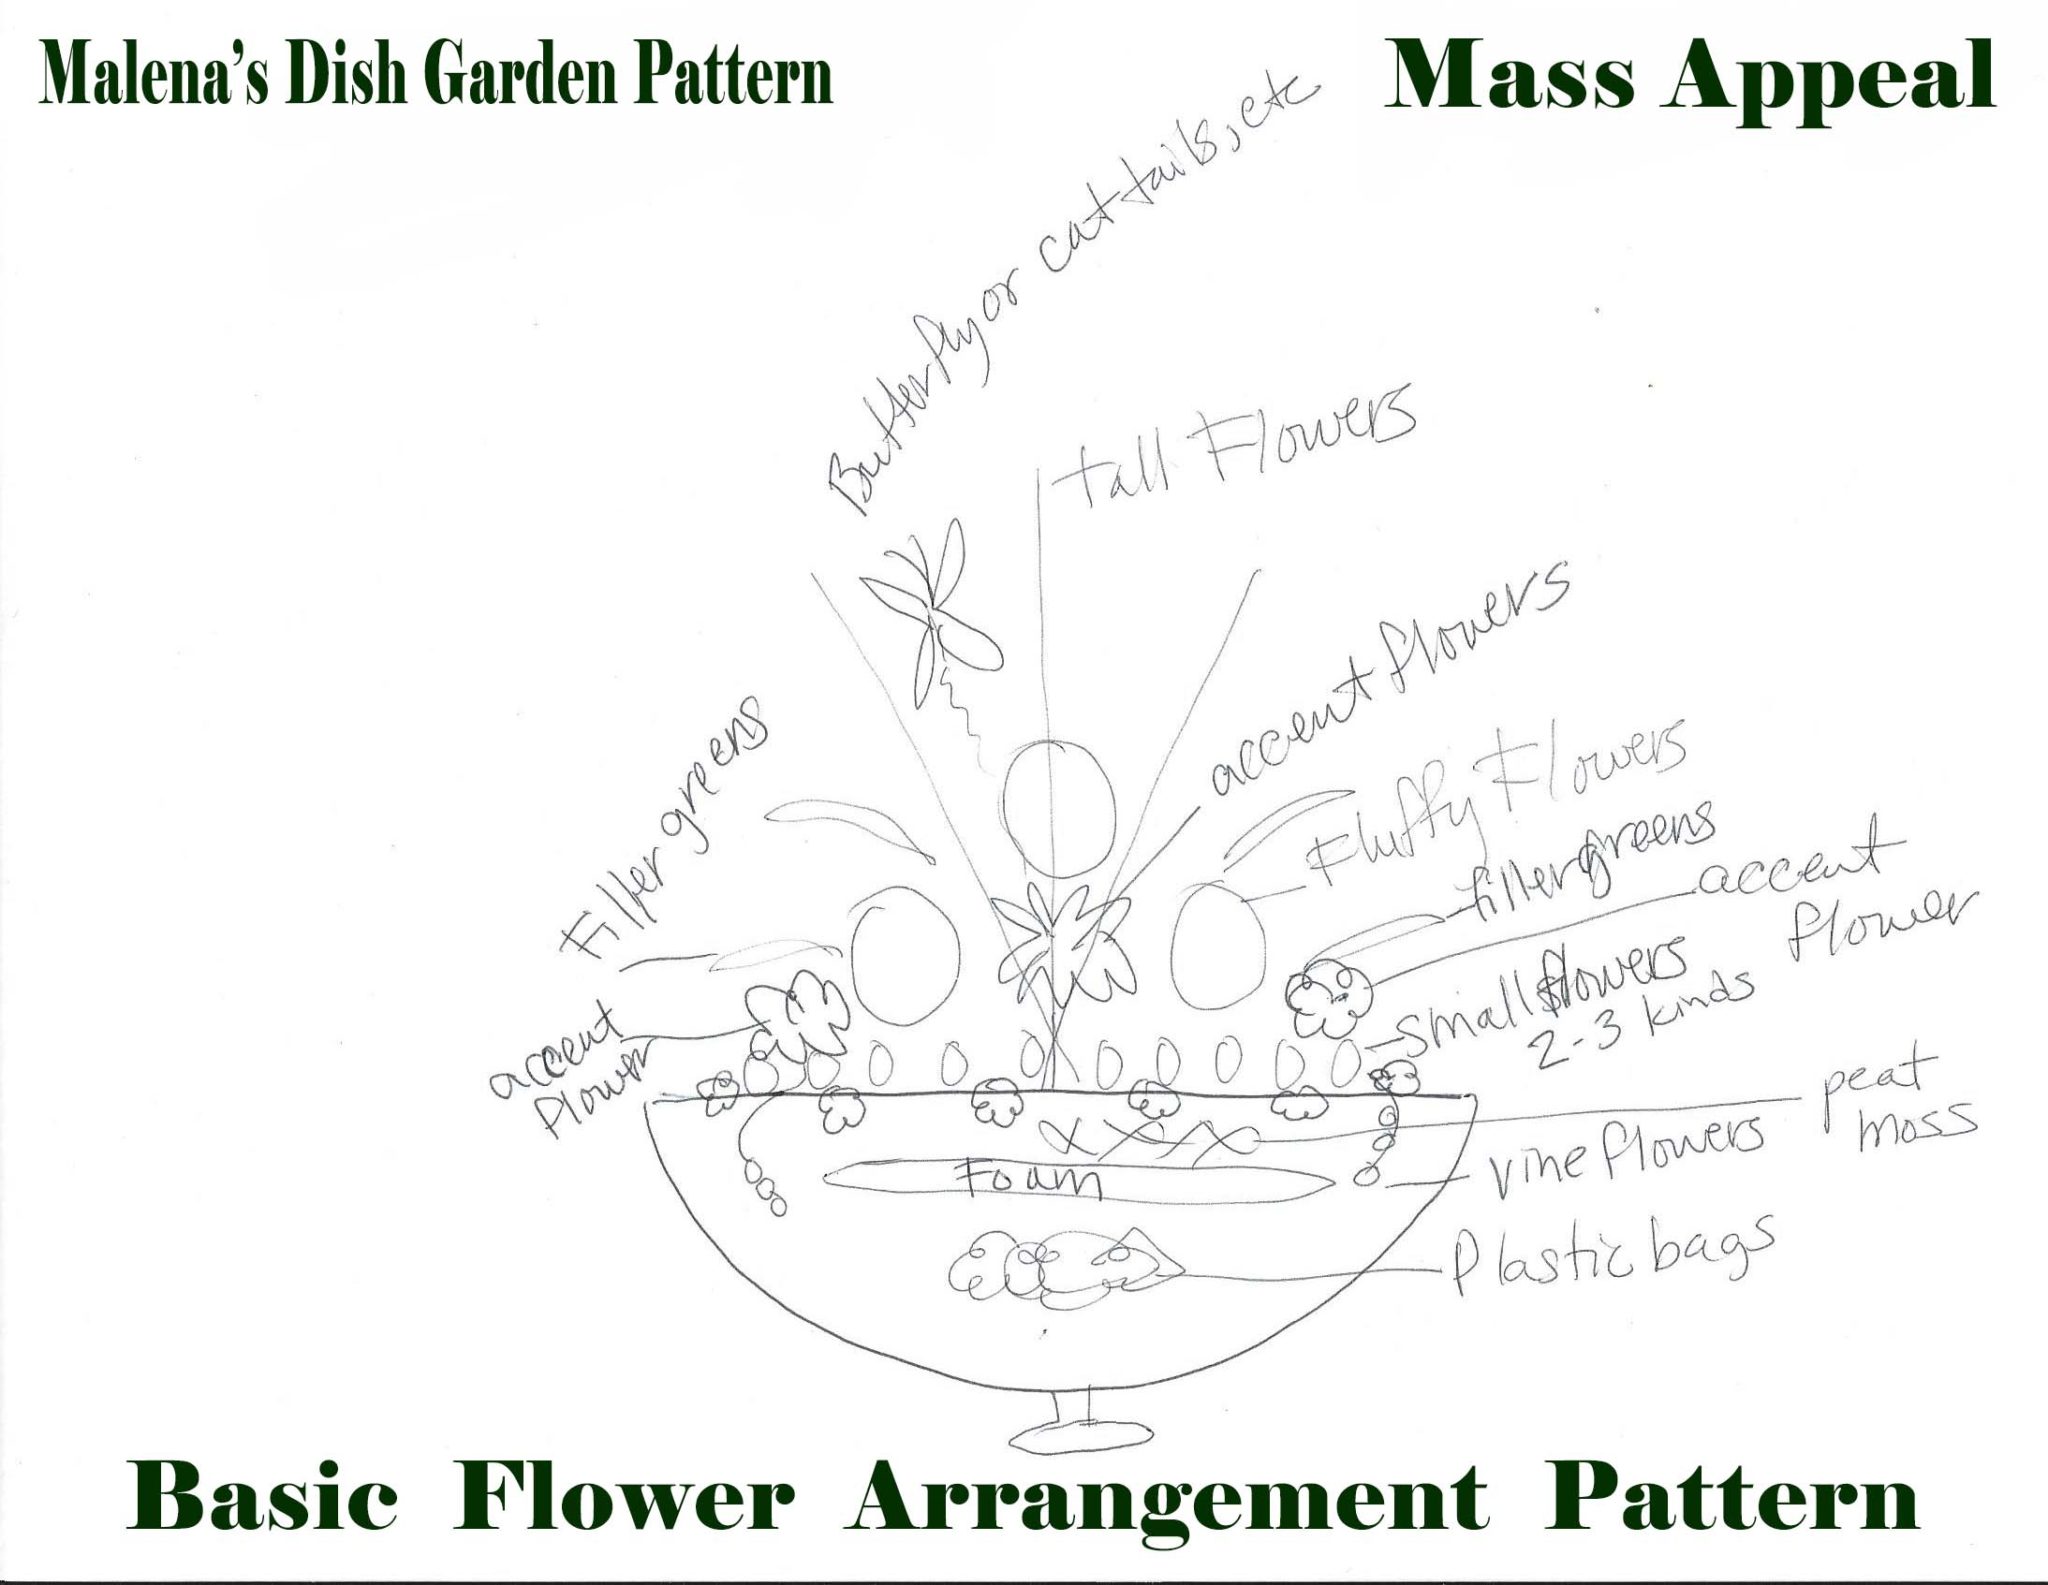
When working with silk flowers, you want to start with the tallest flowers first. Place them in the center and fan them out to the sides. Then take your fluffy large flowers and start making a triangle. Push one flower into each side and one in the middle, such as 12 o’clock 3 o’clock and 9 o’clock. This creates a simple but lovely shape. Then take your smaller flowers and fill in the bottom rim around the tureen. You can add medium sized accent colored flowers in a wider triangle. You can go as big or as minimal as you like. You can change your arrangement with the seasons as it isn’t permanent. I’ve drawn out a diagram for you to help you see what I mean. (I can’t draw at ALL so please excuse my elementary skills.)
For a professional guide to flower arrangements, click here.
On my example I will be using on the show, I loosely used this diagram but only on one side since the other side is a doll tea party. My tureen has a “Little Miss Muffet” theme. I used some dolls I already had and bought the furniture and accessories at the Dollar Store and Goodwill.
*GLUE TIP
To remove hot glue, you can put the tureen in the hot water and the glue should get soft and peel right off.
As always, I look forward to showing you this craft project. This is 1 of 3 segments we will be doing on upcycling china. Let us know if you have any questions. You can come to the store if you need broken costume jewelry for your craft projects. It’s $5 per sandwich bag. See you all Tuesday!
Happy crafting,
Malena
