Greetings friends! This is my favorite season. I looove winter and Massachusetts is the most beautiful place on the PLANET this time of year. This project was created by the queen of crafts, my hero…Martha Stewart. I wanted to share it with you so you could make these with the kids. It’s an easy craft and very inexpensive. Here’s what you will need:
SUPPLIES
Pipe cleaners
Water
Borax
Scissors
Pot
Kabob Skewers or a long kitchen ladle/spatula/spoon
Craft wire or thread
Clear coat spray sealer
OPTIONAL: Glitter
RECIPE
3 Cups water
1/2 Cup Borax
INSTRUCTIONS
Heat the water until it’s almost boiling. Remove the pot from the heat. Add the borax and stir until it’s dissolved. Then you can add the snowflake as shown below.
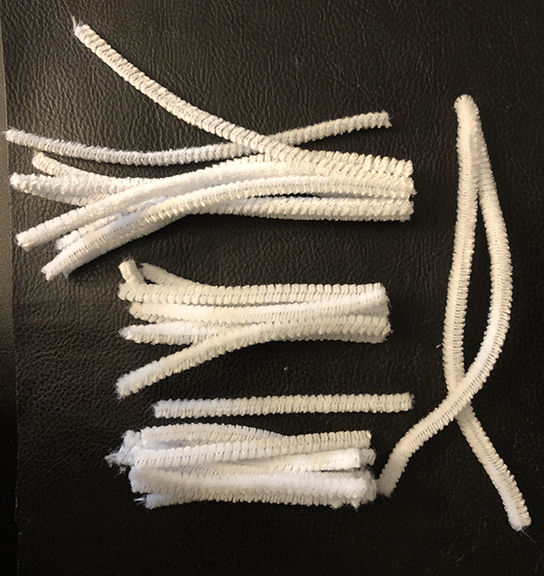
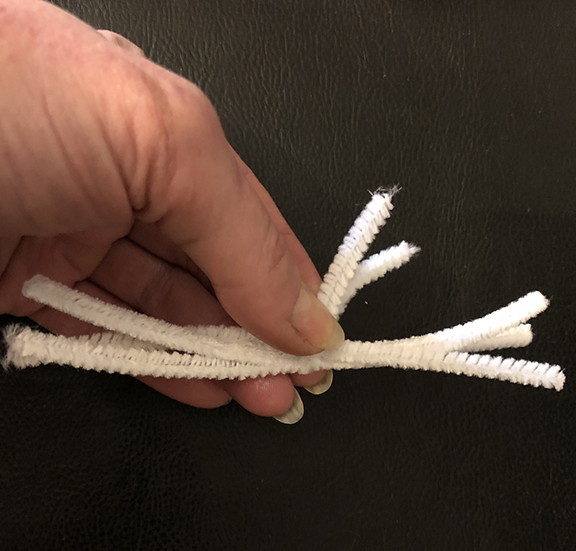
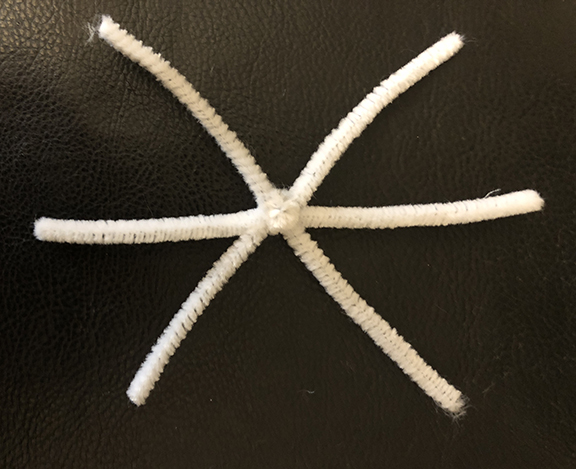
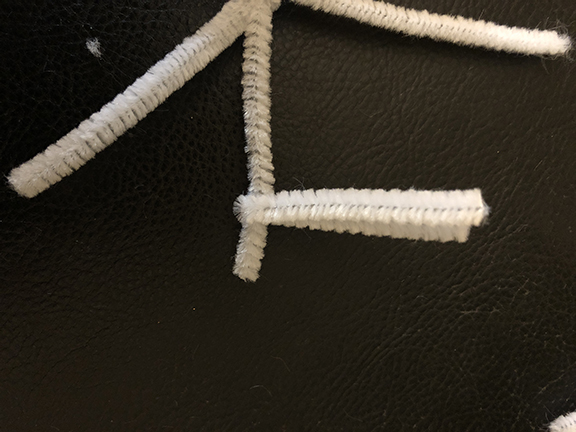
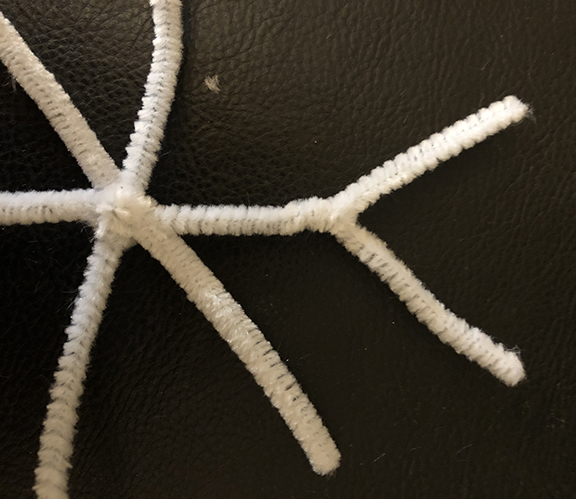
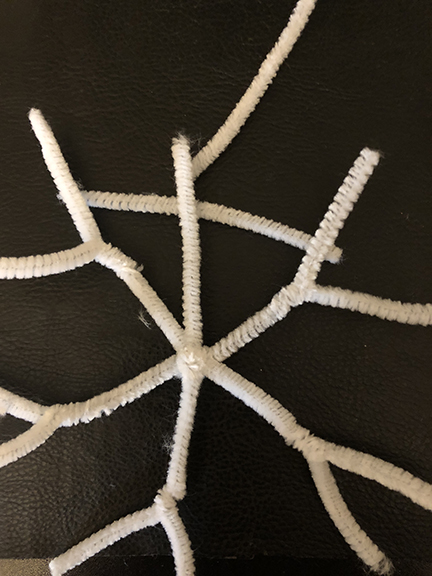
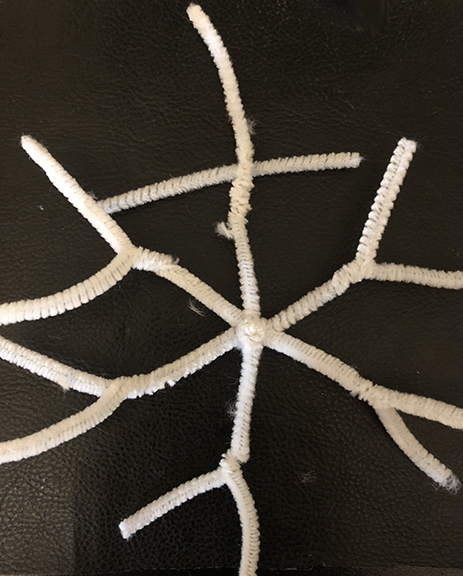
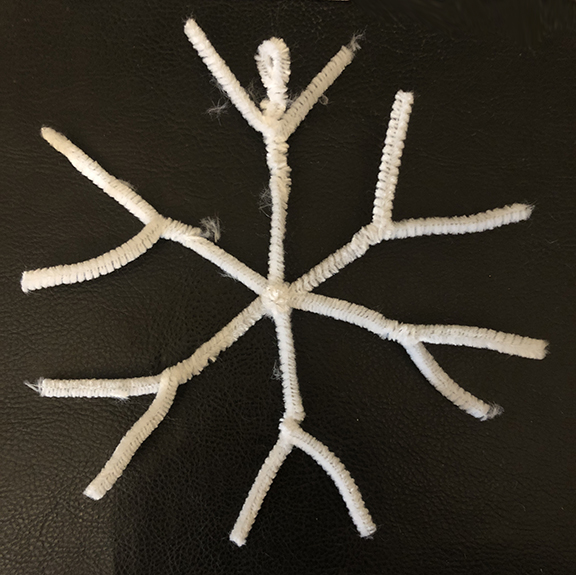
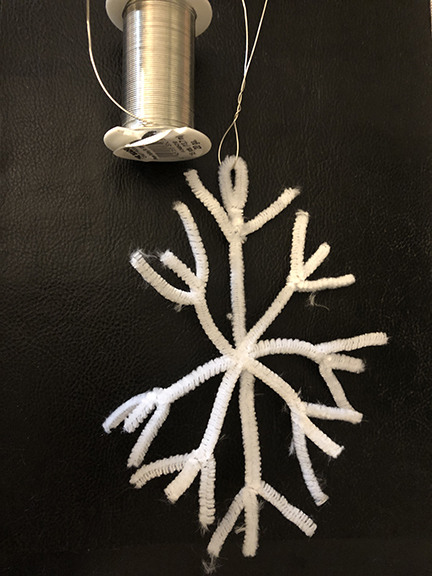
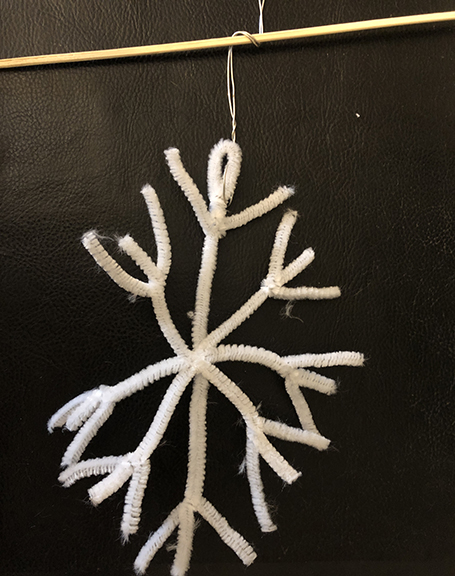
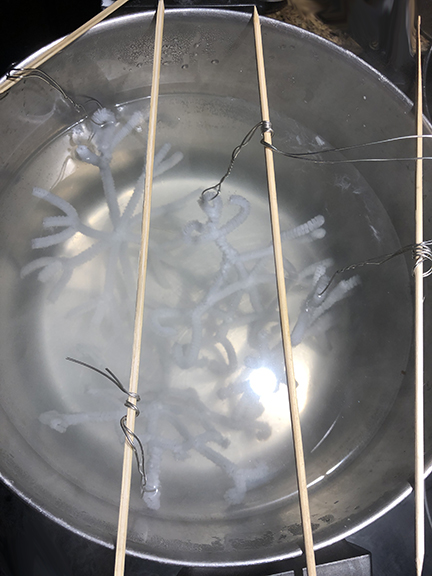
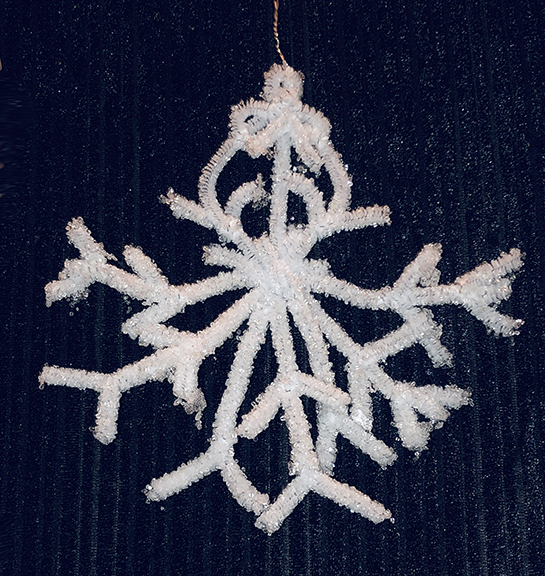
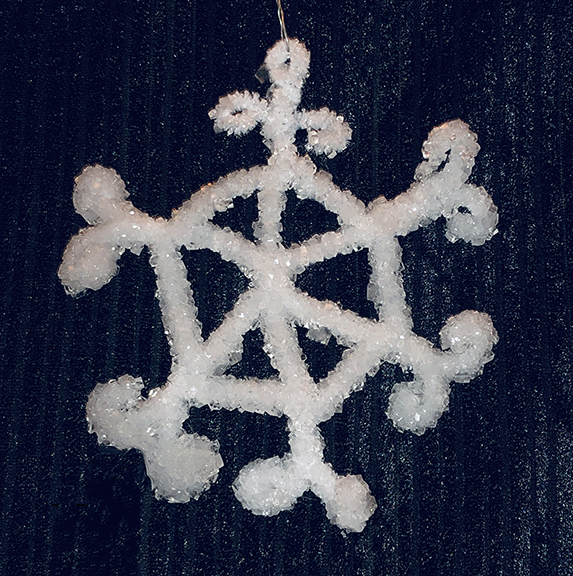
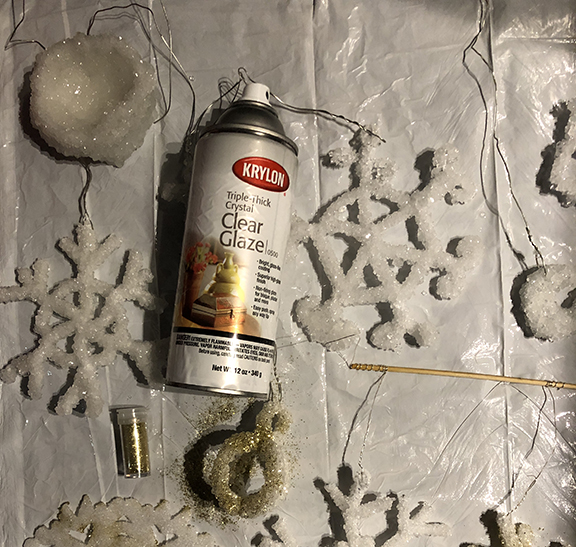
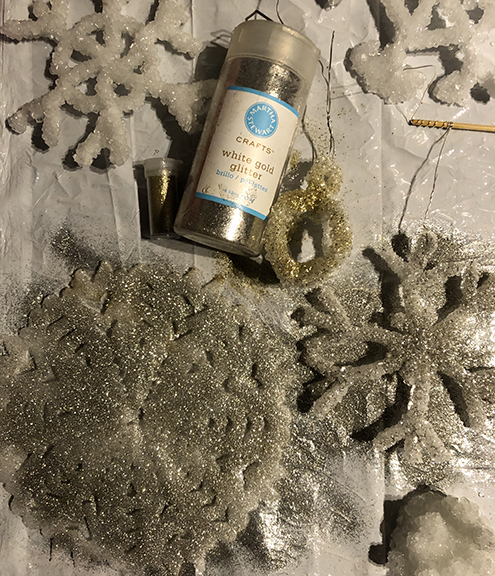
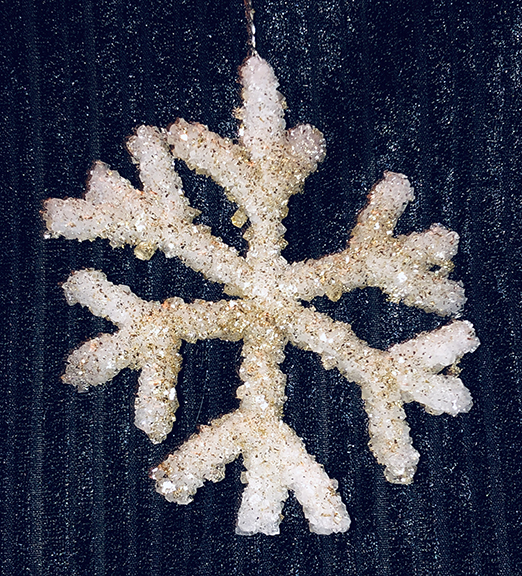
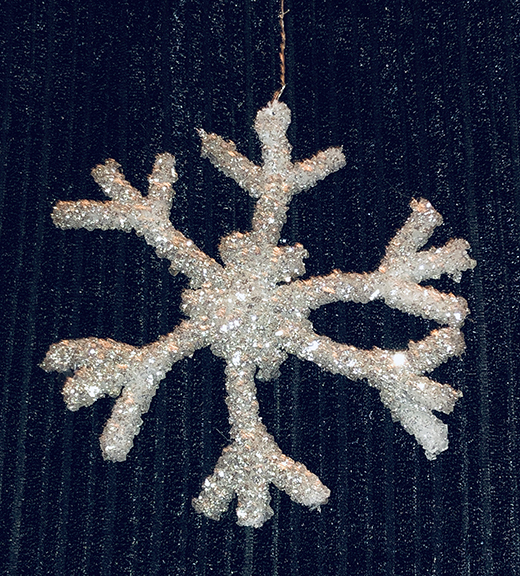
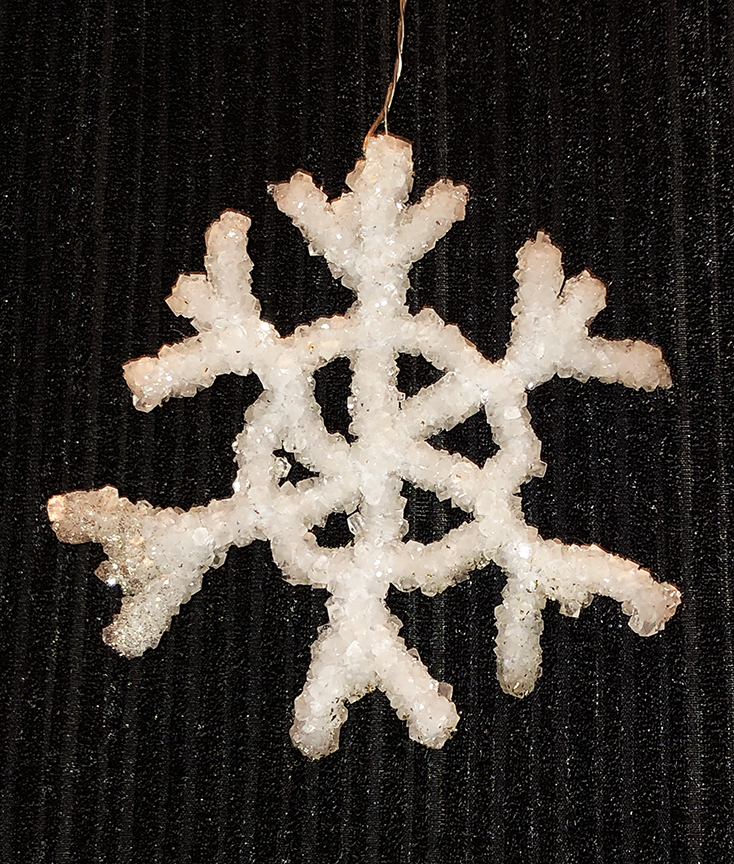
For the more ornate designs, just keep adding more pipe cleaners, twisting as you go. You can make some really cool designs. The spray sealer will keep the borax from oxidizing so you can use these year after year. I would store them in a plastic bag for safe keeping.
ADDITIONAL IDEAS
You can also crystalize silk flowers, pine cones, real pine branches, holly leaves, cotton balls, coffee filter snowflakes, plastic ornaments, wood bark…almost anything! If you crystalize glass, you need to use sand paper on the surface to make the borax stick. I made a moon and a star pendant using this method. I also made a faux geode and a faux crystal cluster. *You can add food coloring to make the crystals pastel colors!
Here is an instruction sheet to make the coffee filter snowflakes. You just cut the coffee filter as shown and pour the borax solution into a plate and allow it to crystalize over night. The fuller designs work best. The skinny, more detailed designs are too fragile. These won’t be sturdy like the pipe cleaners but you can hang them in the window or on the tree for one season.
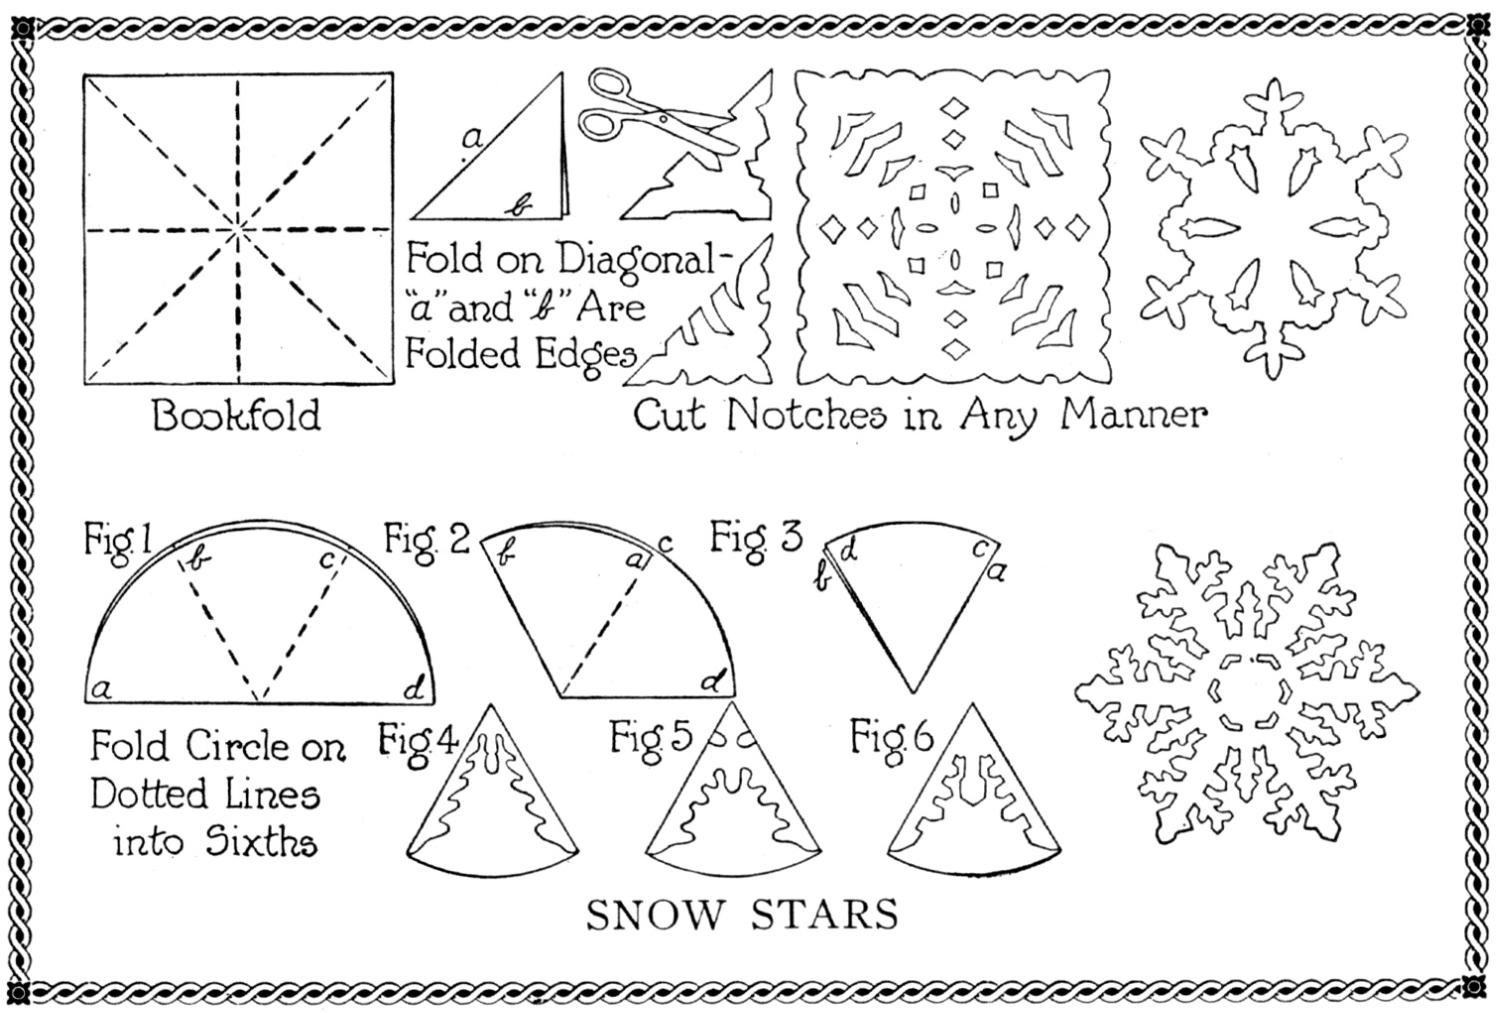
ADDITIONAL PATTERNS
LINKS
MORE Snowflake Patterns
https://diy-enthusiasts.com/decorating-ideas/christmas/paper-snowflakes-free-patterns-instructions
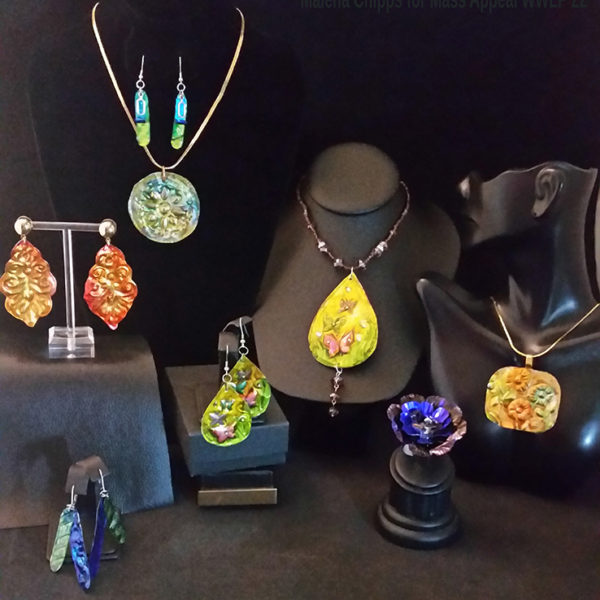
I hope you enjoyed this craft. Have a wonderful holiday season everyone. I will be here in the Berks eating cookies and selling jewelry, as always!
Big hugs!
Love,
Malena
