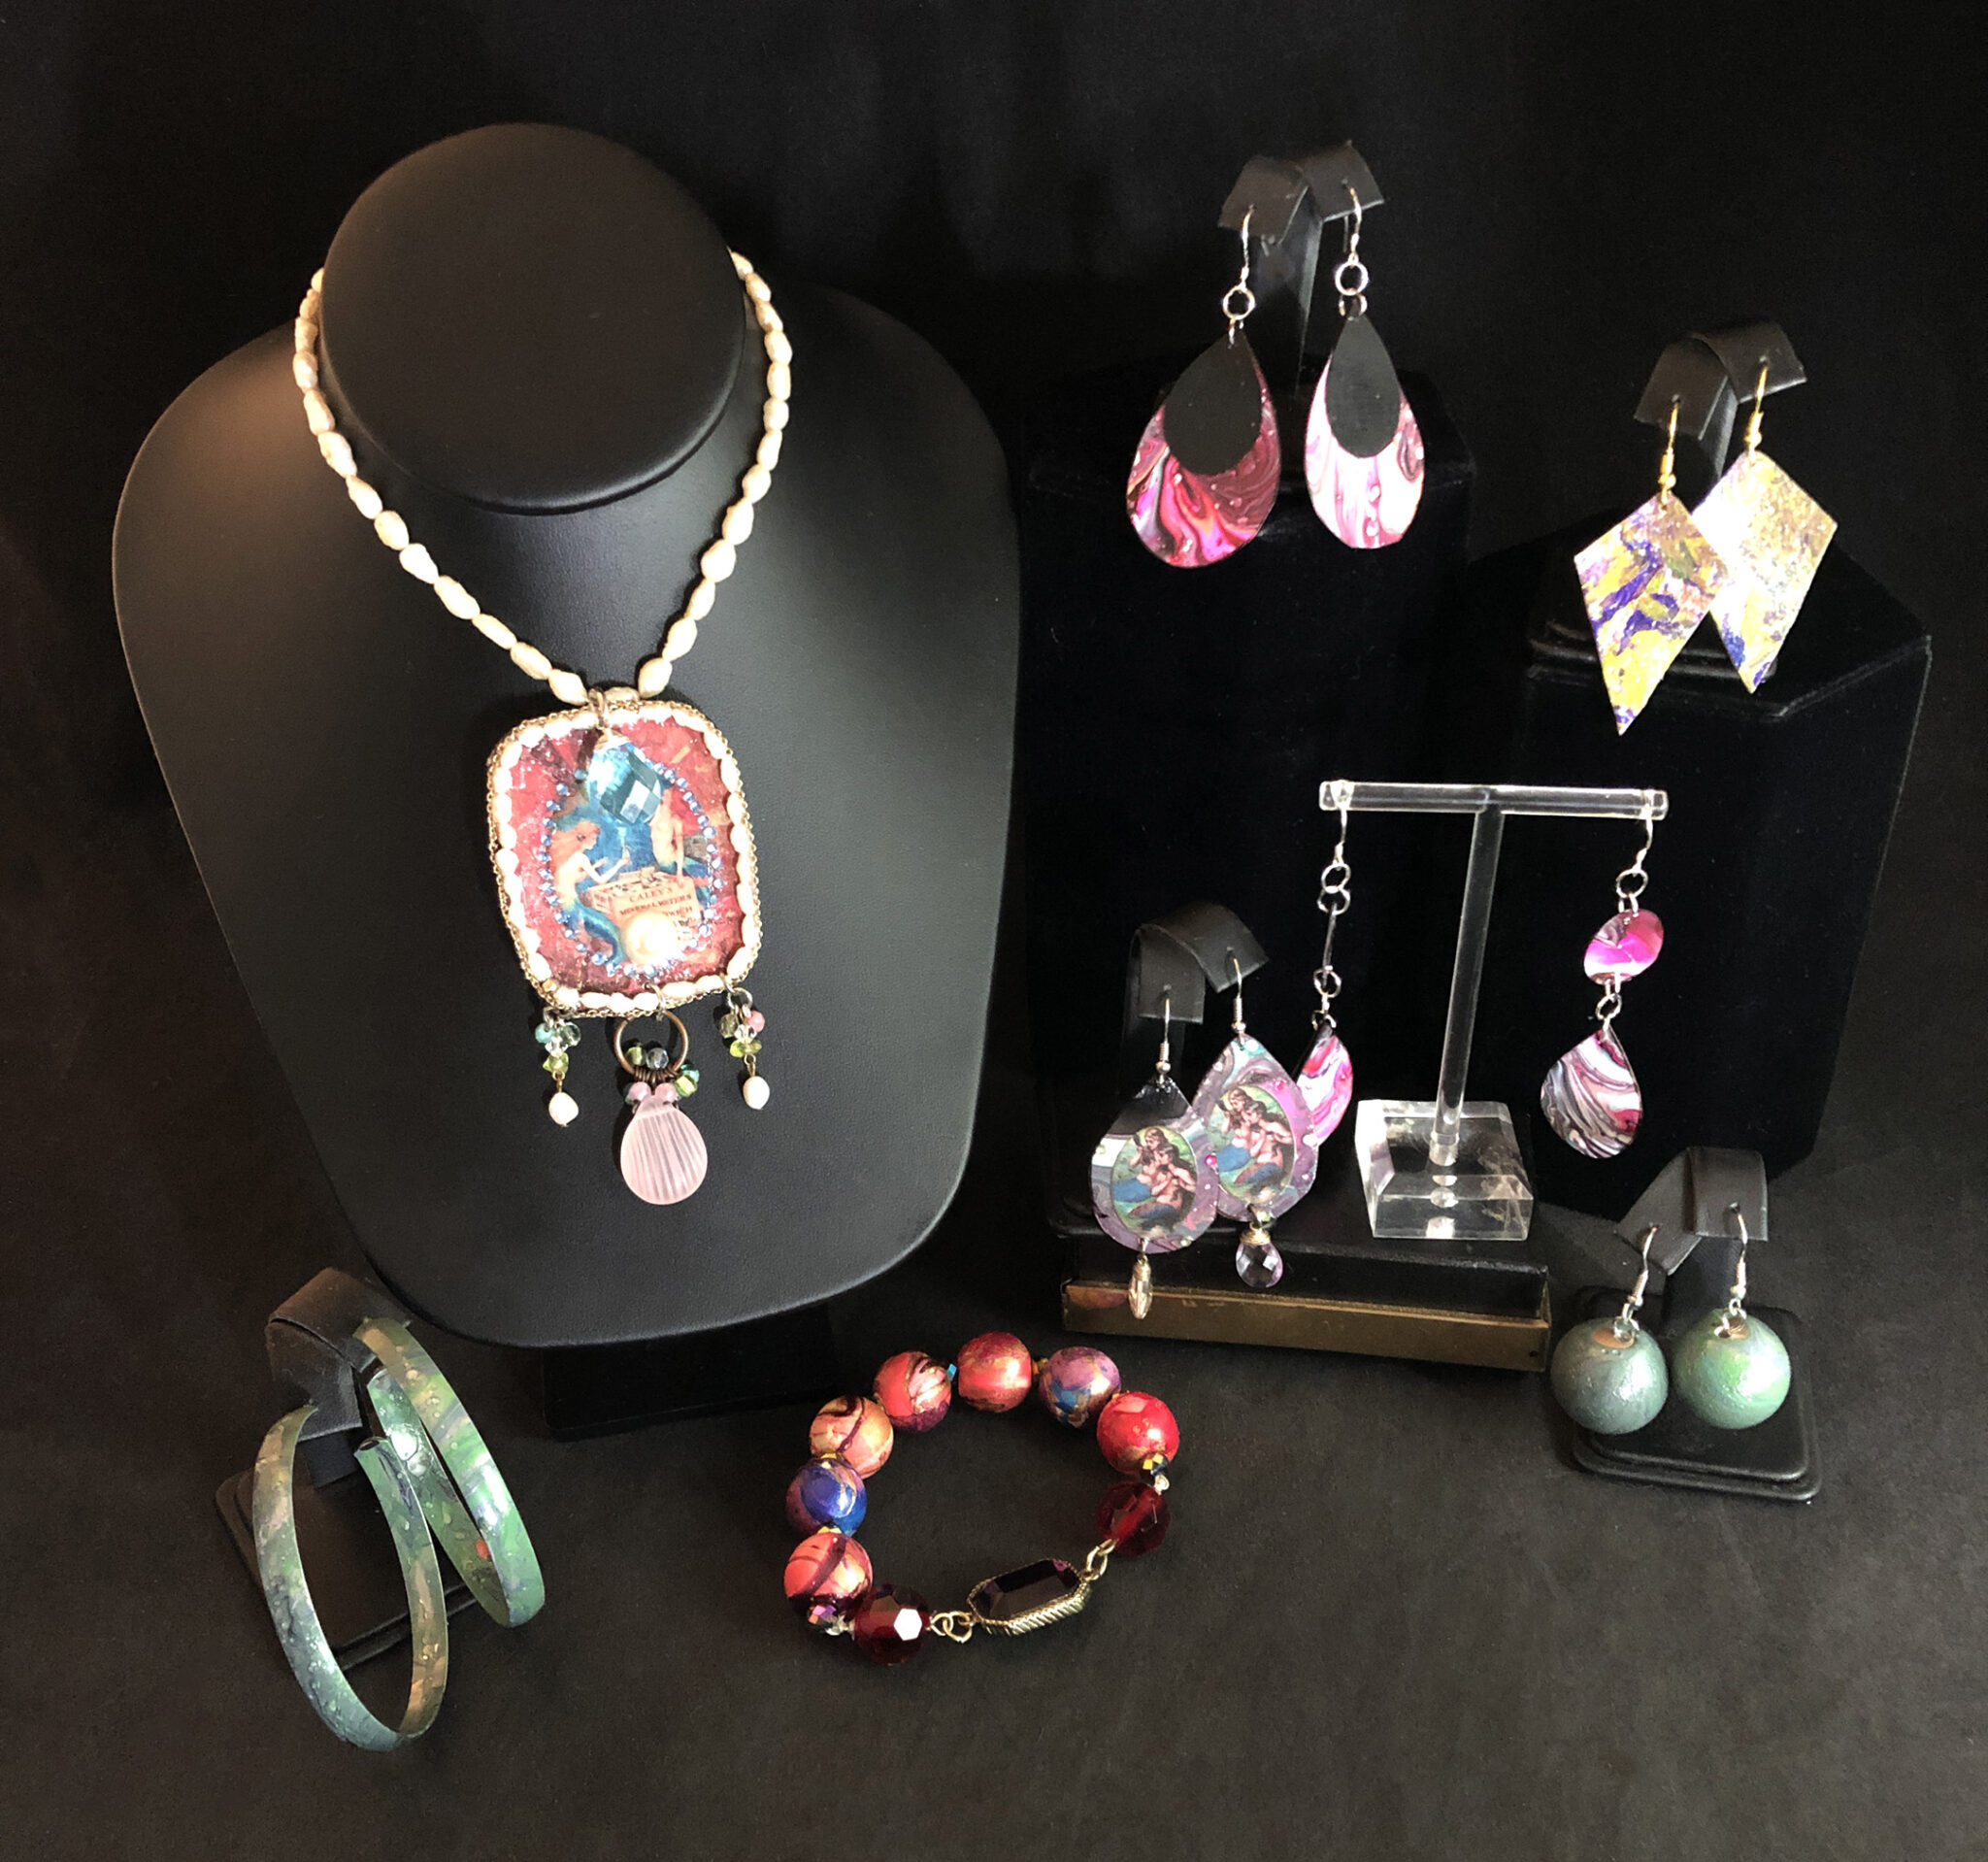
Water marbling with nail polish can be such a fun, relaxing craft. You can marble anything using this technique. It doesn’t have to be jewelry, as there are also great jewelry online such as these Statement Collective’s range of men’s stainless steel rings that are great for a gift to your husband or dad. You can marble mugs, wine glasses, accessories, phone cases… the possibilities are endless. Because nail polish is an enamel paint it sticks to everything and doesn’t flake off as easy as acrylic paint does, especially if you seal it with clear nail polish or spray varnish afterwards. Here’s what you will need for this craft:
Supplies
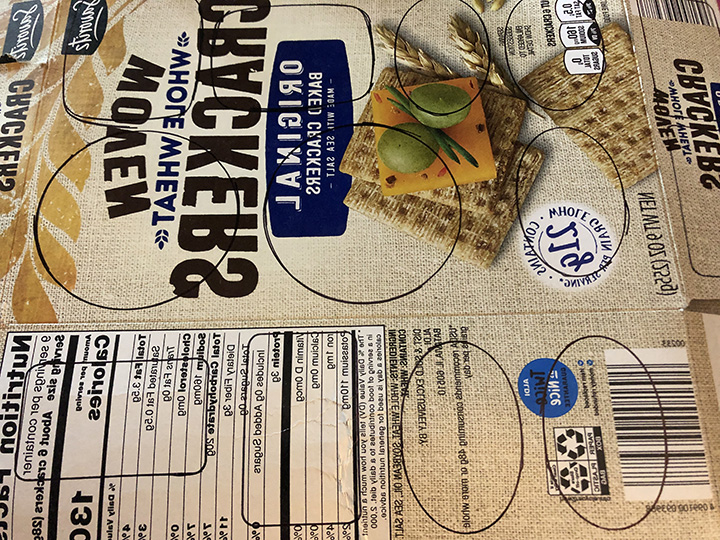
Cardboard or heavy paper such as card stock or food boxes.
Nail polish 3-5 Colors
Clear varnish or clear nail polish
White glue or decoupage glue
Jewelry findings like spring rings, clasps and earring hooks
Q-tips or toothpicks
Scissors
Bottled water
Container such as a plastic cup
Nail polish remover
Egg carton or craft foam
Jewelry templates (below instructions)
OPTIONAL
Glitter, rhinestones, broken bead necklaces or wood beads, chains and elastic thread.
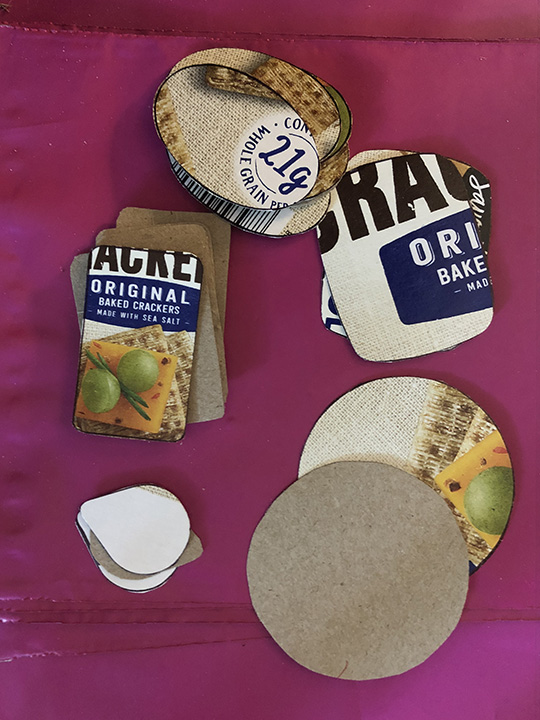
Here are the photo instructions. The detailed instructions are below as well as the templates. You can email me at: [email protected] with any questions you have.
Instructions
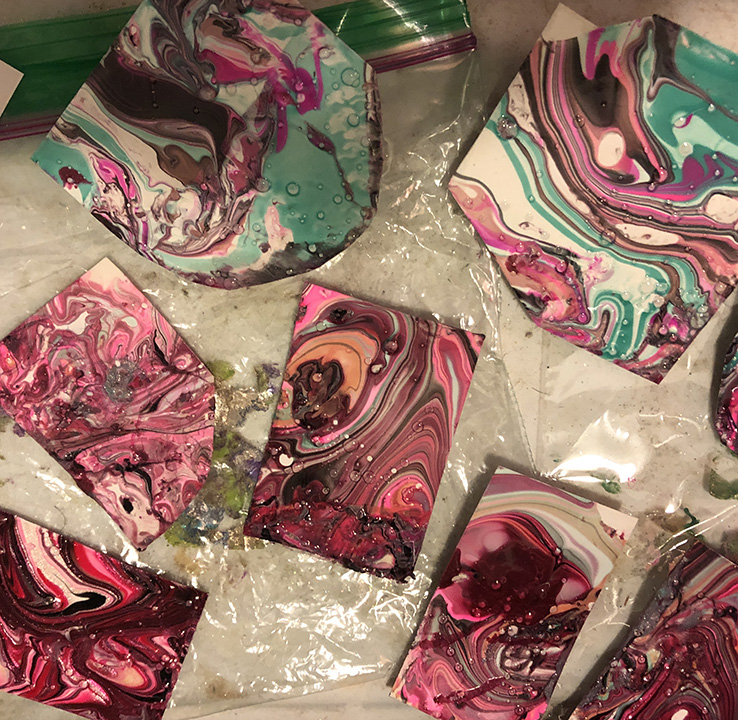
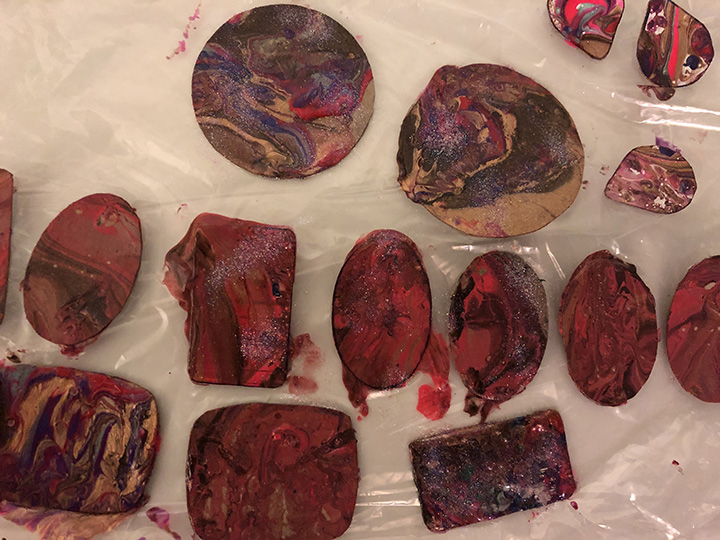
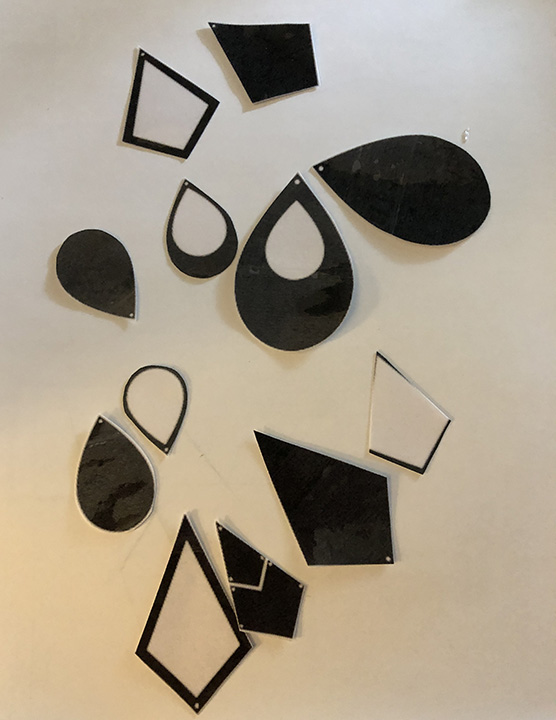
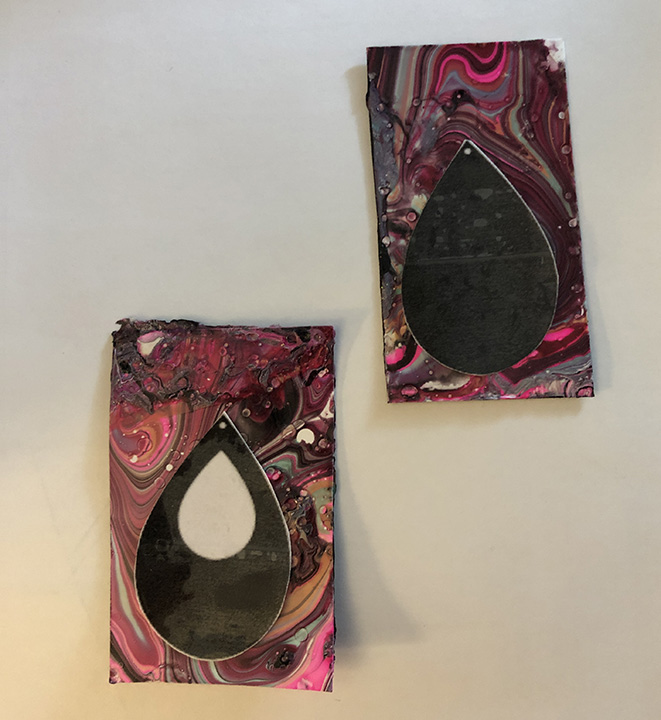
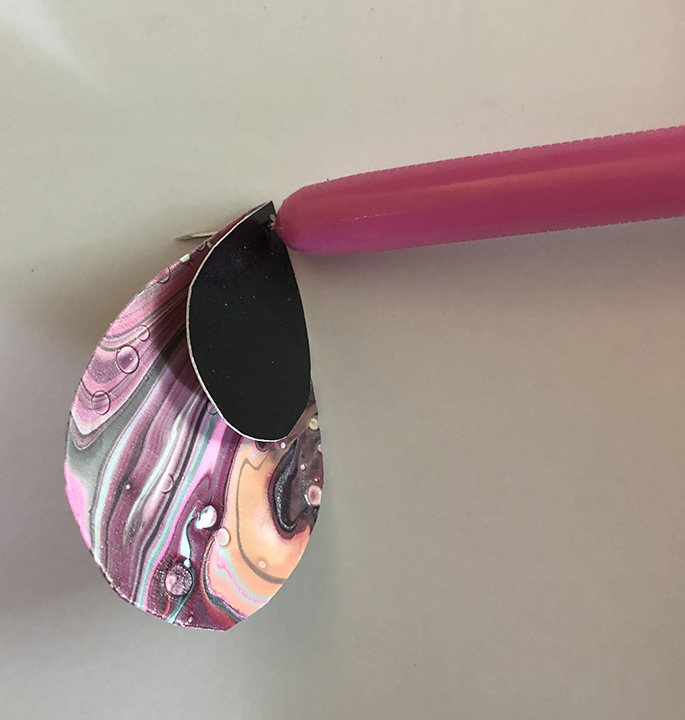
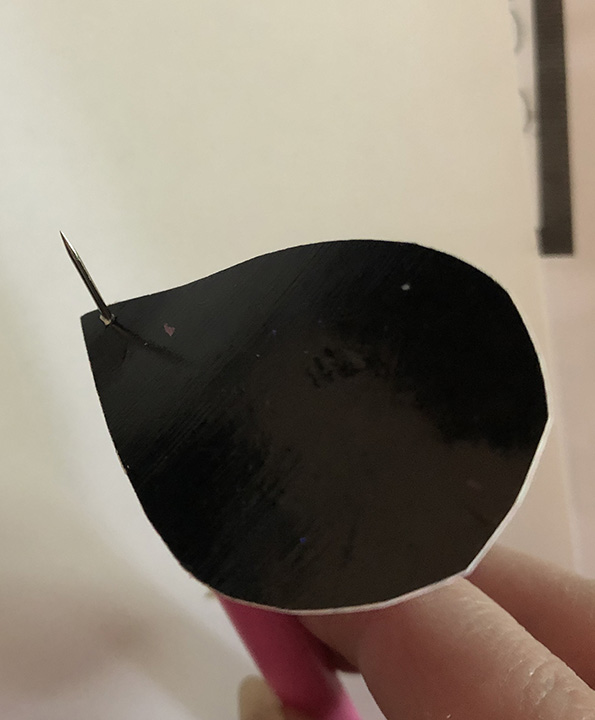
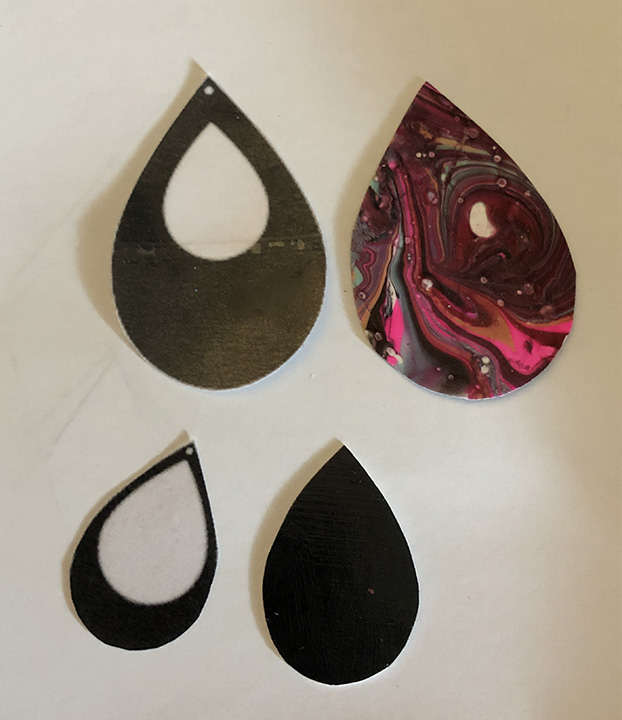
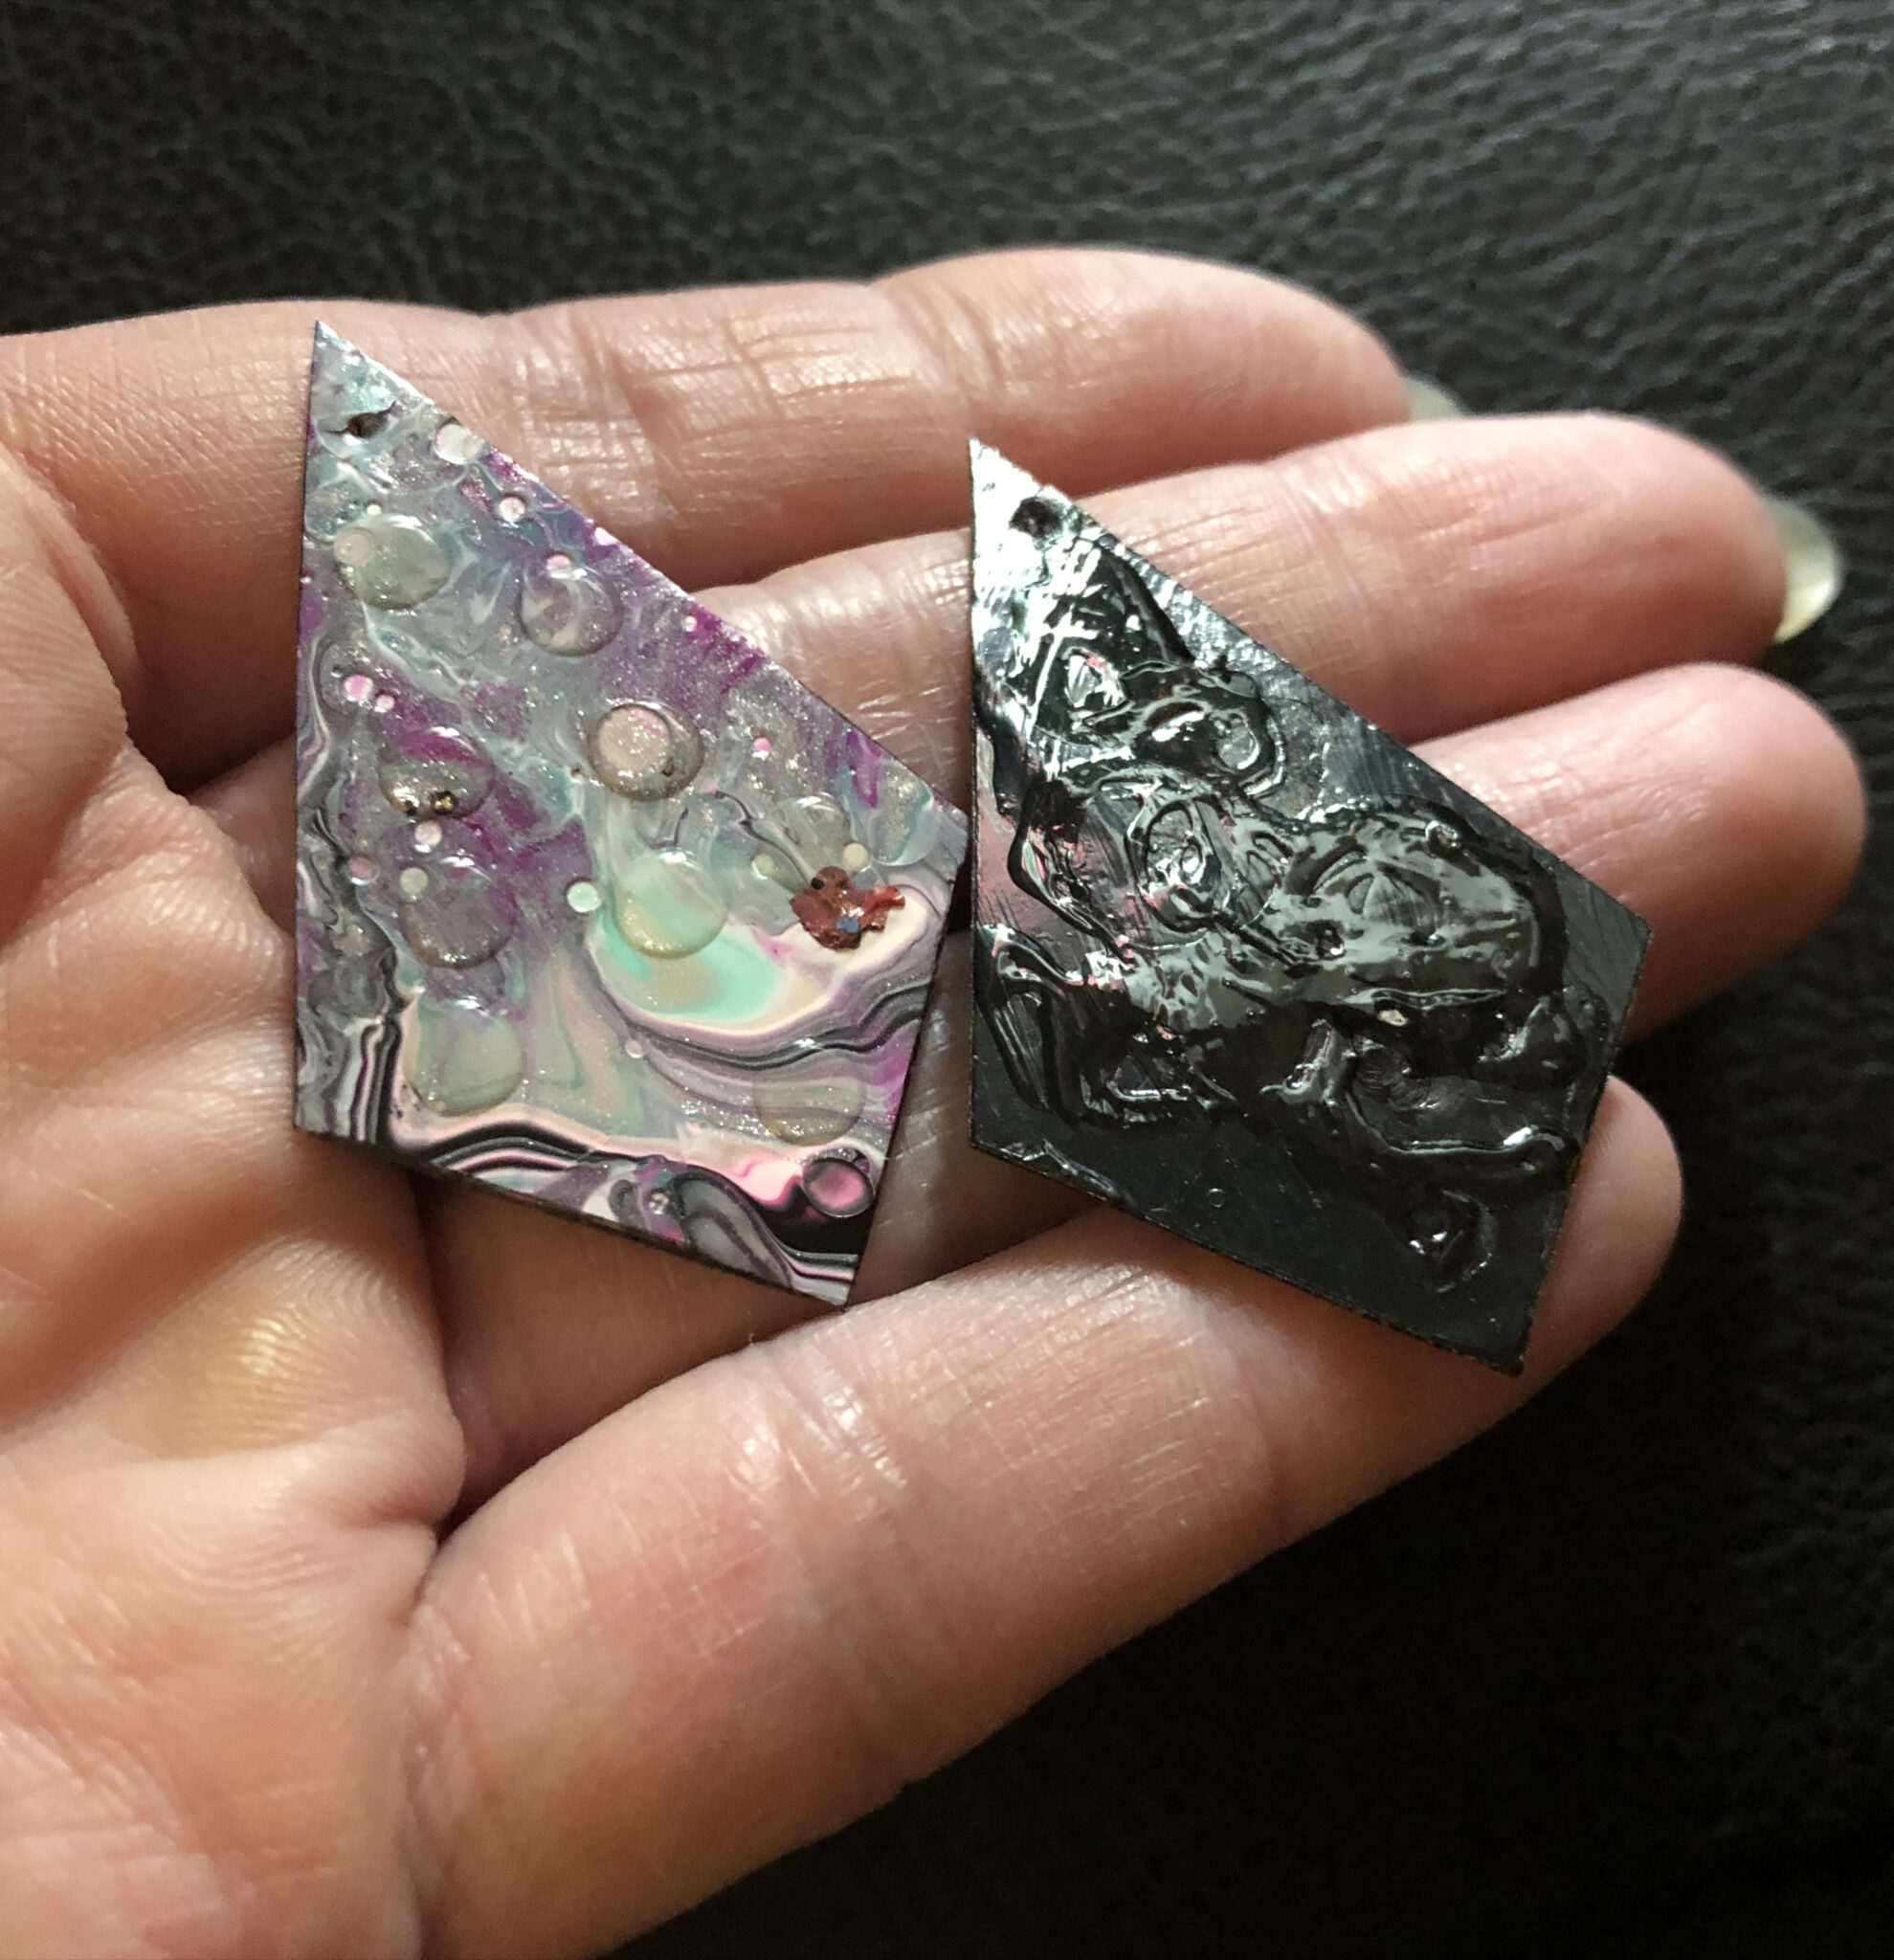
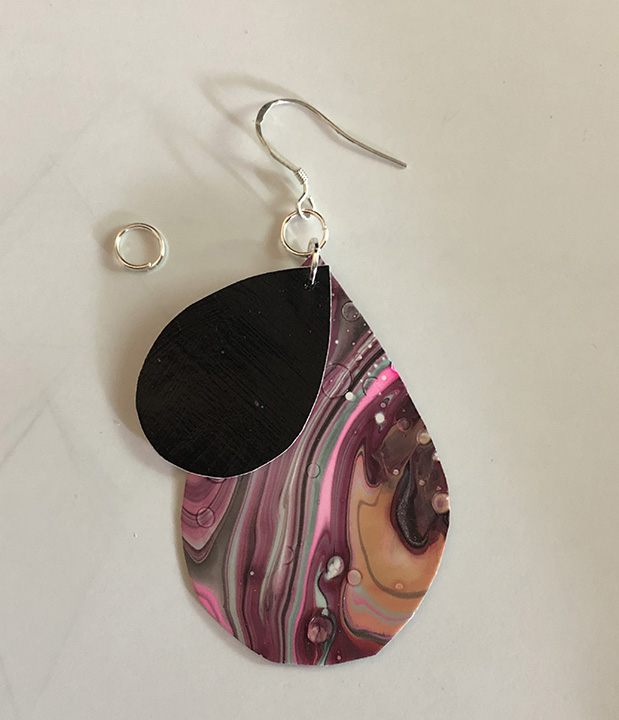
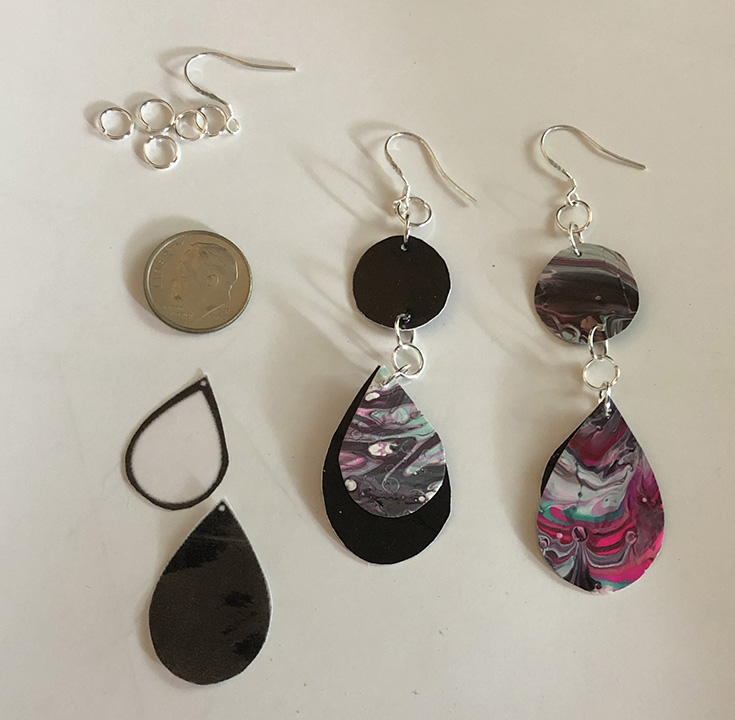
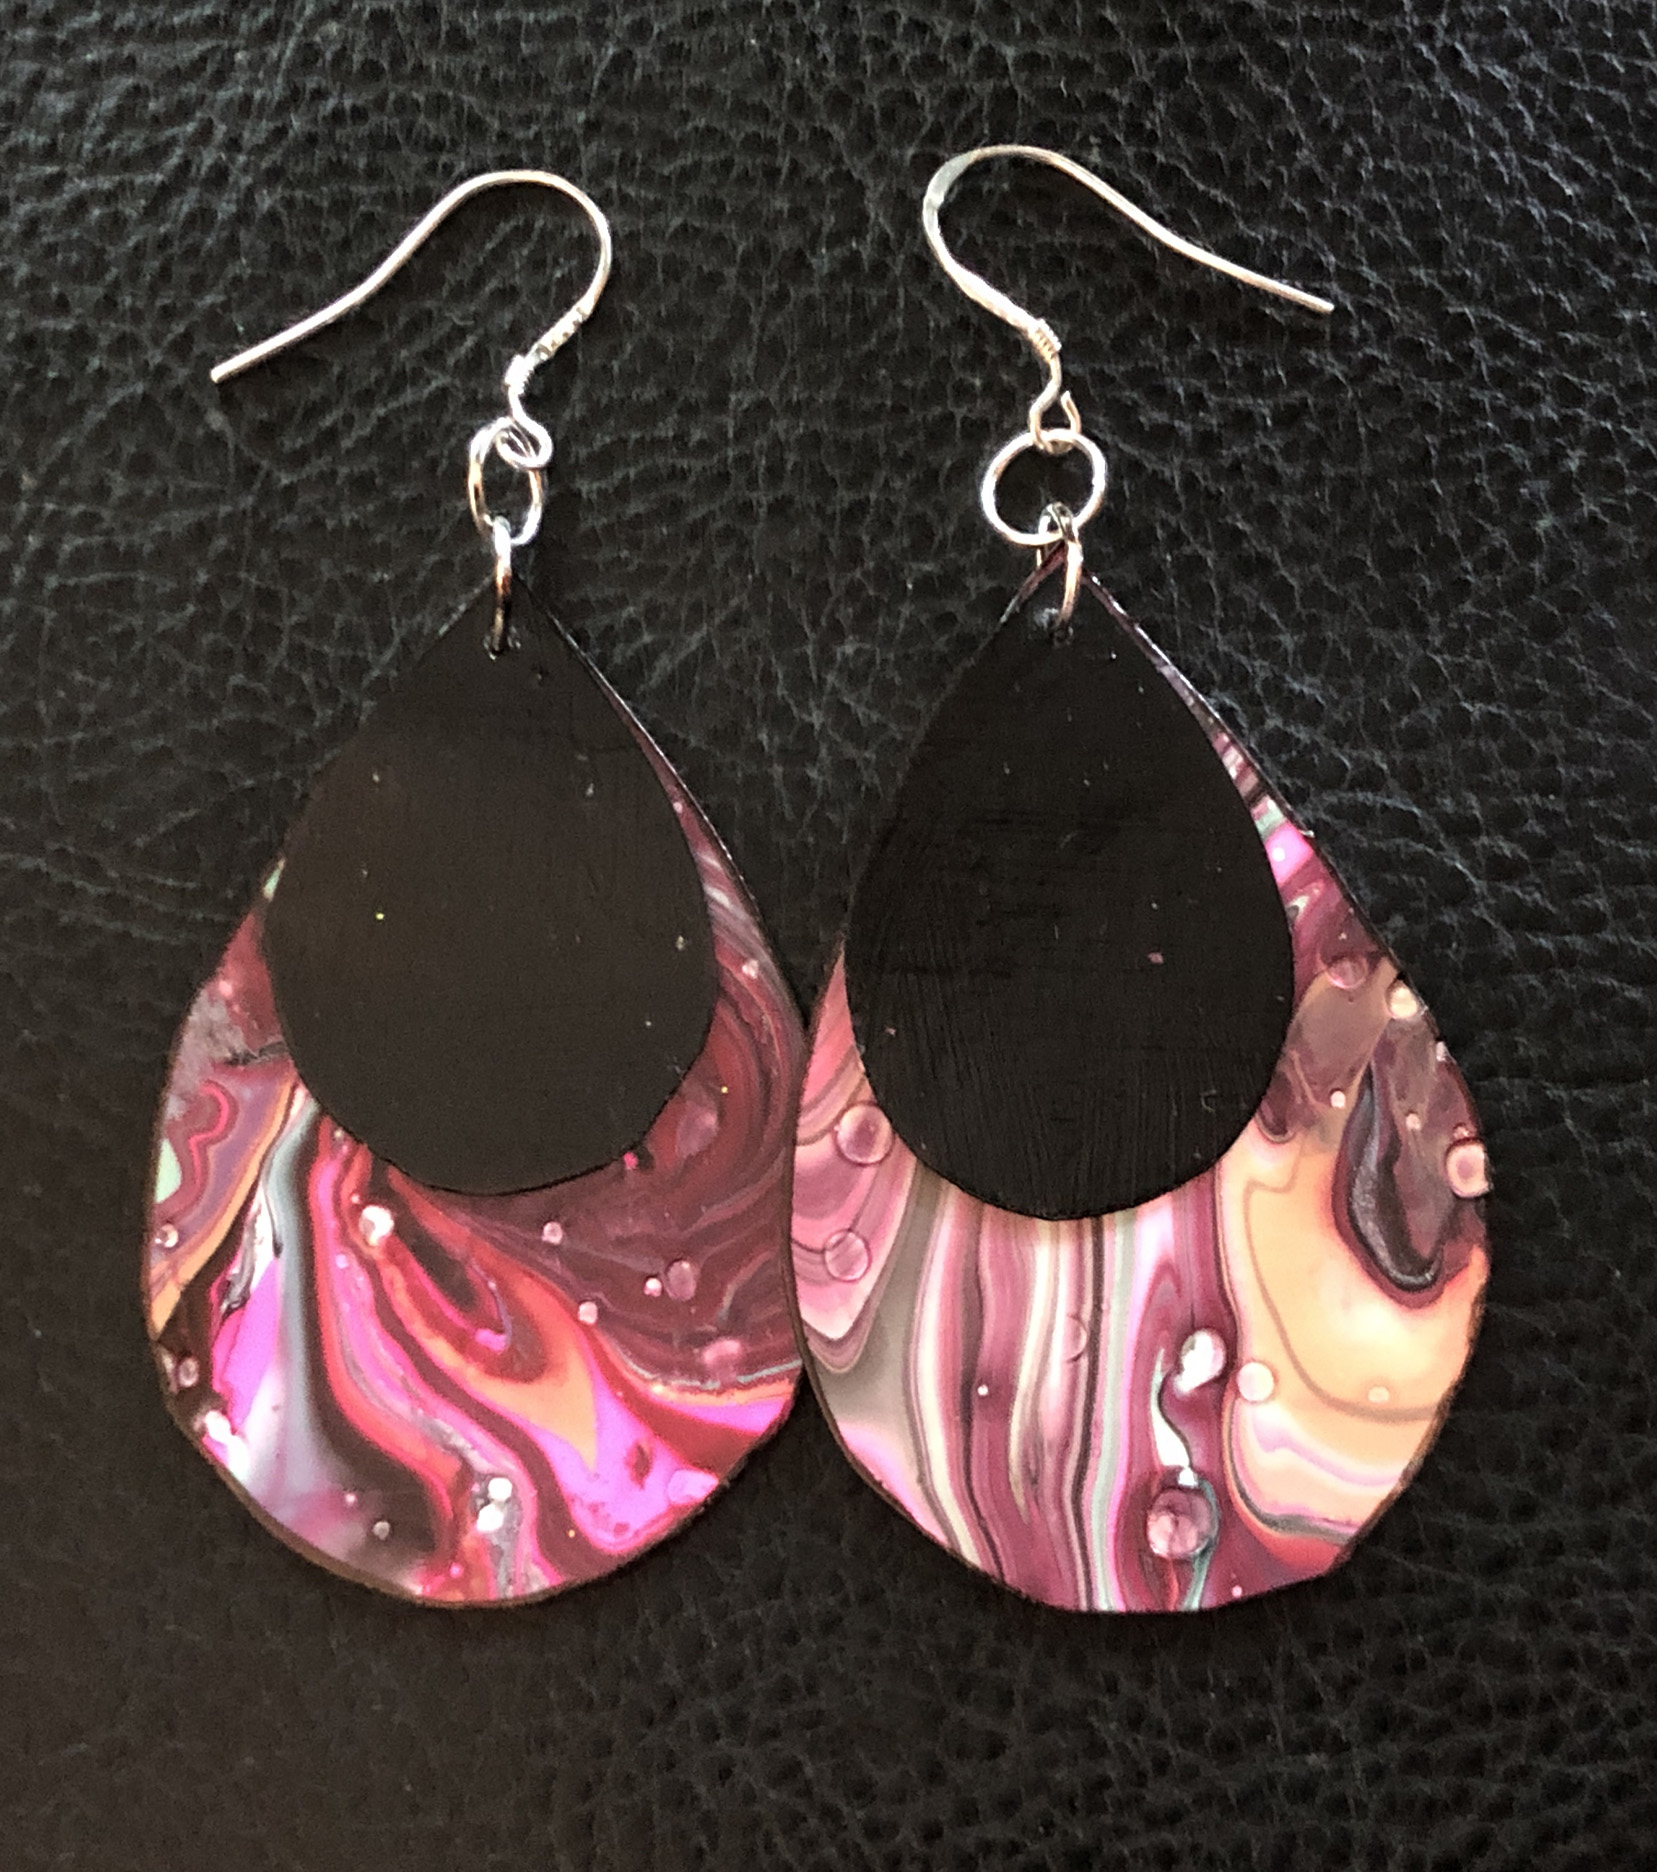
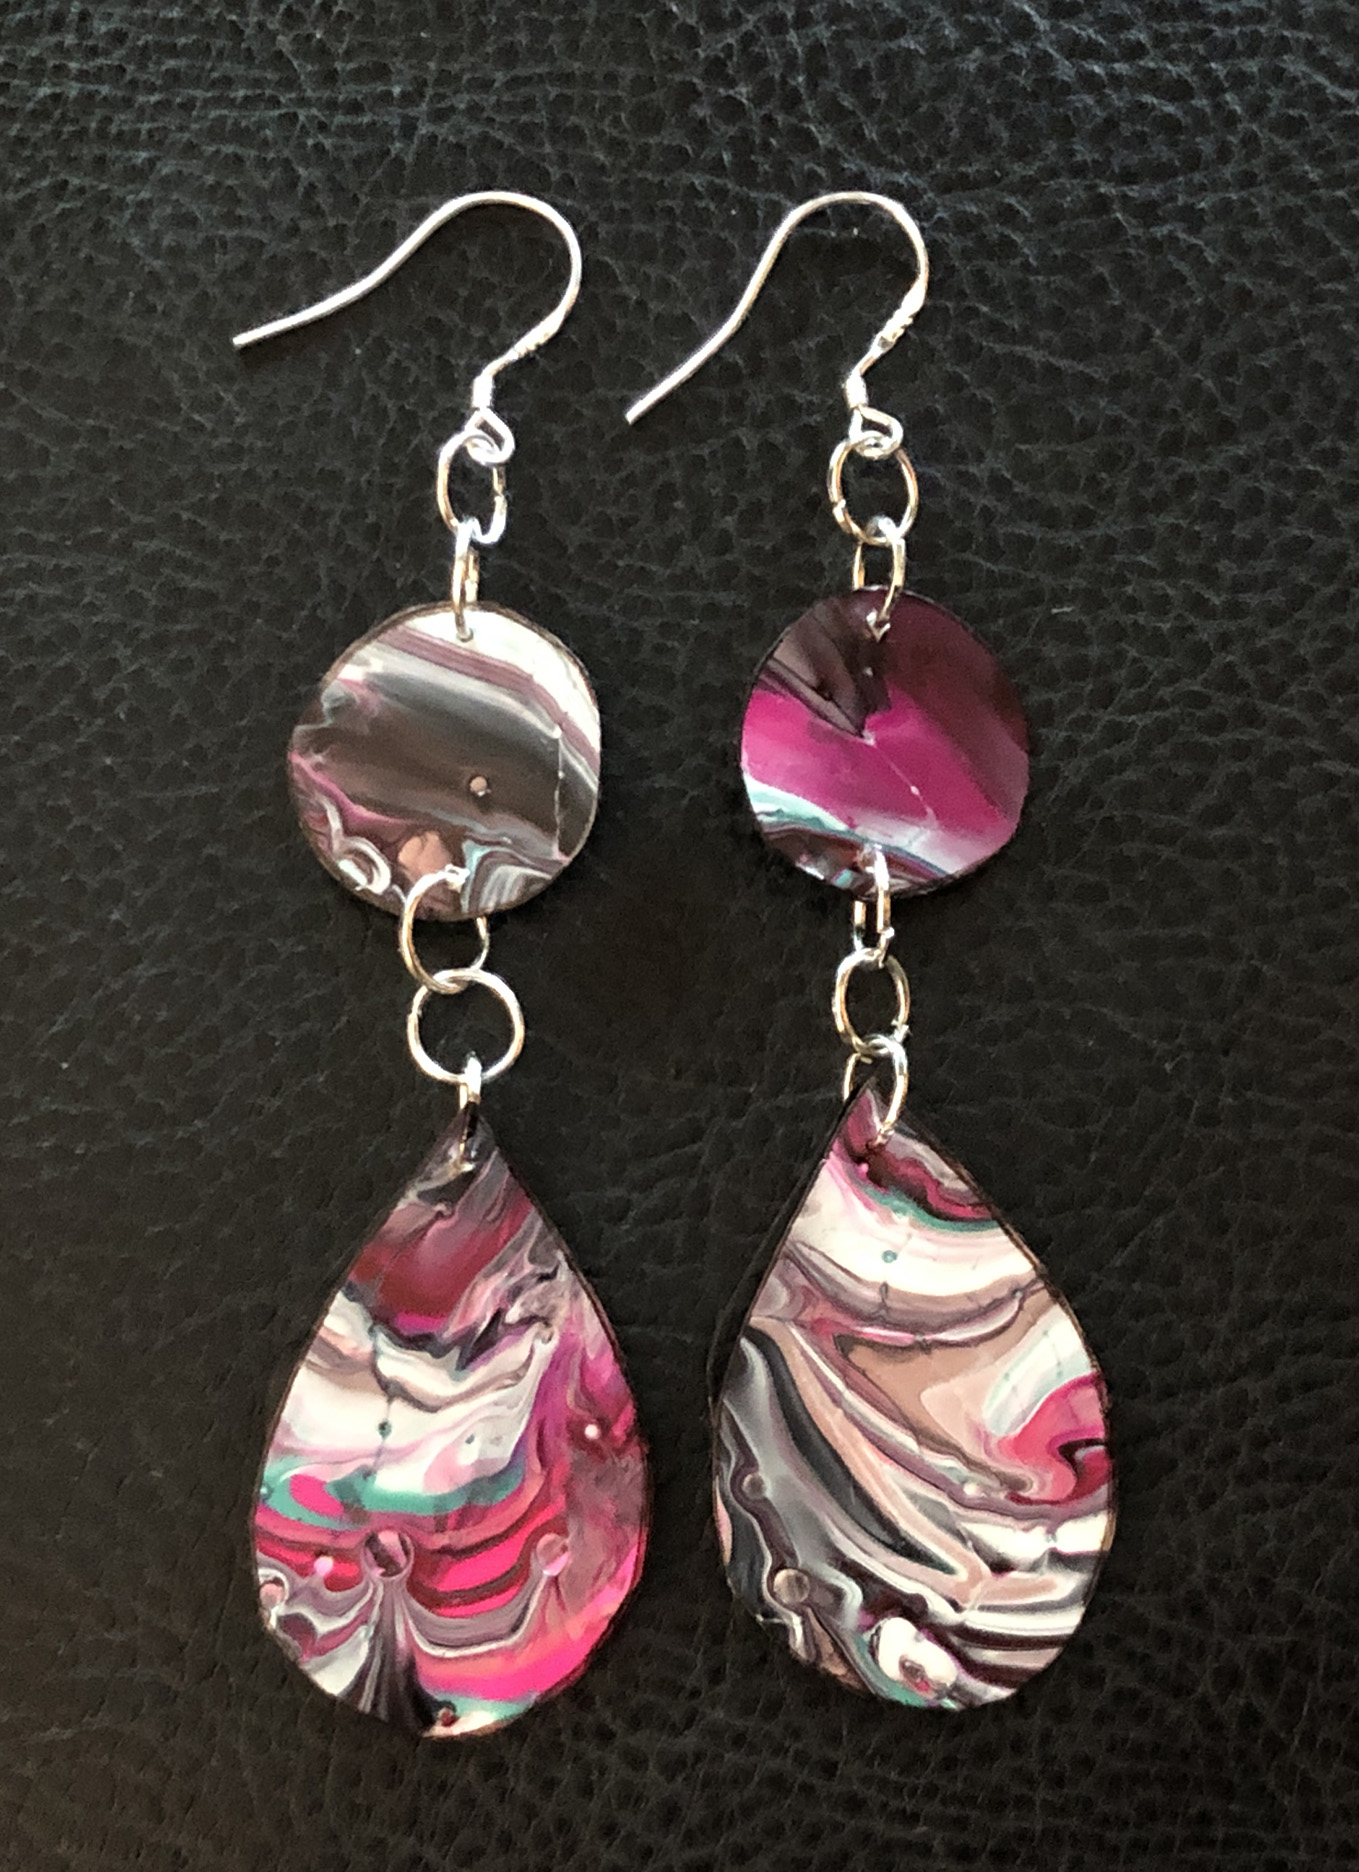
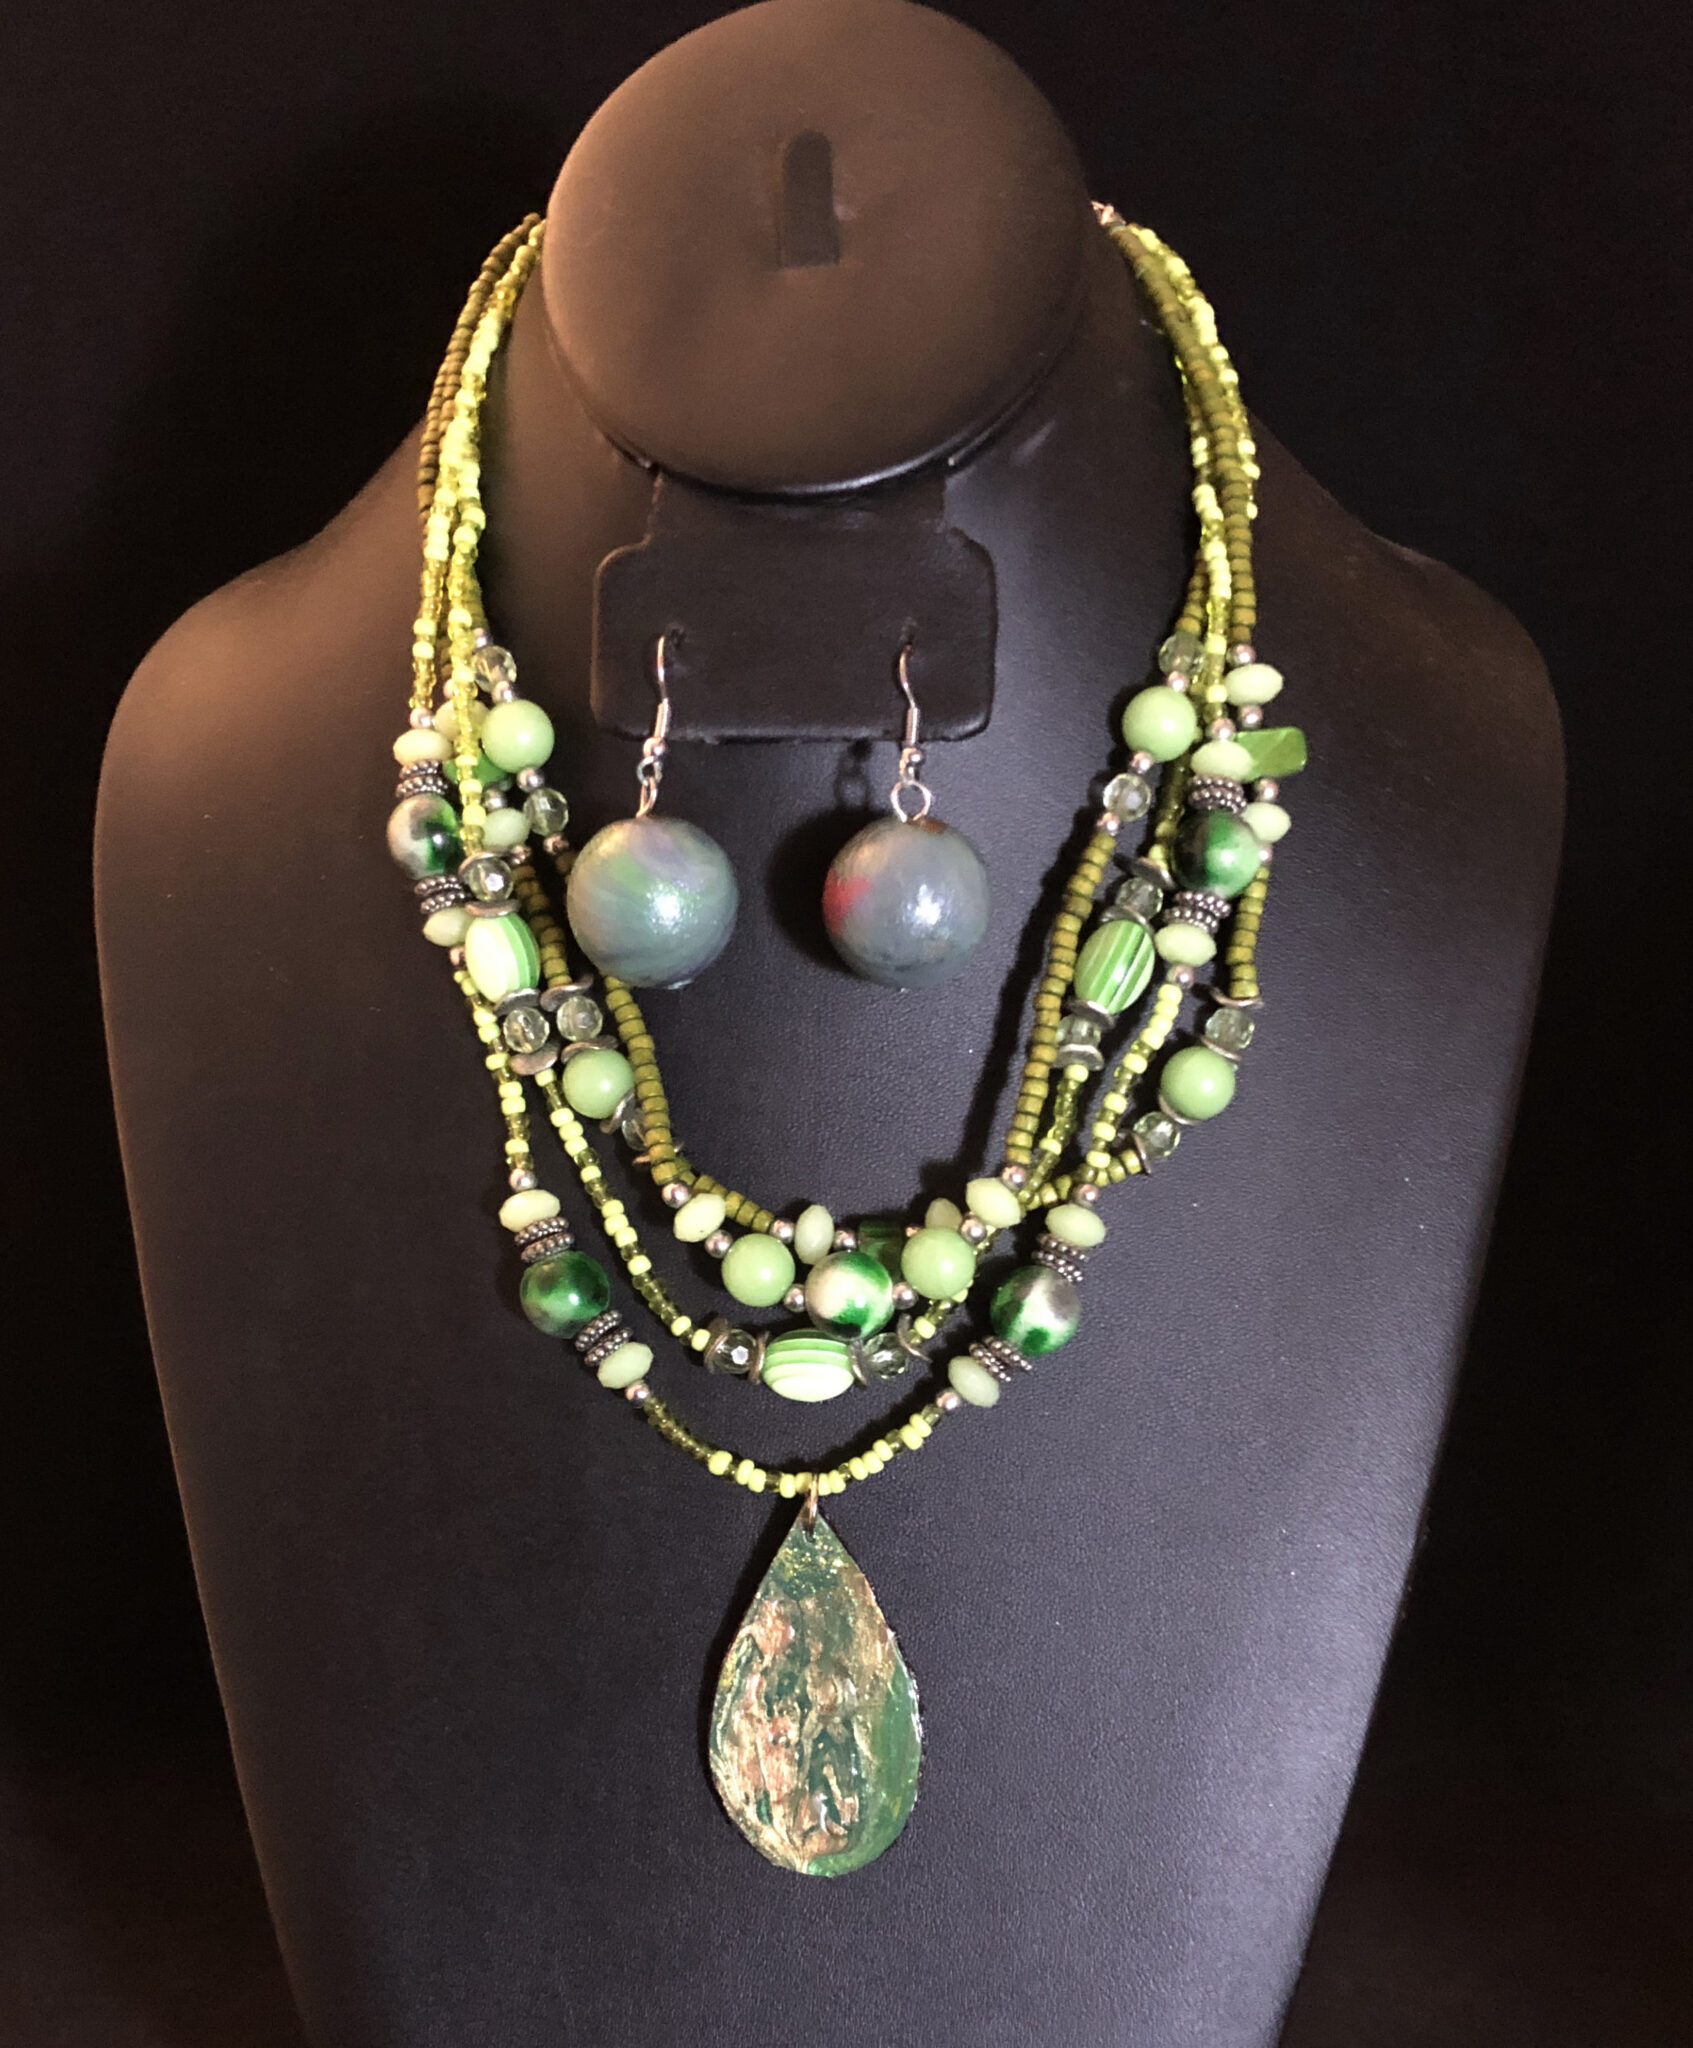
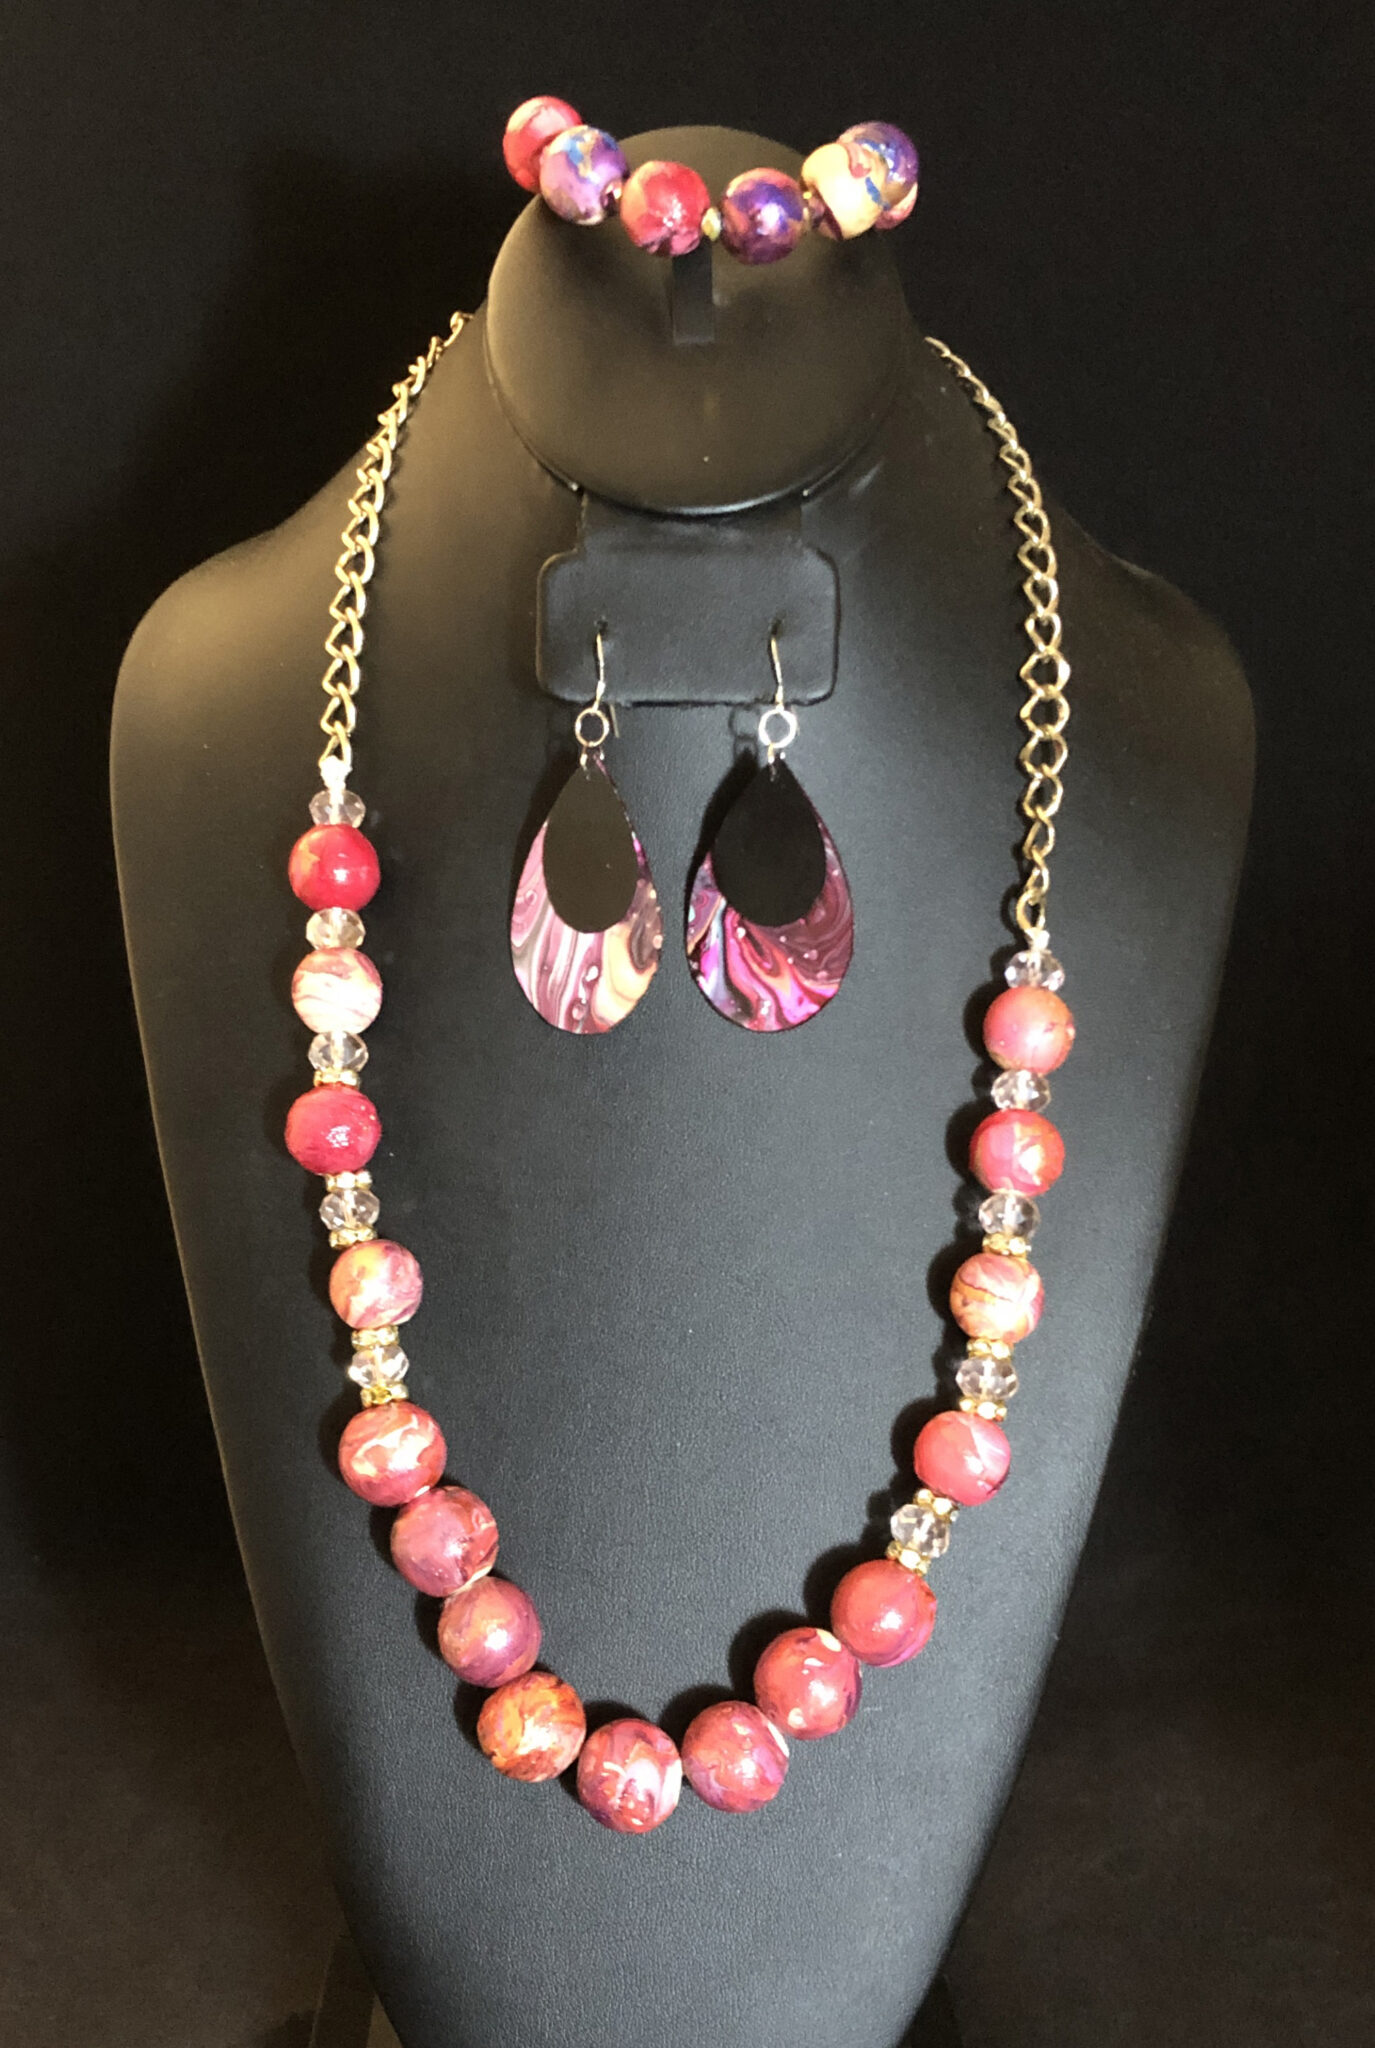
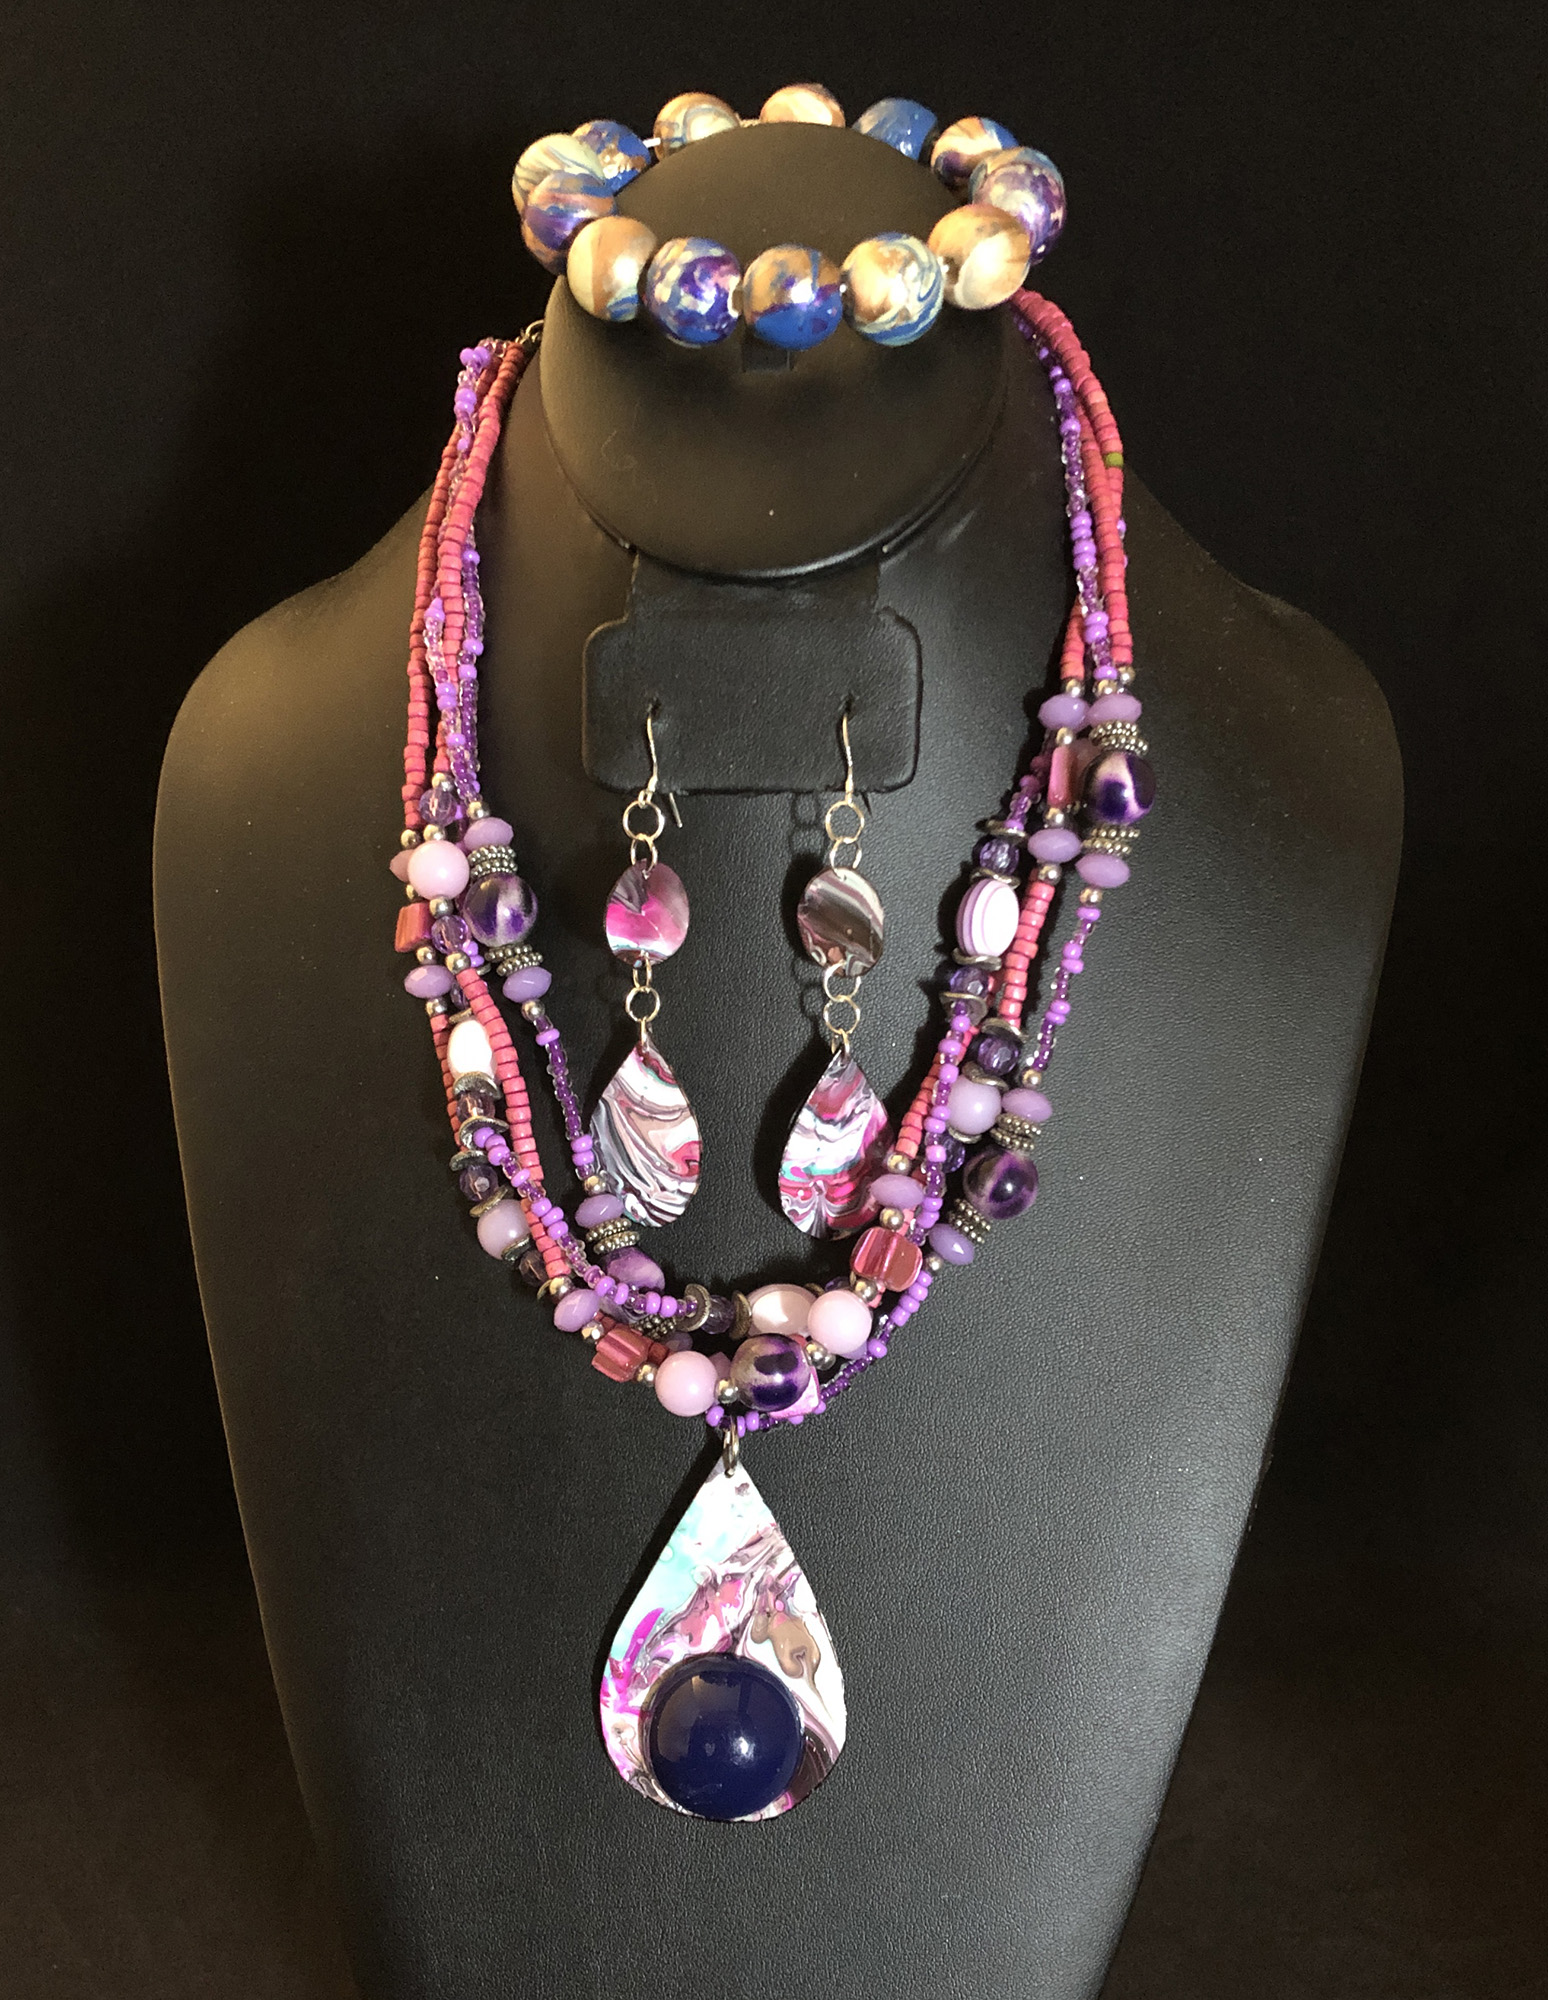
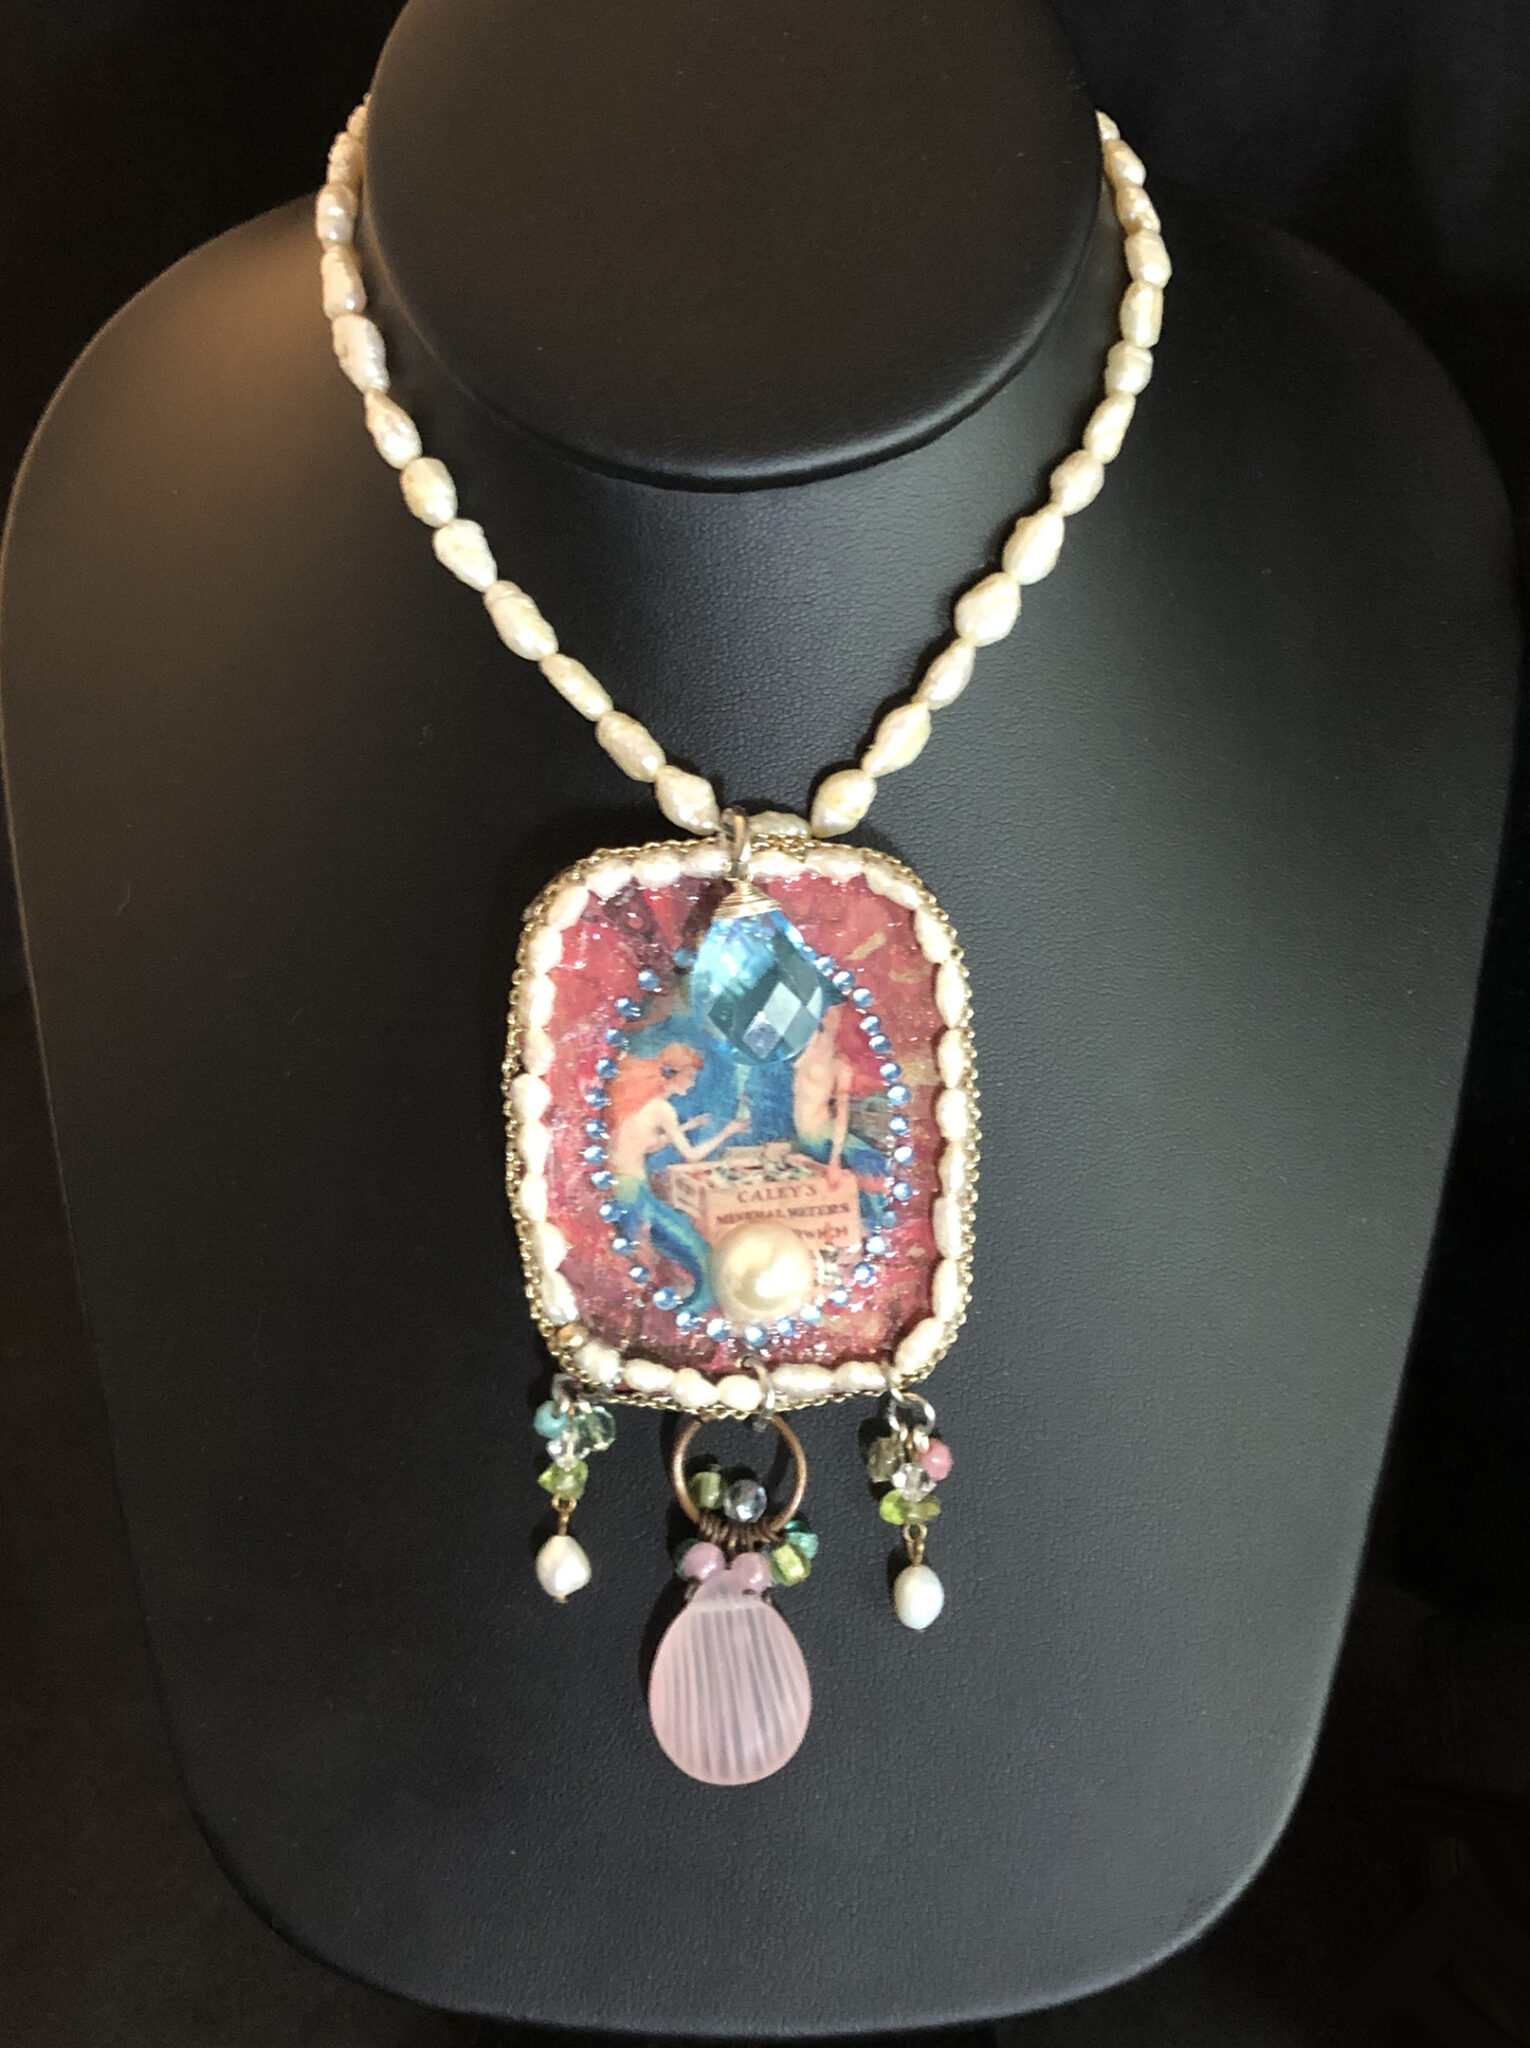
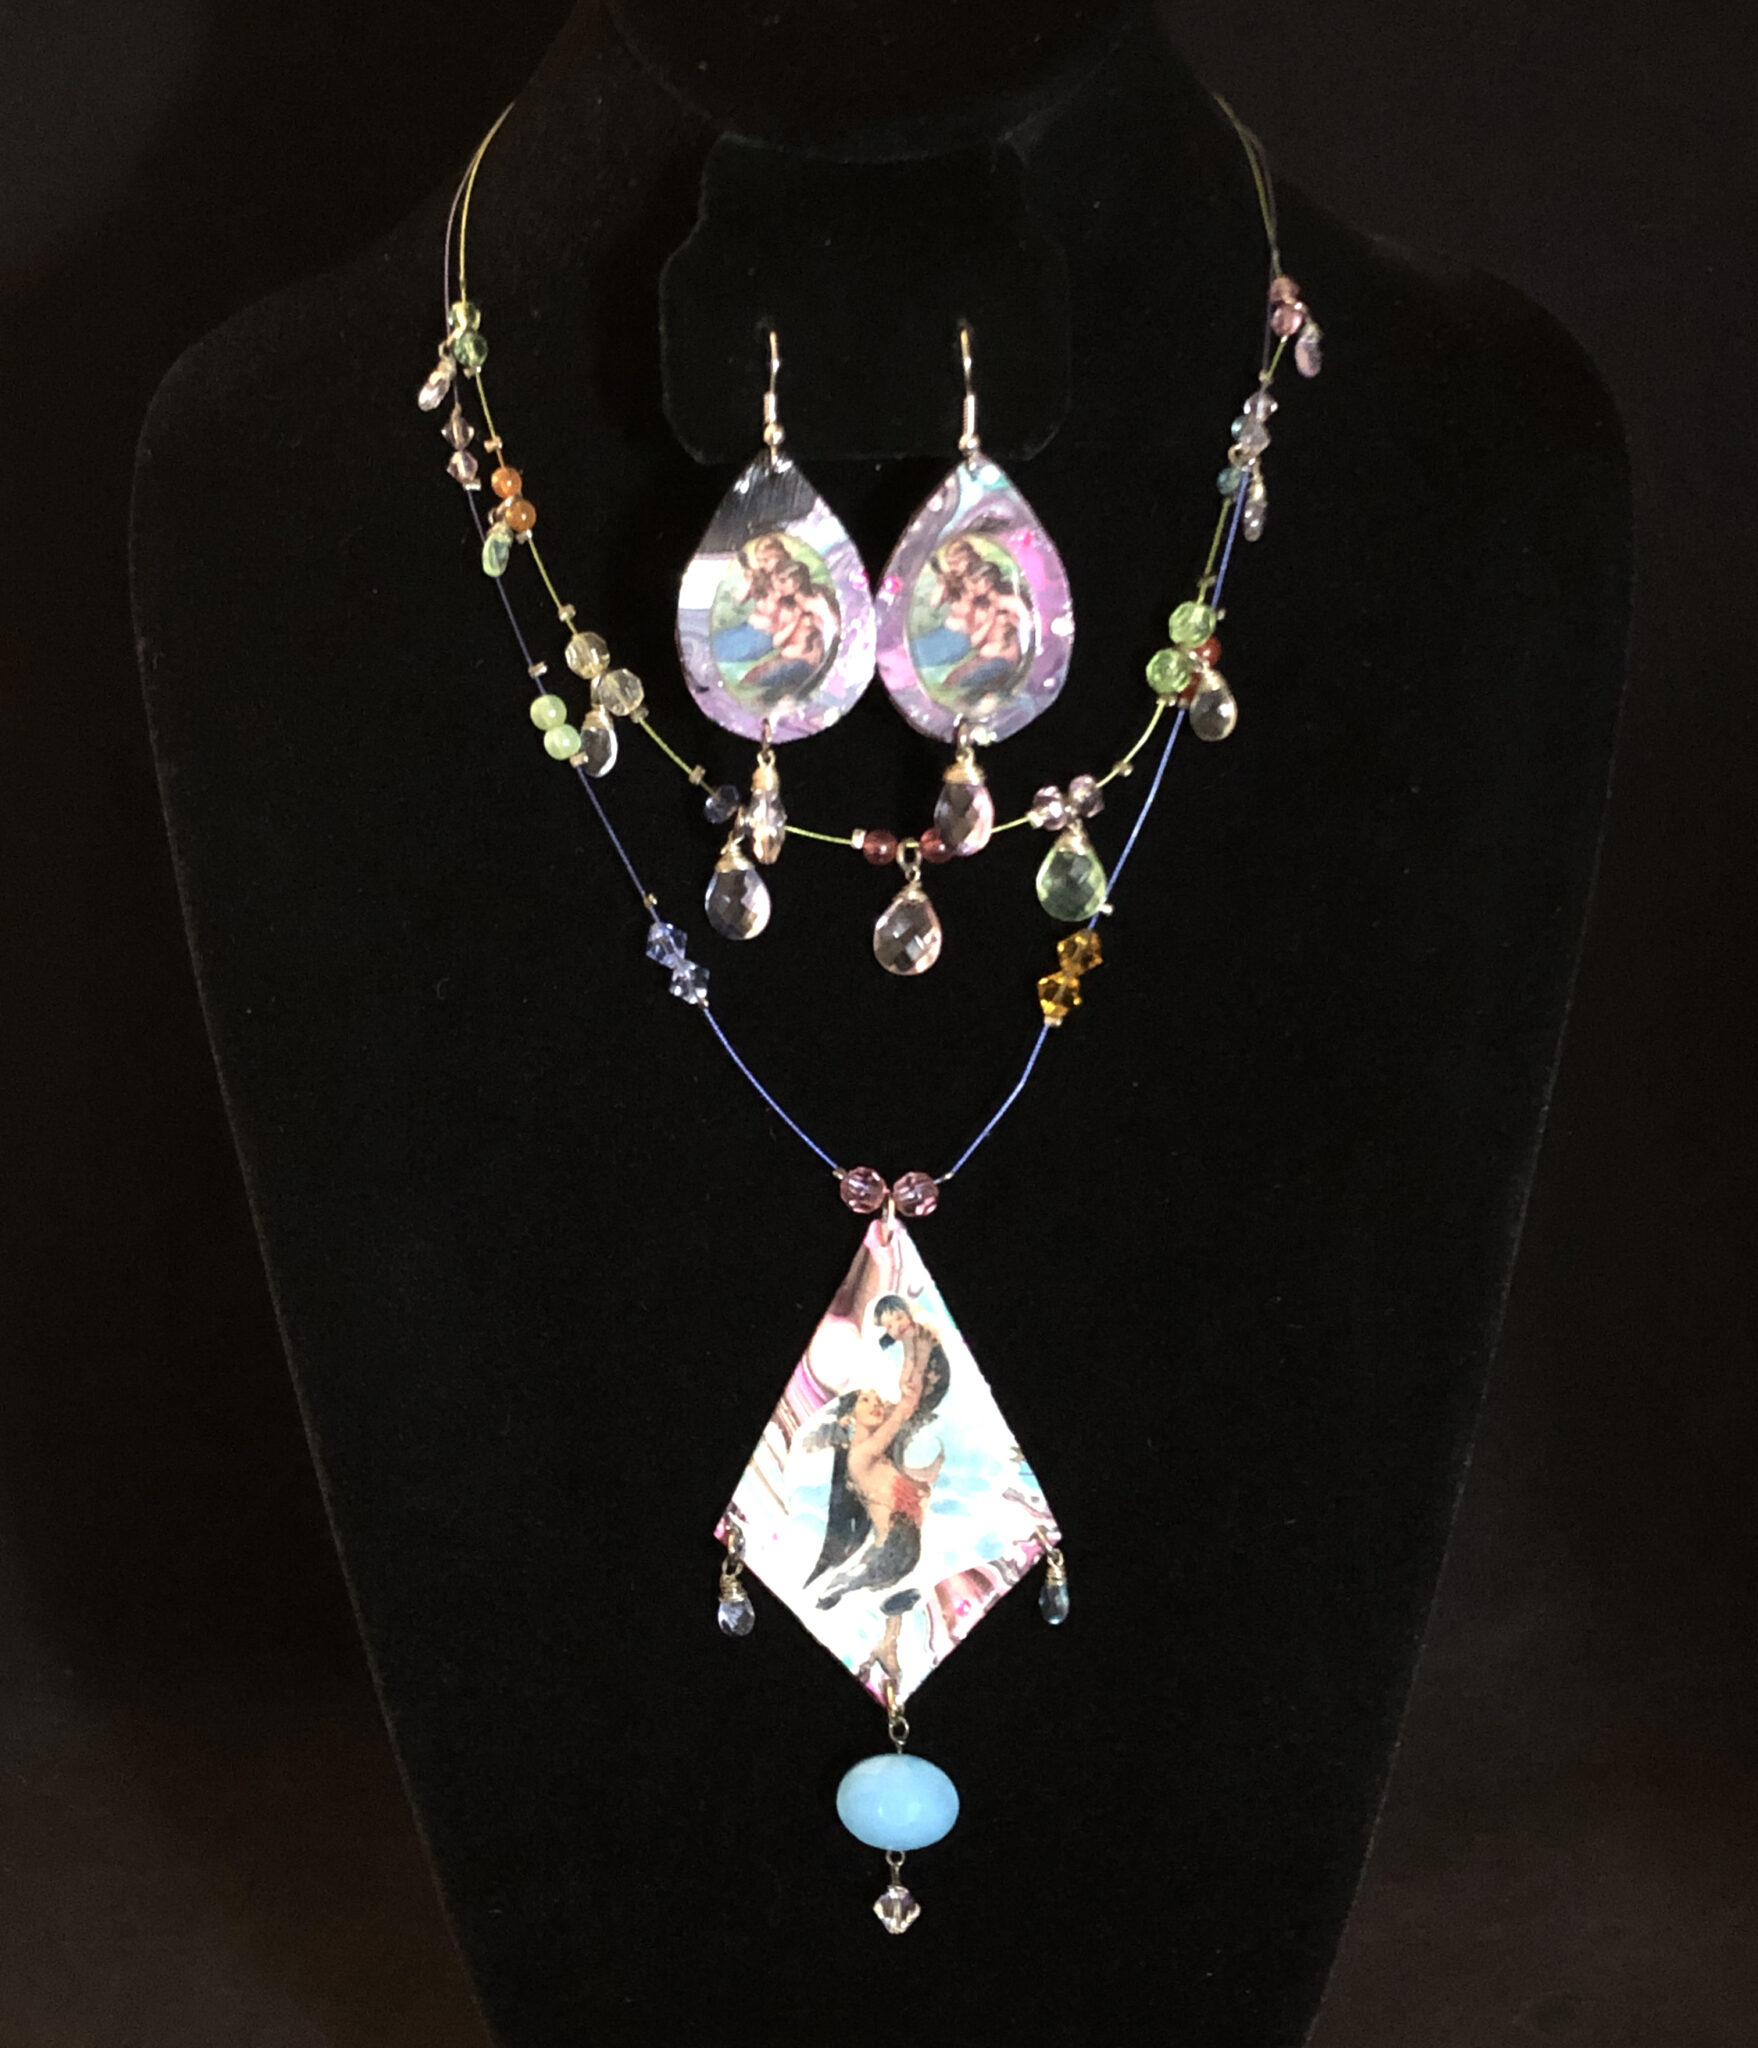
For the last two photos, I followed the above instructions, then cut and glued the mermaid clip art over the marbled paper and decorated them with flat rhinestones, beads, pearls, etc. To seal, I used Ranger Glossy Accents and clear nail polish.
The templates for the mermaids are at the bottom of the page.
FULL MARBLING INSTRUCTIONS
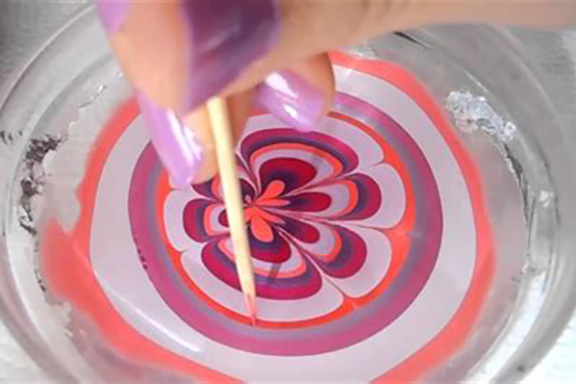
Start by filling up your cup with room temperature bottled water. Add a small amount of nail polish remover. Drop one drop of nail polish in the center and allow it to dissipate. Then drop in another color and another color, etc., in the center like a bull’s-eye. Work quickly as the nail polish will dry fast. Take a toothpick and swirl the colors around. Here is a YouTube video of a nail artist who makes fantastic patterns for you to learn. This is where I got this idea. She’s the master!
For paper, lay the paper flat onto the surface of the nail polish and then pull it out on the side where it’s just water. Lay it flat and allow it to dry overnight. Then you can paint the back with enamel acrylic paint.
If you are marbling a bead, stick a toothpick or a Q-tip through the bead opening and dip it directly into the nail polish twirl it around and pull it out where the nail polish isn’t present on the side. Then allow it to dry overnight by sticking it on the bottom of an egg carton container or piece of foam.
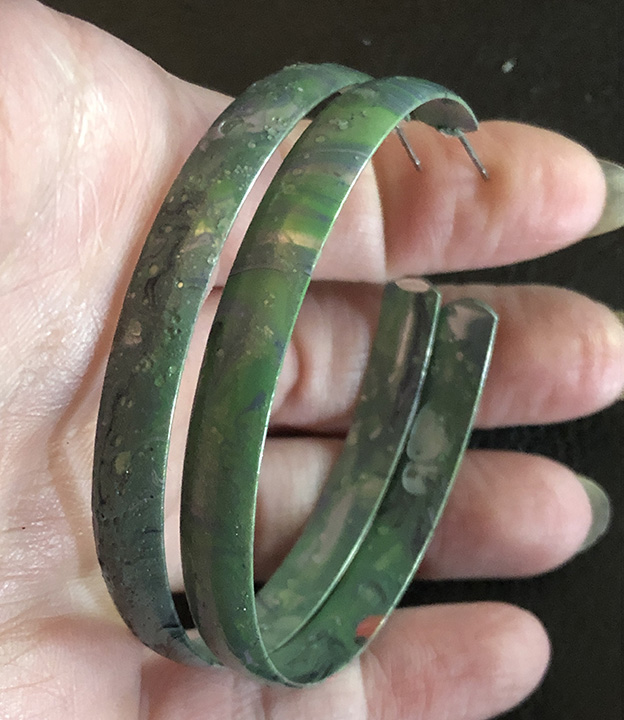
You can dip old hoop earrings and bracelets too!
TEMPLATES & CLIP ART
Full sized files below the images!
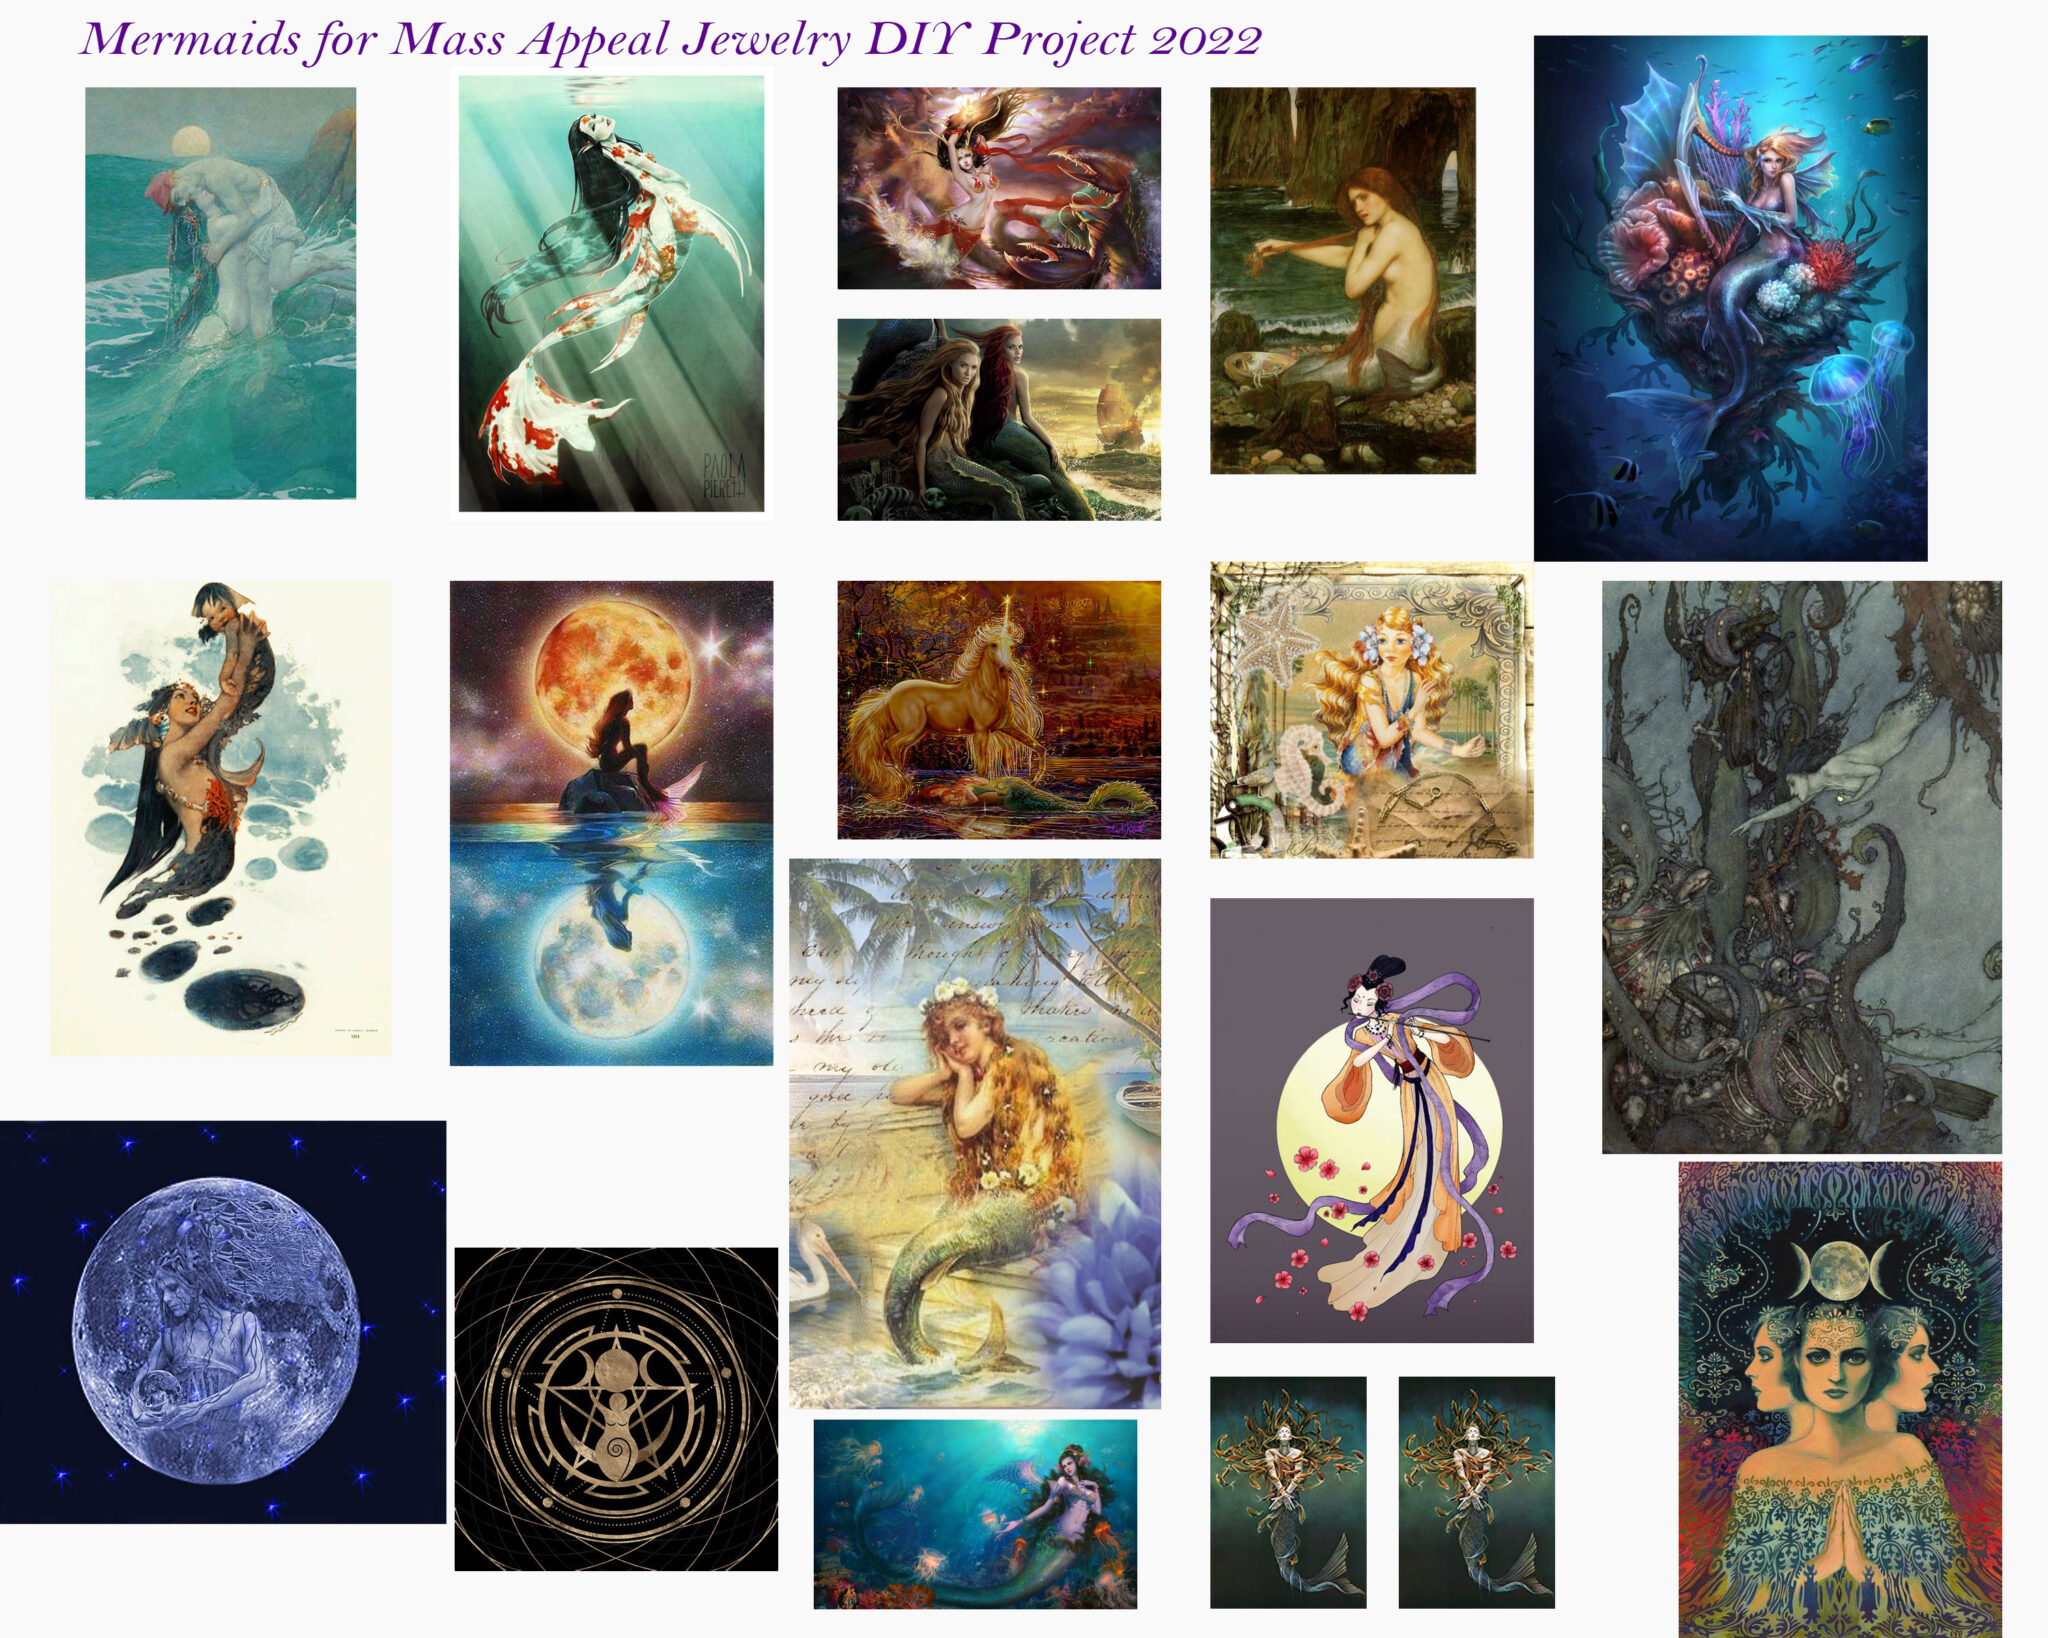
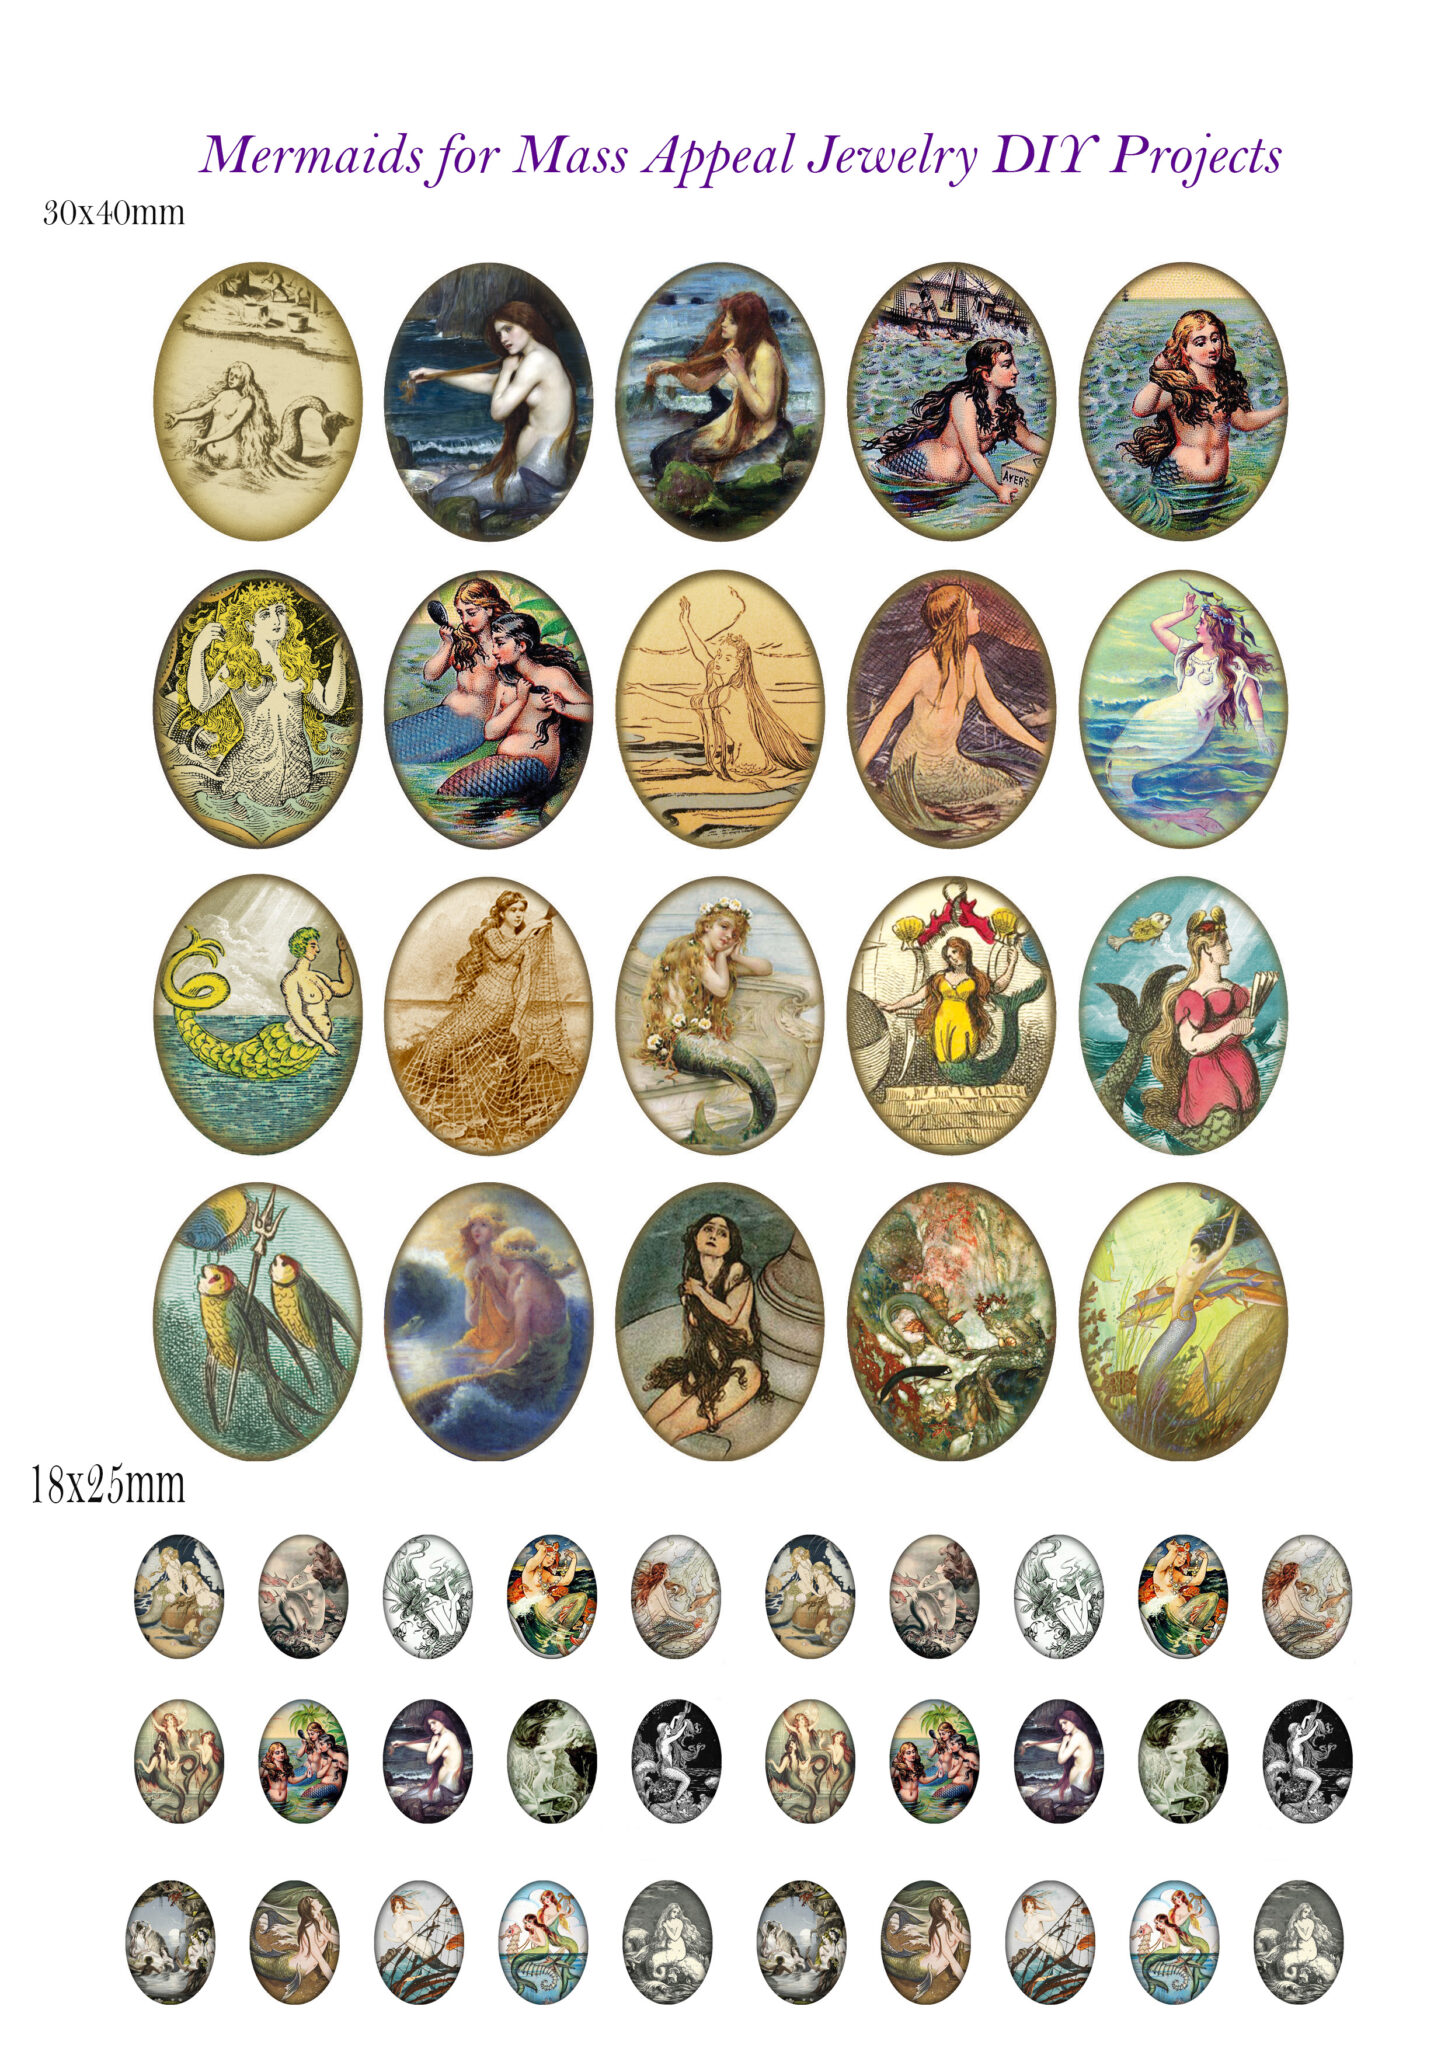



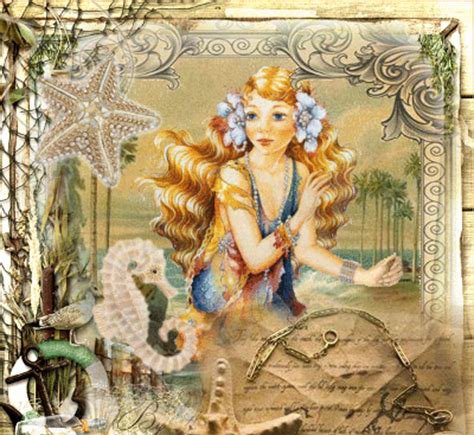
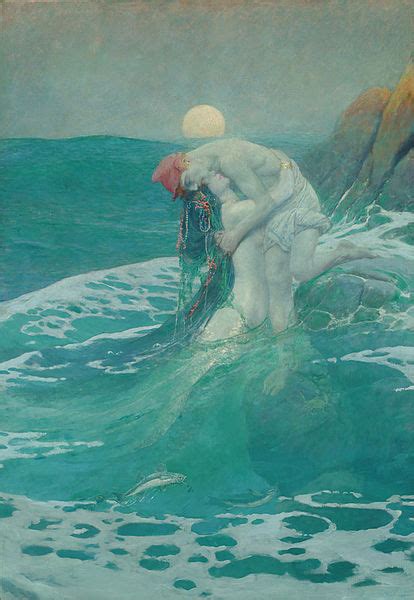
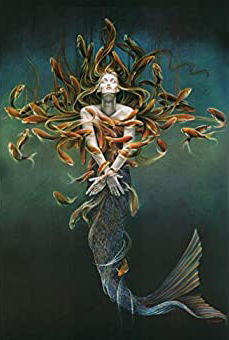
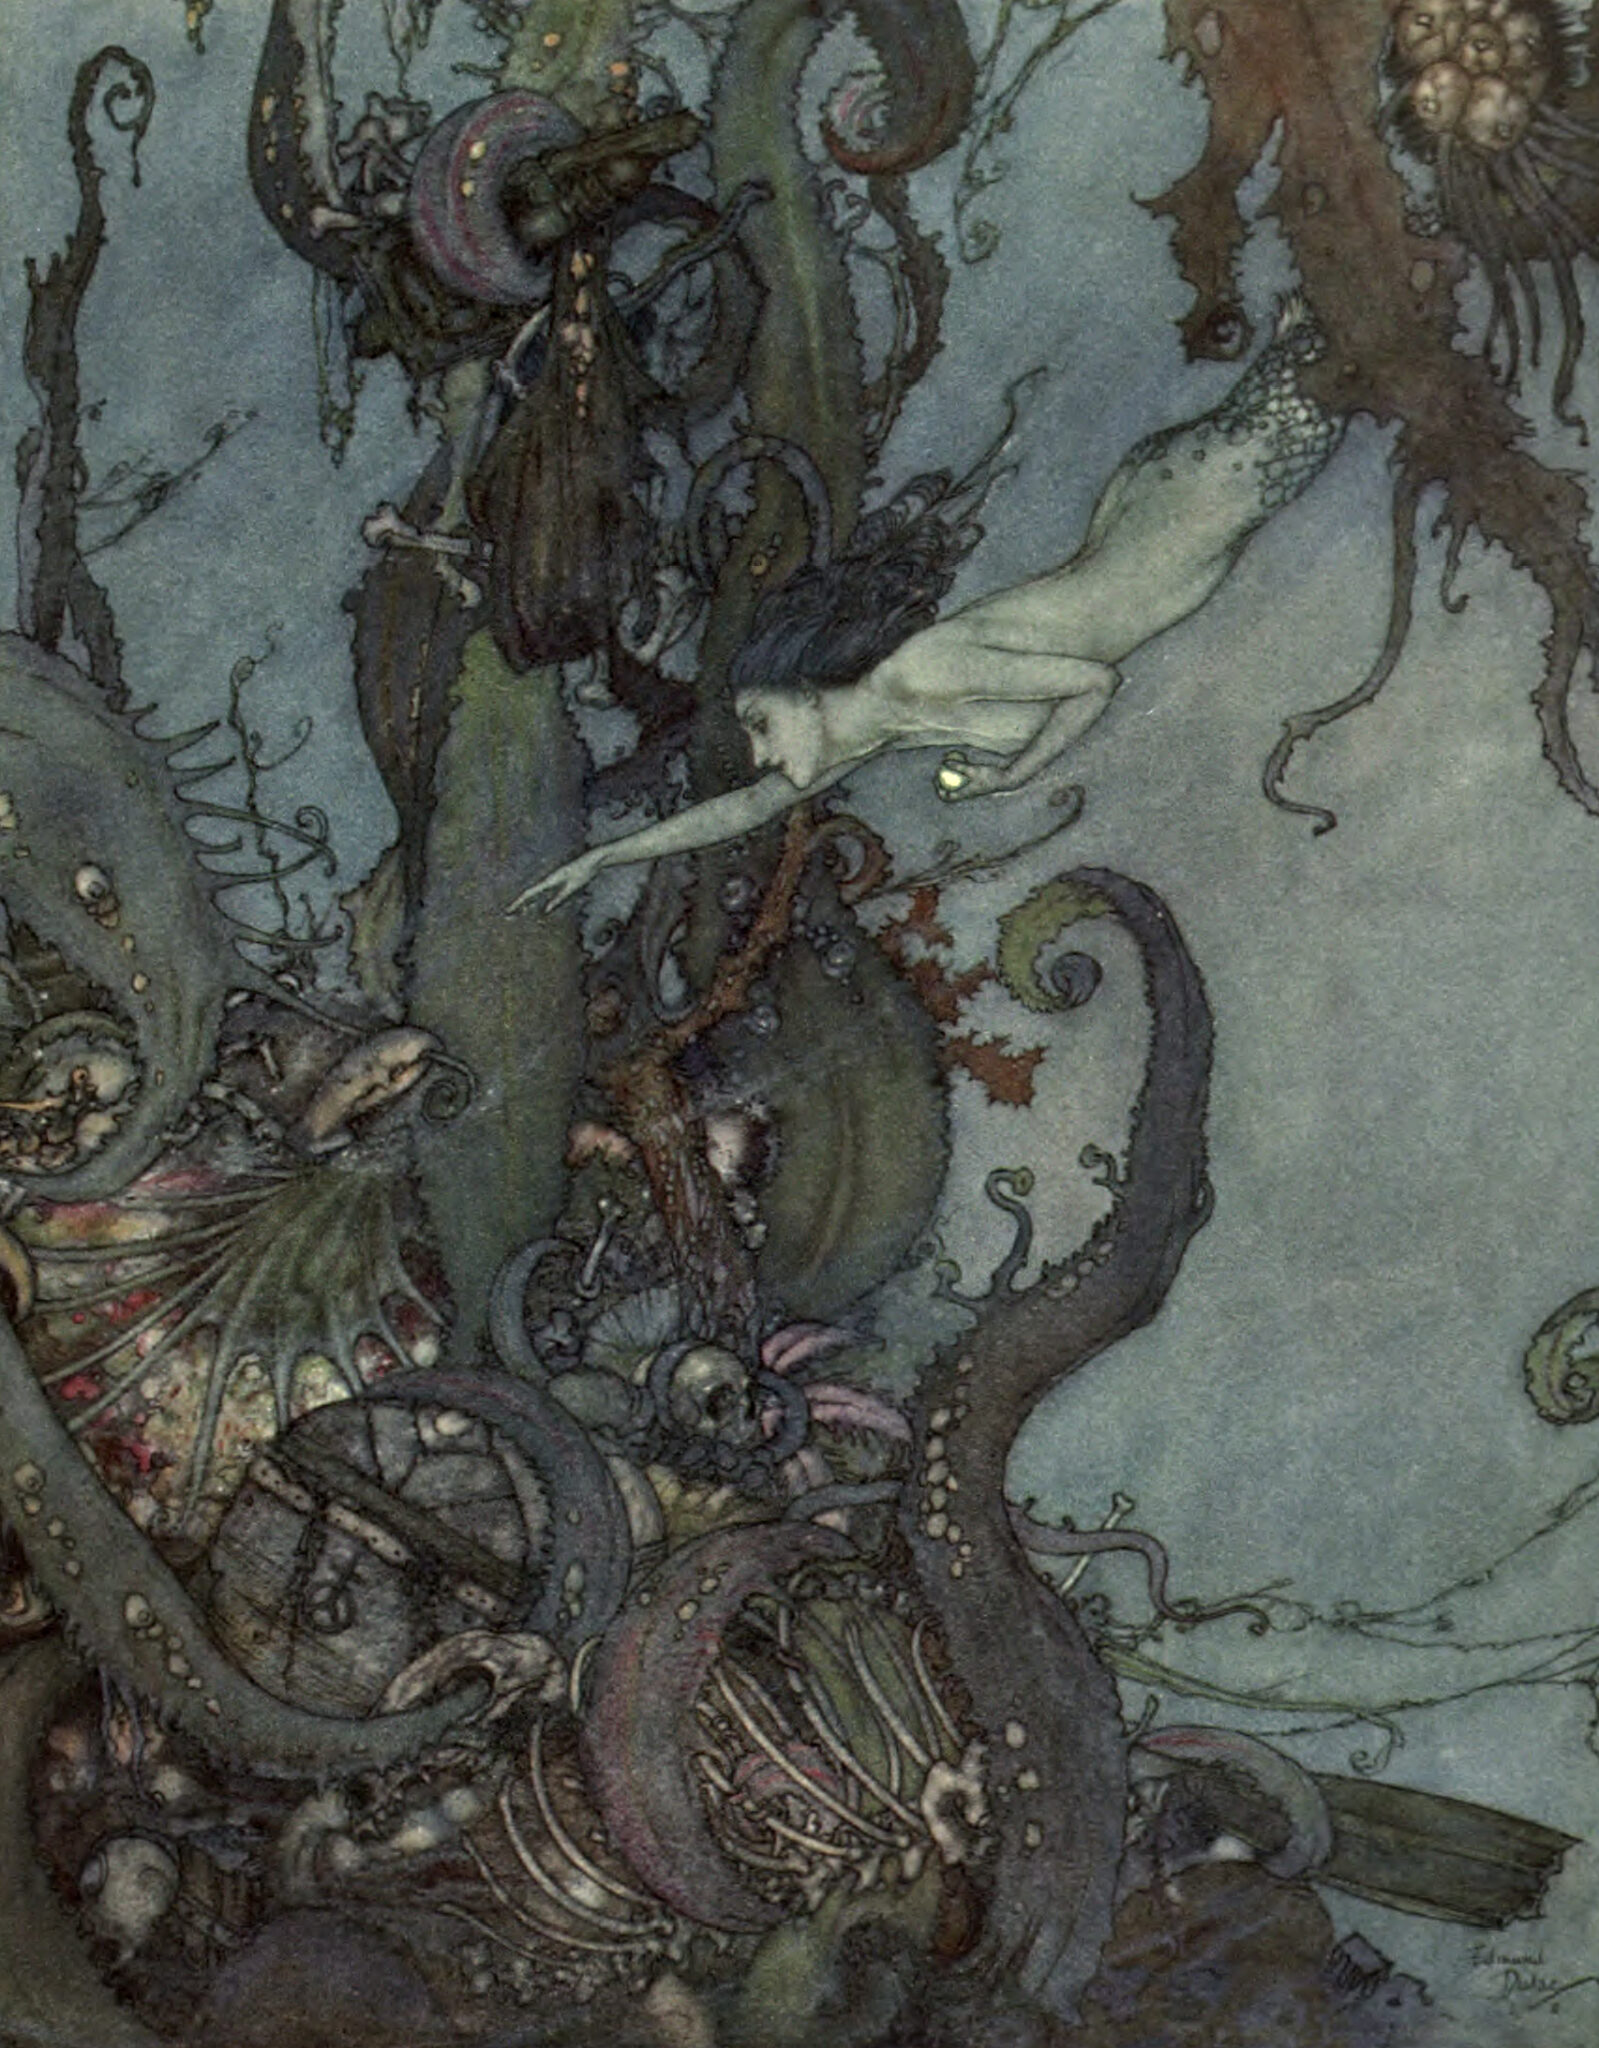




Here are the full size versions of the jewelry shapes for both the pendants and the earrings. The clip art sheets have the images I used in the photos.
LINKS
Jewelry Finding Kits
https://www.ebay.com/itm/224069865651?epid=24046166112&hash=item342b9ad0b3:g:iMEAAOSw3e1ezTJh
https://www.ebay.com/itm/294339630137?hash=item4488025439:g:rCoAAOSw5MFflql0
Nail Polish Lot
https://www.ebay.com/itm/264789900564
Patterns and clipart:
https://craftstarters.com/download/patterns/crescent-moon/
https://thegraphicsfairy.com/vintage-clip-art-beautiful-mermaid/
Wood Beads
https://www.ebay.com/itm/324503550246
Metallic paint pens
https://www.ebay.com/itm/224705018419
Ok my friends! I will see you all at 11am tomorrow. My next show is February 4th. We will be making Victorian style Valentines jewelry. Save your old pearl necklaces and nylon stockings, yes really! See you soon. Let me know how you liked the show and keep in touch on FB and instagram…or just text me!
Big hugs and sparkles,
Malena
413-512-3714
https://www.instagram.com/fancythatantique/
https://www.facebook.com/FancyThatAntiquesMA/
P.S. A big thank you to Peter M for selling me his unwanted jewelry. I used some of the bead necklaces in this show (pink and green ones). What I don’t sell, I use for crafts and give to my favorite charity, The Hall Closet. The closet supports at risk teens in Juvenile Hall with clothes, food, etc.
