VIDEO NOTE: Due to the virus, we are filming from my jewelry studio instead of the TV station. I’m new to using Skype and there is a slight delay. It looks like I am being rude and talking over Alanna. By no means was that my intention. Sorry it looked that way!
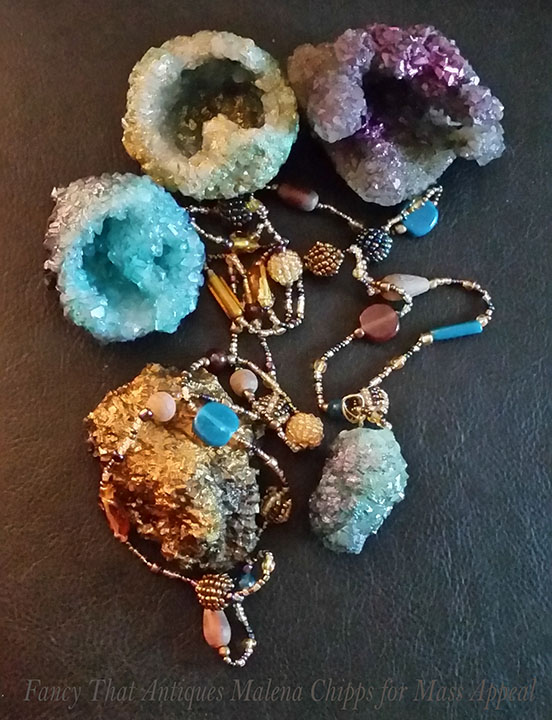
I am so excited to share this fun craft with you! It actually works AND it’s cheap and easy. The recipe is simple, borax and water with some food coloring. Here are the instructions before I move on to the fun stuff like glitter, nail polish and makeup. Yes, in this shut down, we will be using what we have in the house! Let me know if any of you need jewelry findings like clasps, eye pins, etc. I can send you something free of charge if you are in Massachusetts. Otherwise, the findings could cost a whole $3-5 dollars. 🙂
CREDIT: The below recipe, photos and instructions are copied from www.instructables.com with added photos and information from me.
Step 1: Tools + Materials
You don’t need much for this project – mostly time and patience!
Materials:
- Boiling water
- Borax
- Pipe cleaners
- Thread
Tools:
- Dowels or other object to hang pipe cleaners from
- Large heat-safe glass measuring cup for making the Borax solution
- Heat-safe glass canning jars for growing crystals (optional)
- Scissors
Step 2: Prep Your Pipe Cleaners
The first thing you’ll want to do is bend your pipe cleaners into a compact shape. The more compact it is, the more crystals will form on the outside. If you leave big gaps in your pipe cleaners, your crystals will end up with holes in them.
Once the pipe cleaners are bent into the shapes you want, tie a 8 inch length of thread/craft wire to each of them. I found metal craft wire worked better than thread if you want to make jewelry out of the crystal. This way you have a bail for a necklace already attached to the crystal. Cut away the excess thread after the knot.
*You can also twist a small loop at the top of the pipe cleaner design so you can attach a bail later.
Hang your pipe cleaners on the dowels so they’ll be suspended entirely in the vessel you’re using – not touching the walls or bottom.
Step 3: Make a Saturated Solution
A saturated solution is just what it sounds like. In this case, it means that we need to add enough Borax to the boiling water until no more can be dissolved into the water.
For every cup of water, add 3-4 tablespoons of Borax. Stir it until the water becomes clear and the majority of the Borax is dissolved. (I typically do 3 cups of water at a time.) Keep adding and stirring until the water stops dissolving the Borax.
For best results, add enough Borax that you can see a small pile of it on the bottom of the glass after stirring until the water is clear.
(P.S. If you add so much Borax that the water becomes cloudy, your crystals will be cloudy as well! Add more boiling water!)
Step 4: Assemble and Wait!
If your water has cooled down, I highly recommend microwaving it until boiling temperature again – that makes the best crystals!
Place the dowels over the container and immerse the pipe cleaners into the saturated solution, shaking them a little to get rid of any air bubbles.
Once you’re happy with their placement (make sure none of them are touching each other or the edges of the container), cover the container loosely with something to keep it warm longer. (Slower cooling also means bigger crystals!)
Place it in a safe area where it won’t get jostled and let the crystals grow overnight.
Step 5: What It Should Look Like the Next Day
The next day, you’ll notice LOADS of crystals forming on the lower sides and bottom of the container. Your pipe cleaners should also be covered!
Two notes about this batch:
- I threw one pipe cleaner in and let it rest on the bottom, just to see how it went. It worked well, but was hard to pry off the bottom. It has a flat side if you’re into that!
Step 6: Dry the Crystals and Enjoy!
Pull the crystals out of the solution and lay them on paper towels, switching the towels out when they become damp.
Let the crystals dry thoroughly before messing with them too much. I left mine in the window for an afternoon and they dried out really well. 🙂
Once the crystals are dry, they’re much less likely to break or crack, and will also sound like glass when you tap them together.
Step 7: Tips and Tricks for Growing Borax Crystals
I tried this multiple times so I could give you some tips on what you should and shouldn’t do. 😀
Less crystals in a container = bigger crystals
In my first batch, I used individual canning jars for the crystals. As you saw, I crammed 7 pipe cleaners into one measuring cup when I made this instructable. I can definitely say the ones grown individually had larger crystals and more of them.
Don’t try to add more Borax once the pipe crystals are in the solution
I attempted this on one of my first tries. I don’t recommend it unless you want it to look like one half of your crystal has been covered in lumpy snow. 😛
Try to hang the crystals close to the bottom of the container
This was something else that seemed to grow bigger crystals. The pipe cleaners closest to the bottom in the measuring cup definitely ended up with more crystals than the ones hanging near the surface of the solution.
Always, always start with SUPER hot water
Every time I let the crystals start growing in less-than-crazy-hot water, I got pretty meh results. Smaller, cloudier crystals and much more growth on the actual container.
You can reuse the Borax solution over and over!
Bring it to boiling in the microwave, and add more water and Borax as needed. That’s another reason I like using the pipe cleaners – instead of putting food coloring into the solution and getting many crystals of the same color, you get tons of colors at once!
Powder makeup is great for decorating the crystals. The food coloring, regardless of how much you use, doesn’t give you bright colors. By adding some metallic/pearl powder eyeshadow or blush, you can create a more realistic crystal. For a fairytale look, you can use fine glitter!
Step 8: Decorating and Painting
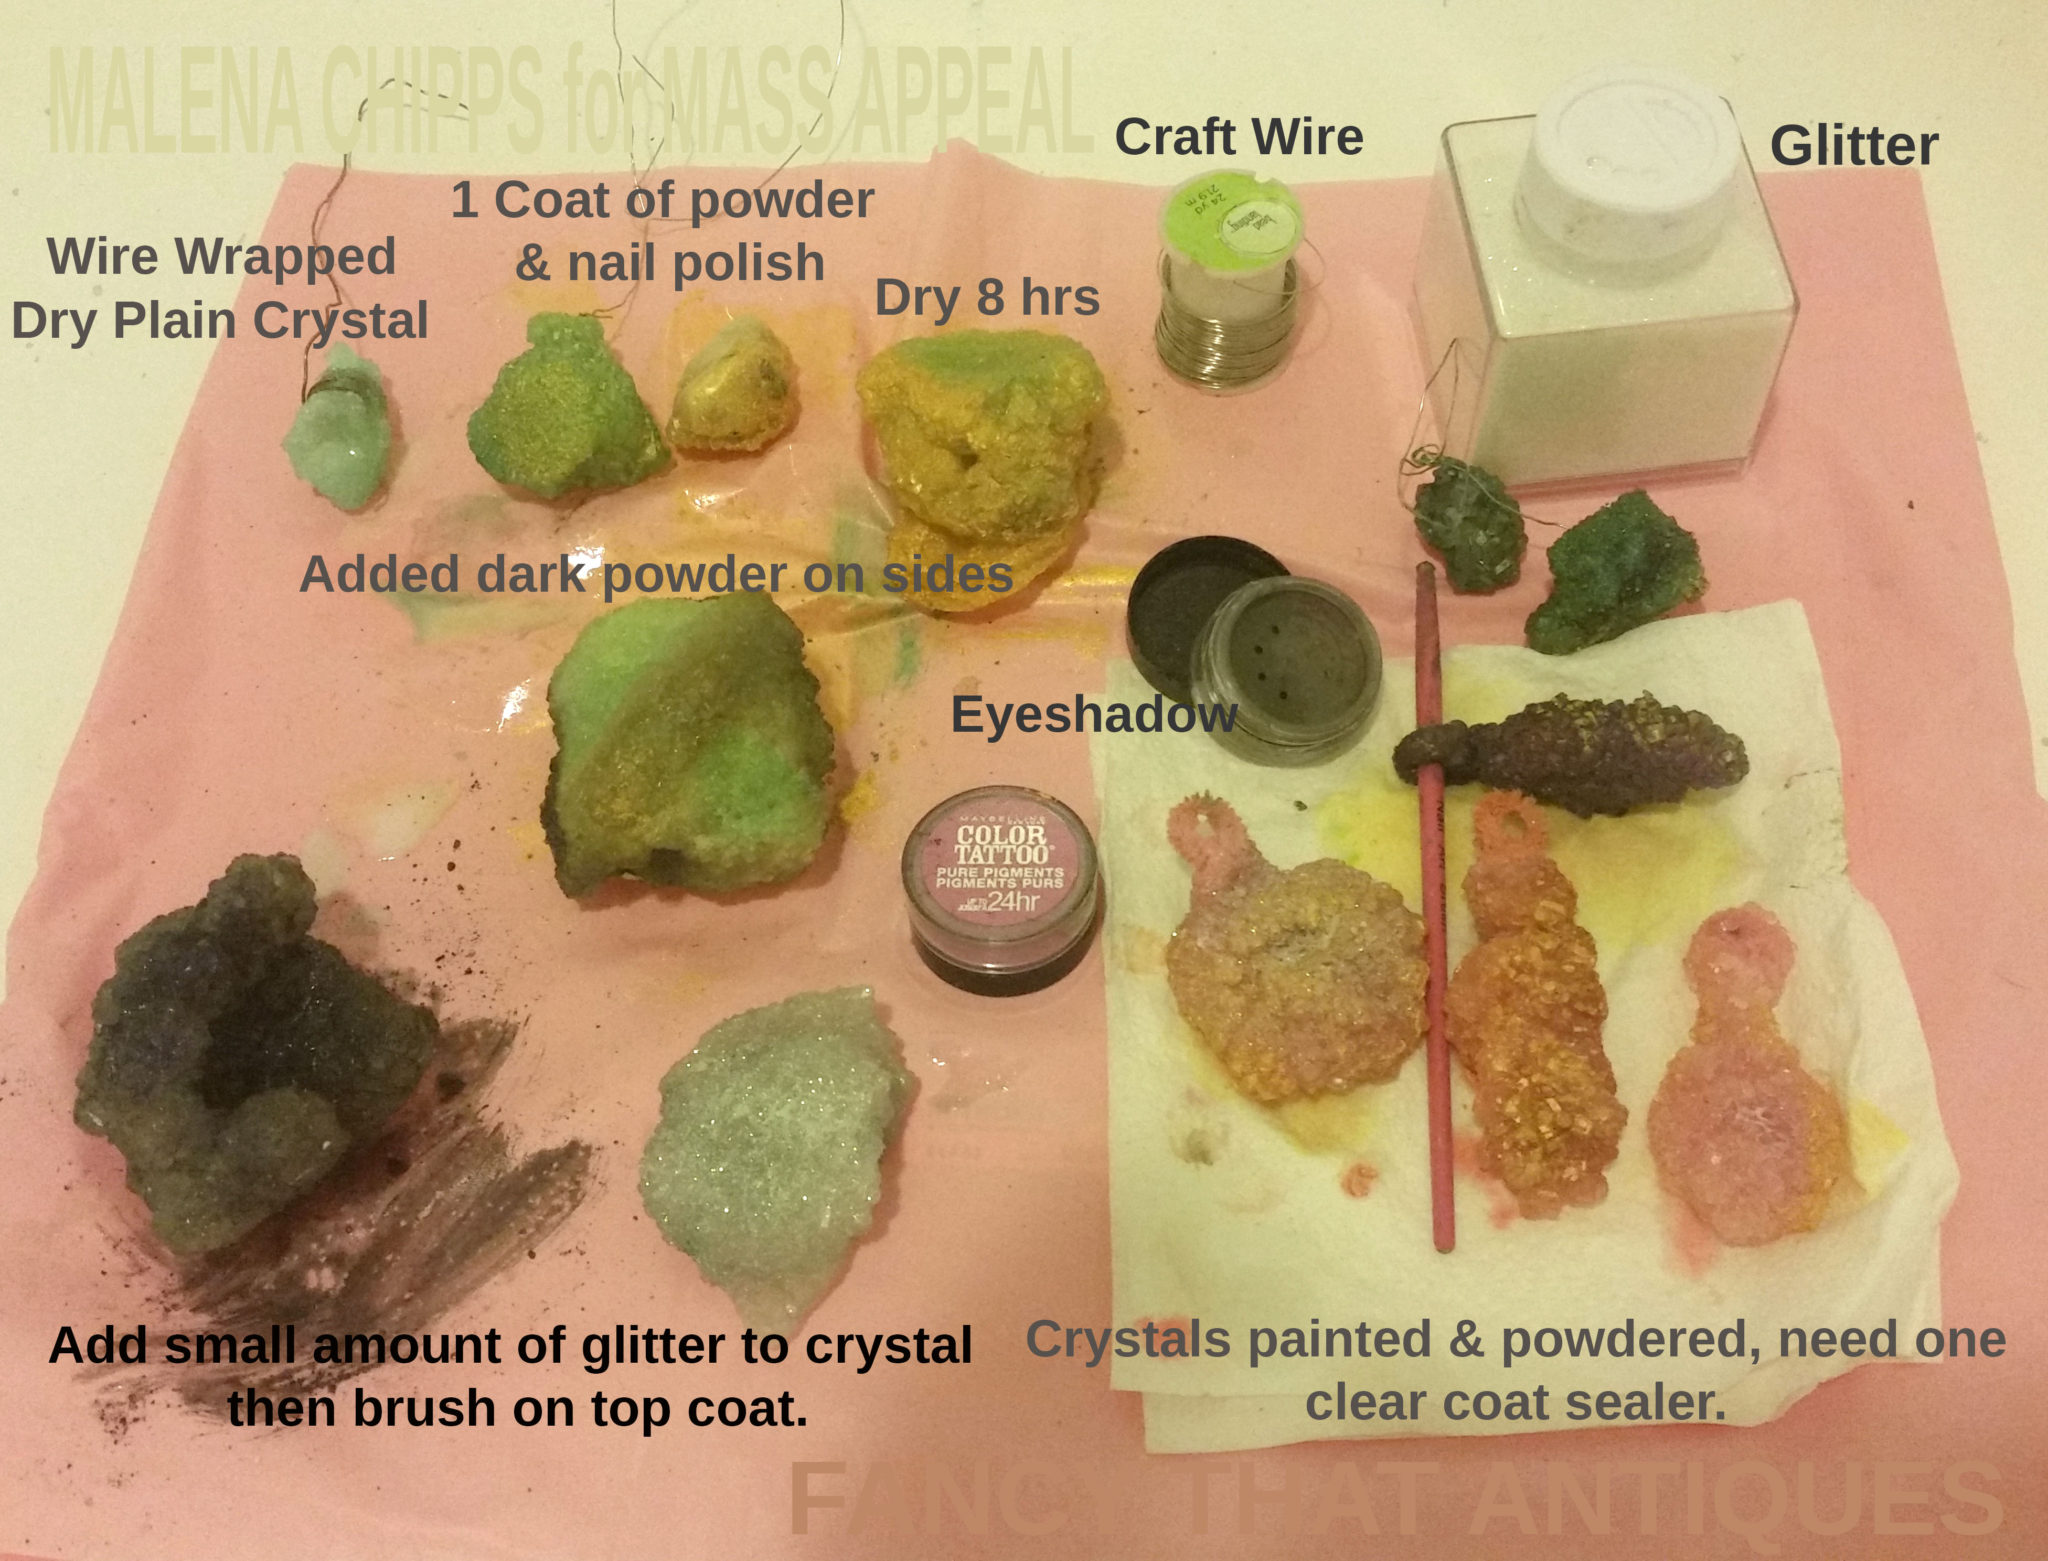
Step 1a: Cover the entire crystal with watered down craft glue or clear nail polish. Wait for the glue to slightly dry but still be tacky to the touch. Then brush on eyeshadow, metallic powder, glitter or blush. Use 2-3 colors for optimal results. You can use dark colors in the recessed areas and light colors on the tips. (I will show you examples on the show.) All the crystal to dry for 8 hours.
Step 2a: Cover the entire crystal with one coat of clear nail polish. Allow it to dry for 8 hours, repeat if needed. This will seal the eye shadows and keep the crystal from crumbling. Some people like to paint the back side with silver or gold spray paint for a geode look. This look can easily be achieved with gold makeup, melted gold crayons or rub n buff metallic wax. You can also mold the AIR DRY CLAY (we made last episode) over the back of the crystal, allow to dry over night and paint, for a geode effect.
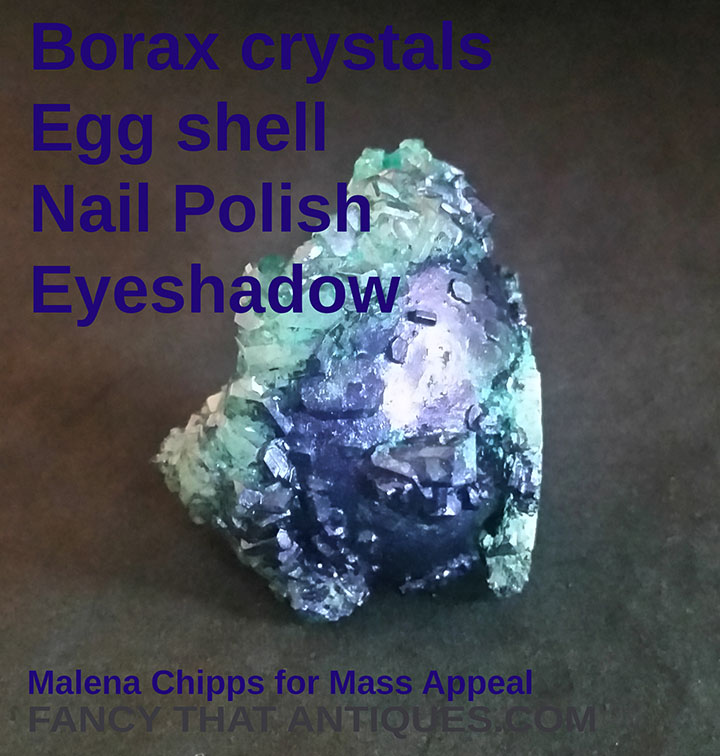
This is the same process except I used dark nail polish instead of clear.
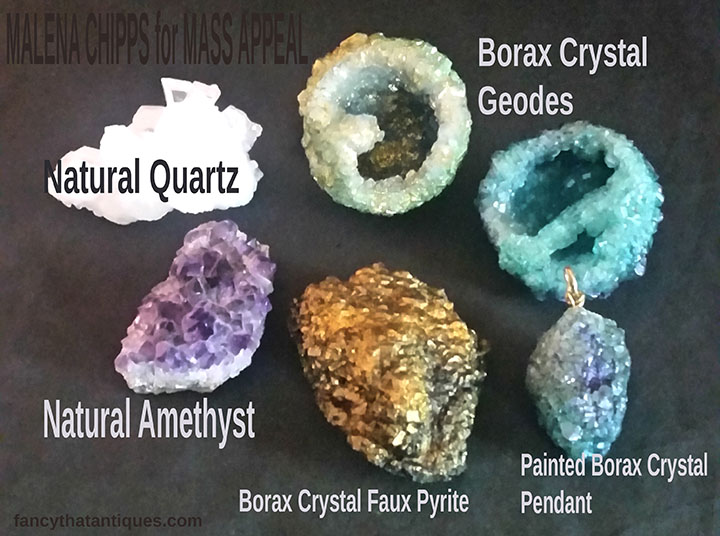
Ok, my friends, this will all make more sense once you see the video.
Big hugs to the kids at home. Boys and girls love making crystals. It passed the “cool gay urban daughter” challenge! She and her little girlfriend want to make this on a date. Very cute! That makes me happy. We moms can do this in an hour. Let me know if you need anything. I have ROOMS full of jewelry findings. I don’t mind sending you a few things FREE OF CHARGE. Text or email me if you need help at: 413-512-3714 or [email protected].
Our next show is May 15th. I will be showing you how to make wearable jewelry from plastic bottles! (I learned from the artisans in India. Those women have the best jewelry in the world! That’s where the emerald necklace I’m wearing came from!)
Malena Chipps
