Here’s the video from today’s show:

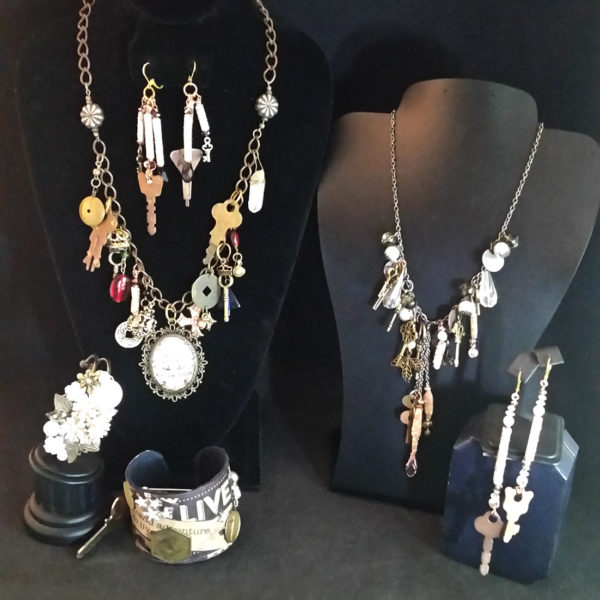
I am so excited about this project! This is so fun and easy. I made everything in the photo in about 3 hours. My shows on Mass Appeal are targeted for people who want to make something fun in an hour or so. Obviously, you can go above and beyond with this craft and make professional, fancy pieces. The links are below if you want to make more difficult pieces. My video is to show you the BASICS. Quick, fast, cheap and easy!
Here’s what you will need for this project:
SUPPLIES
Aluminum can
Scissors
Permanent markers OR alcohol inks OR nail polish
Alcohol
Pen or sharp object
Mousepad or craft foam
Tape
Clear coat spray OR clear nail polish
Jewelry findings (Let me know what you need and I’ll share with you. No charge for Mass Appeal viewers. Info below.)
INSTRUCTIONS
Step 1: Cut the top and bottom off the can. Cut down the center of the can and round all the edges for safety.
Step 2: Choose a pattern to trace or freehand draw a design with a permanent marker. If you use a pattern, tape over the paper with clear tape to secure to the can. Place the can over your mousepad or craft foam. You will need the cushion so the design pushes out right.


Step 3: Use a pen or sharp object to trace the pattern on the PRINTED side of the can. This will give the 3D texture. Don’t push too hard or it will puncture the metal. I found nail art tools work really well. For most of these designs I used a pen with the lid on.

Step 4: Turn the can over to the shiny side and re-trace around the puffy parts of the design.

Step 5: Color with a permanent marker, alcohol inks or nail polish. If you are using markers, you can blend them with alcohol on a Q tip. Nail polish should dry for a few hours before you go to the next step.


Step 6: Cut out the shape. You can cut another of the same shape for the back and glue it on with E6000 or you can paint the back as explained in step 5.


Step 7: Punch a hole at the top with a pin or hole punch.
Step 8: Spray with clear coat sealer or paint with clear nail polish. I found the spray is better because it doesn’t smear your work. The blue earrings were sealed with nail polish because the design was abstract. Allow the clear coat/clear polish to dry for a few hours. Add jewelry findings and glue on rhinestones, glitter, etc.
NOTES: With the butterfly earrings and necklace I used both alcohol links and markers. I then added rhinestones.


With the flower ring, I cut 3 different flower shapes and textured the petals. I colored the petals with permanent markers. Then I glued them together with E6000.

I have a ton of findings if you need anything. There is no charge for Mass Appeal viewers. Just text or call me at: 413-512-3714.
LINKS
Patterns: https://craftstarters.com/c/clip-art/page/10/

More detailed DIY instructions on aluminum can jewelry and alcohol inks:
https://mermaidsden.com/blog/diy-earrings-aluminum-cans
https://www.tammytutterow.com/tutorial-alcohol-ink-crackled-metal-pendants/
https://jewelrymakingjournal.com/coloring-metal-with-alcohol-ink-tutorial/
https://hearthandvine.com/alcohol-inks-on-metal/
http://www.donteatthepaste.com/2012/11/sharpie-recycled-ornaments-i-love.html?m=1
I am always buying both costume and fine jewelry to sell. Let me know if you have unwanted jewelry to sell. I pay the highest price for sterling silver and gold now I don’t have the store overhead. I can pay far more than jewelry stores because I don’t scrap anything unless it is broken. The items that don’t sell are donated to Juvenile Hall Charities. I use the broken jewelry for crafts so nothing goes to waste. Thank you for helping out. The kids at the charity get the money from the gift shop that sells our jewelry. They get school supplies, clothes, etc.