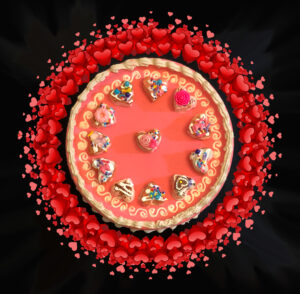
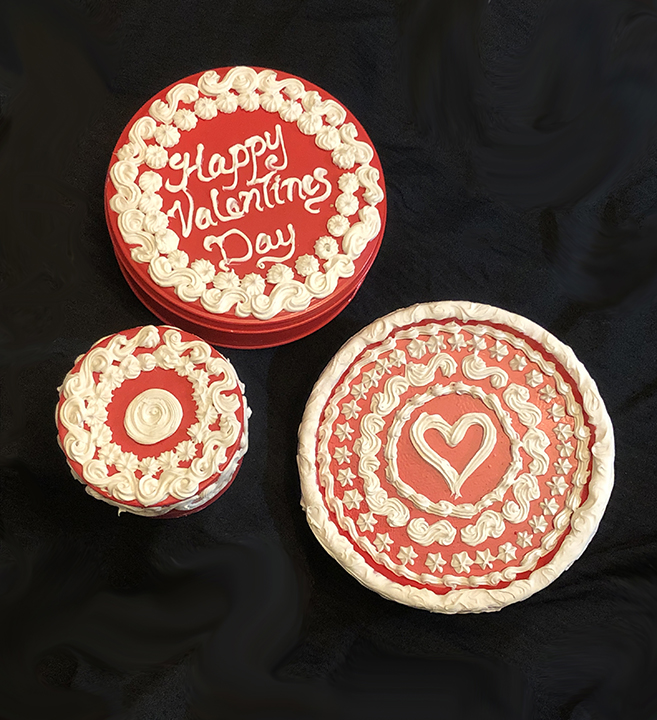
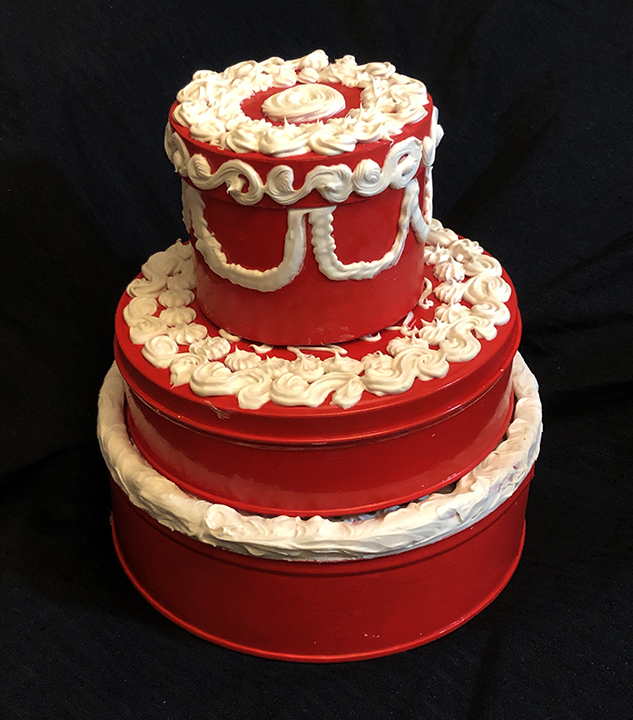
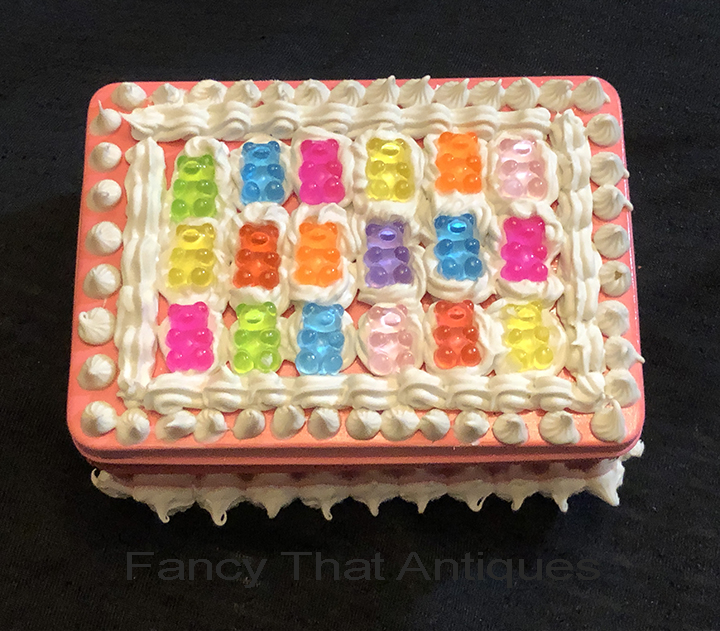
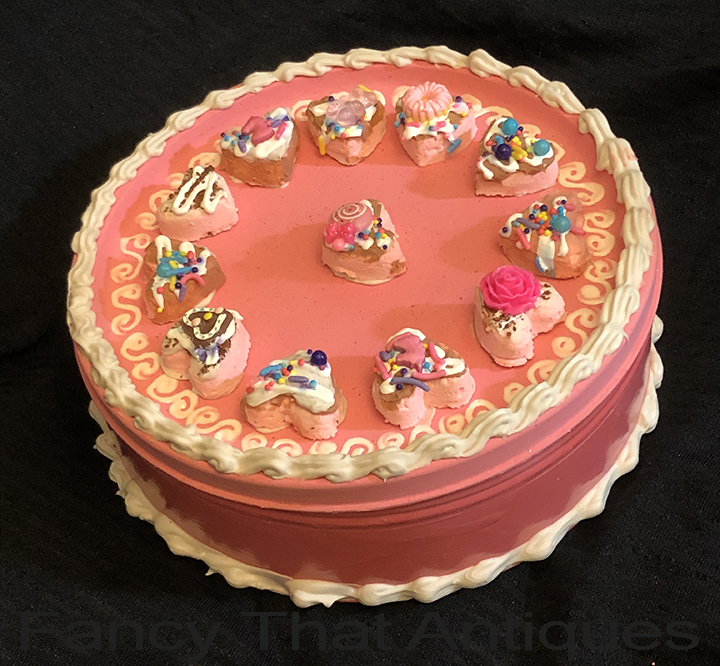
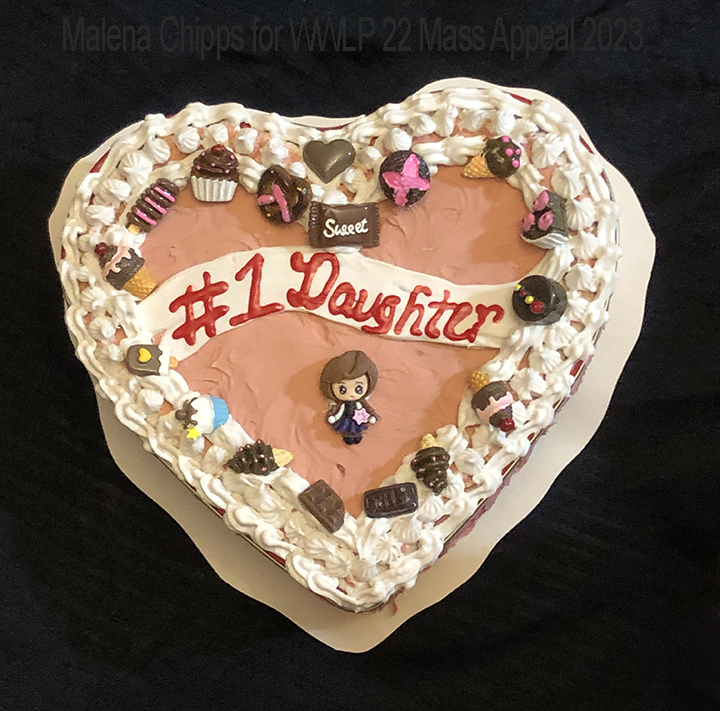
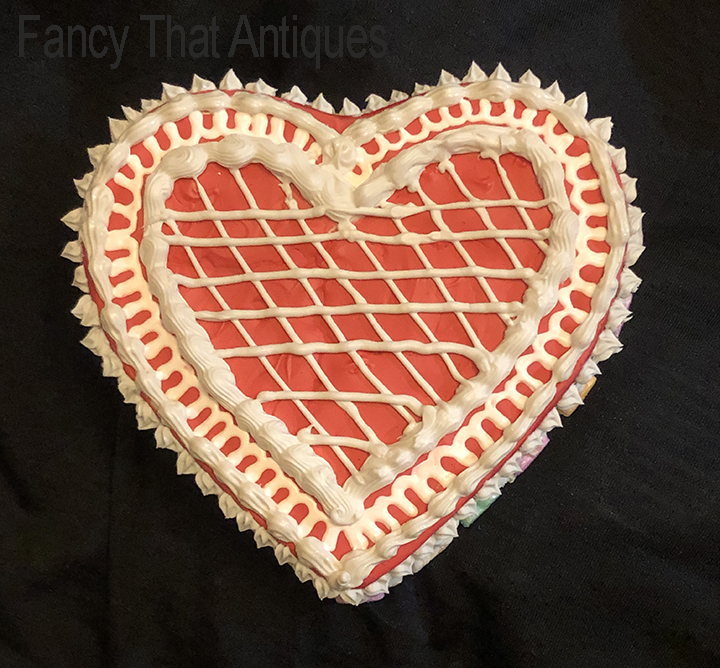
Greetings neighbors this month we’re going to be making a fun craft for Valentine’s Day. We will be taking old containers you already have at home like cookie tins, boxes and old plastic food containers and turning them into Valentine’s Day boxes that look like cakes and cookies. We will be using common household items such as glue and baking soda to create these pretend desserts. This is all the rage online. I’ve created a few video playlists for you at the bottom of the page as well as product links. I suggest binge watching them as you make these crafts and don’t forget to eat REAL cookies while you’re at it! 🙂 After all, life is short…have some sweets!
Supplies for Fake Cakes
Tupperware, used food containers, dollar store heart tins or boxes
Spray paint or acrylic paint
Spray clear sealer
Acrylic paint for color
2-4 Caulking sealant tubes (Dollar Tree)
Cake decorating tips (Dollar Tree)
Lightweight spackle (Dollar Tree)
Decorations such as sprinkles, conversation hearts, resin flat backs, etc.
*If you use food items, you need to seal them with clear spray, mod podge or nail polish and be aware the colors will bleed into the frosting over time.
Crayons (using a cheese grater you can shave them down to look like chocolate or multi colored sprinkles)
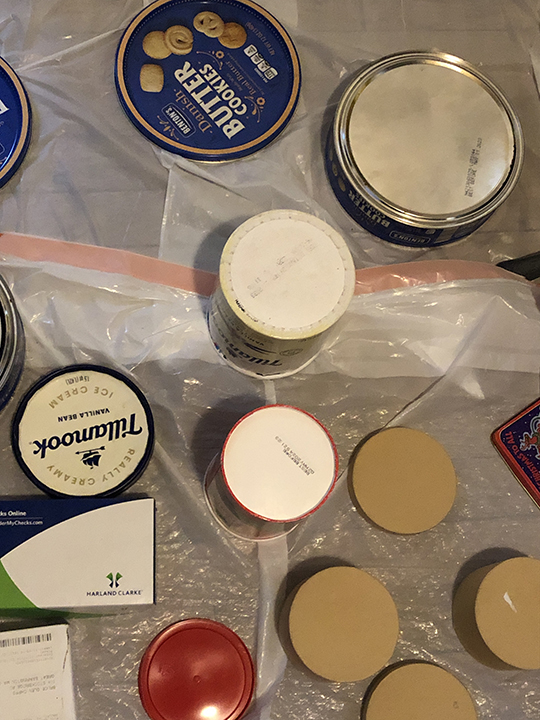
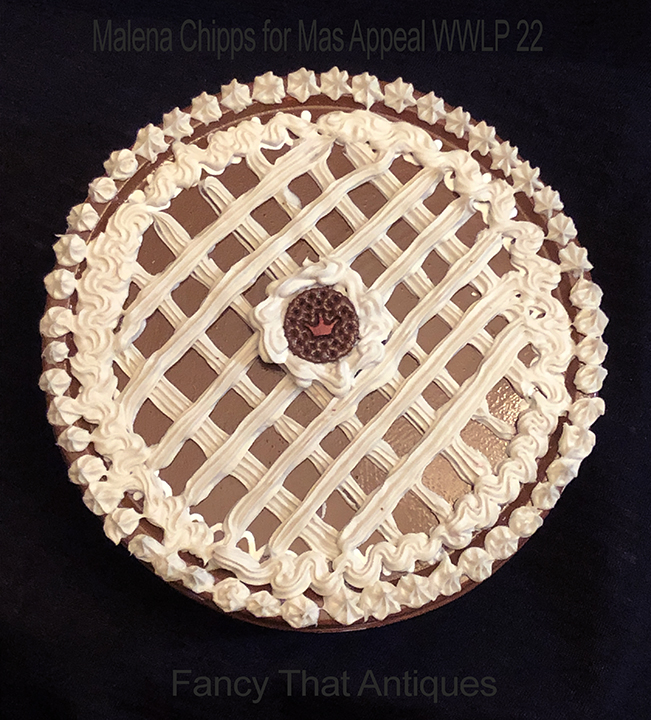
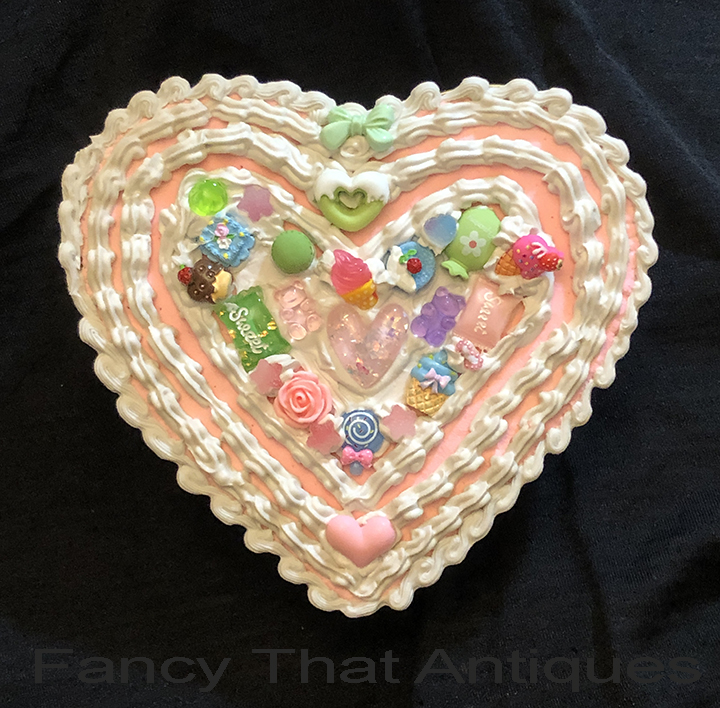
DIRECTIONS: *Photos for reference below.
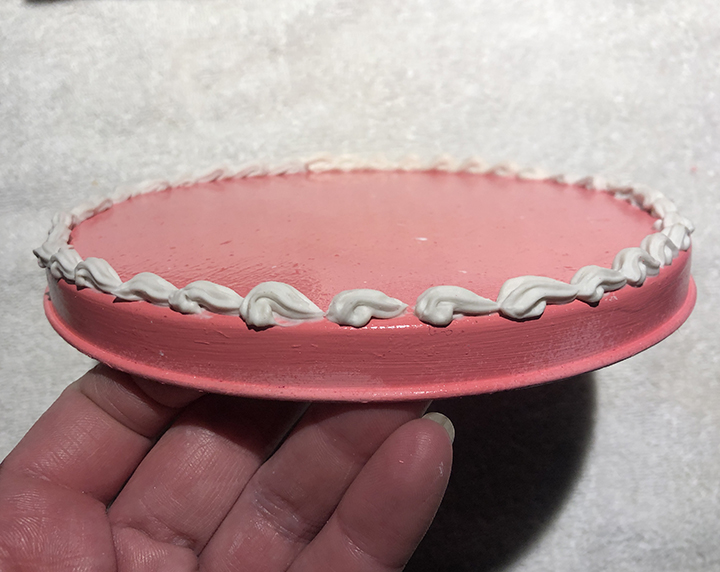
- Start by spray painting your tin or box or simply paint it with acrylic paint.
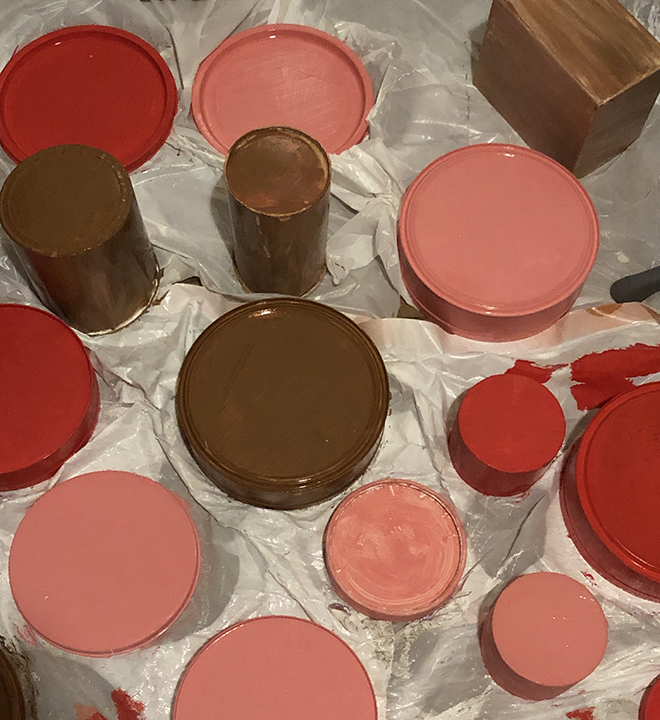
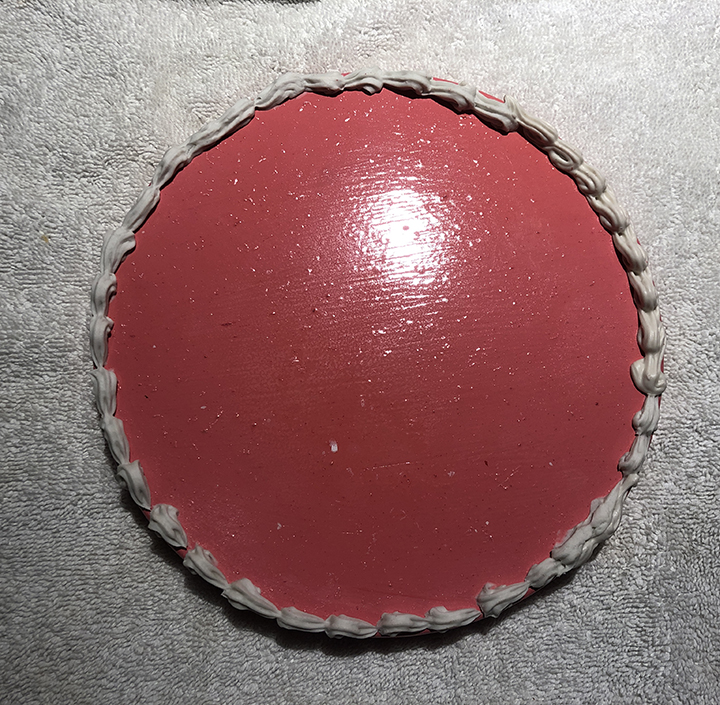
*Metal cookie tins, plastic or glass do better with the first coat being spray paint. I learned the hard way to tape off the inner rim because it will stick otherwise. Cardboard or paper boxes can be painted with acrylic paint. To make it easy on yourself I would suggest painting the tins or boxes, the darker color, and using the icing in white. Allow the paint to dry completely.
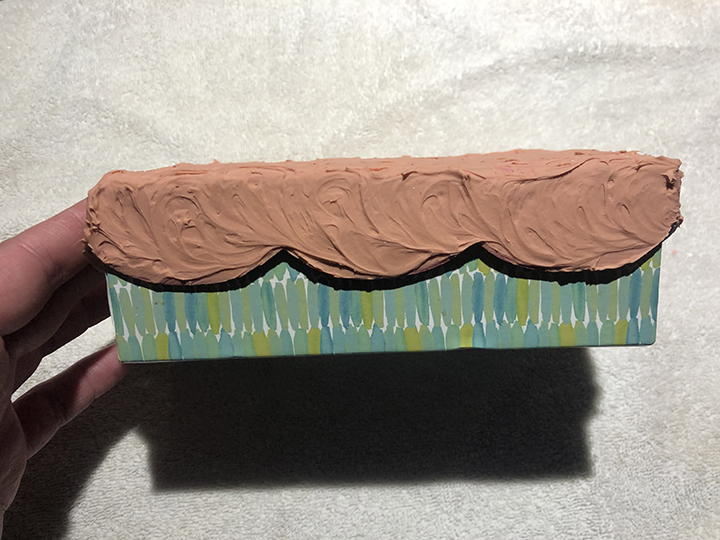
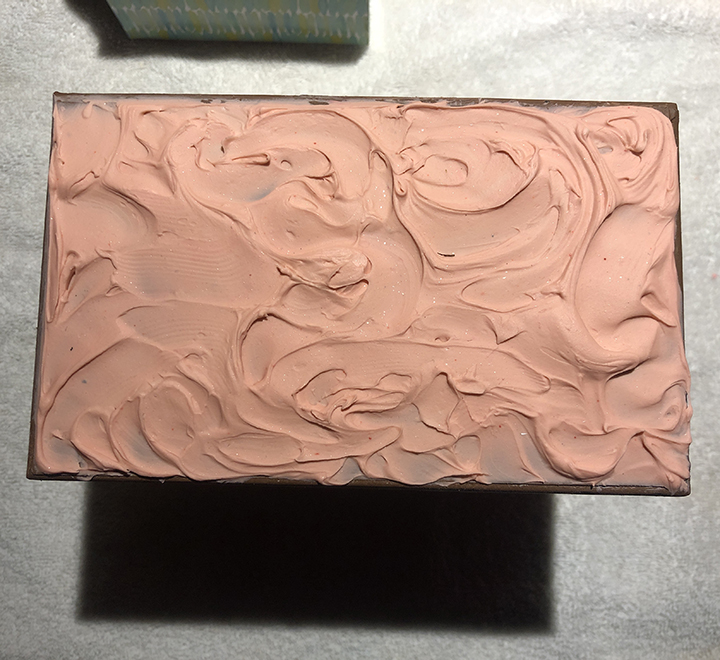
Paint a second coat in the color that will show as your cake such as brown, cream or pink. Allow to dry completely over night. - You can use spackle mixed with a little paint if you want to ice the container as you would a cake.
- Put the plastic icing tip on the caulking tube. Squeeze out a little on an old plate to get it started. Then start piping around the outside. This stuff dries well enough to do a second and third row in about 2 hours. It needs to cure for about 2 days to be completely dry. I suggest leaving it by the fire place or the radiator.
- When you are finished decorating with the caulking sealant, you can add the decorations such as resin flat backs, miniature cookies, sprinkles, etc. LINKS BELOW!
FAKE SUGAR COOKIE RECIPE:
1 cup of salt
1 cup of water
2 cups of flour
Directions
- Mix the salt, water and flour together until you have a smooth dough.
- Roll out the dough.
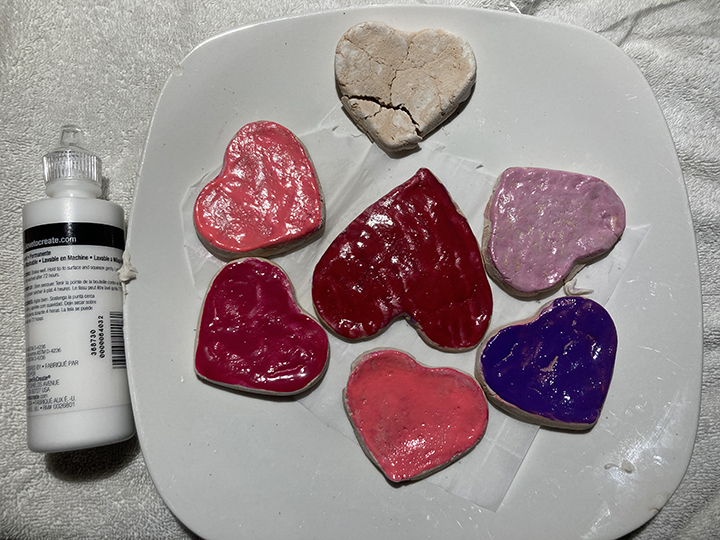
- Make shapes! You can use cookie cutters. Alternatively, do the shapes yourself with your hands or using a knife but try to end with shapes about 8mm thick. Another option is to cut a paper with the shape you want, and then carefully cut the dough around the template.
- Put the shapes on a microwavable plate.
- Heat for 1-2 minutes on the lowest heat setting of the microwave.
- Leave them to cool and harden.
- They are ready to be painted. Leave them to dry, and that’s it!
Make sure the little ones know that these are not edible!
If you change your mind and want to bake the shapes, place them on a baking tray and bake them in the oven for 2-3 hours on the lowest heat. Then leave them to cool and harden.
Because the dough contains salt, it may hurt to touch it if you have cuts on your hands, so you might want to wear gloves. Just FYI, my hands are always full of burns, cuts and scrapes and I had no issues.
If you want to keep the item for a long time, you should spray it with clear spray sealant varnish.
Supplies for Fake Cookies & Ice Cream
Baking soda
White school glue such as Elmer’s
Acrylic paint
Spackle
Flour
Salt
Water
Ice cream scoop
Parchment paper
FAKE ICE CREAM & CANDY RECIPE:
½ cup baking soda
3 tablespoons white glue
2 tablespoons acrylic paint
*A quicker way is to mix lightweight spackle and a few drops of paint and scoop it like ice cream. But, baking soda works if you don’t have spackle.
Now, this recipe is a guide. It’s not meant to be exact.
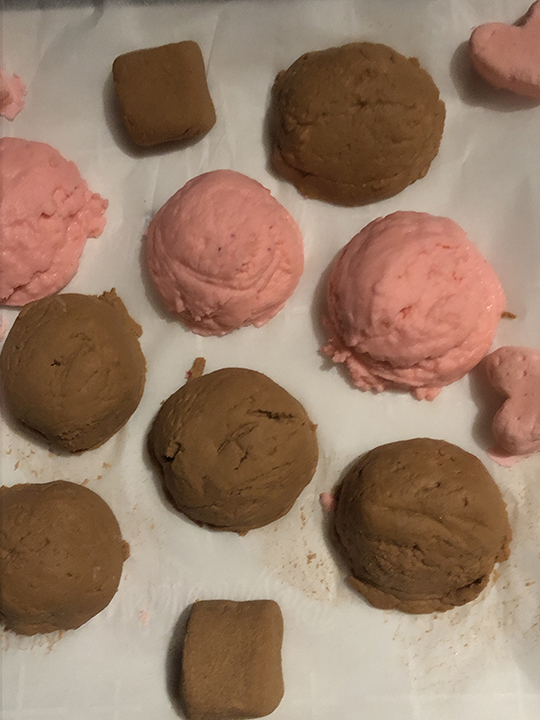
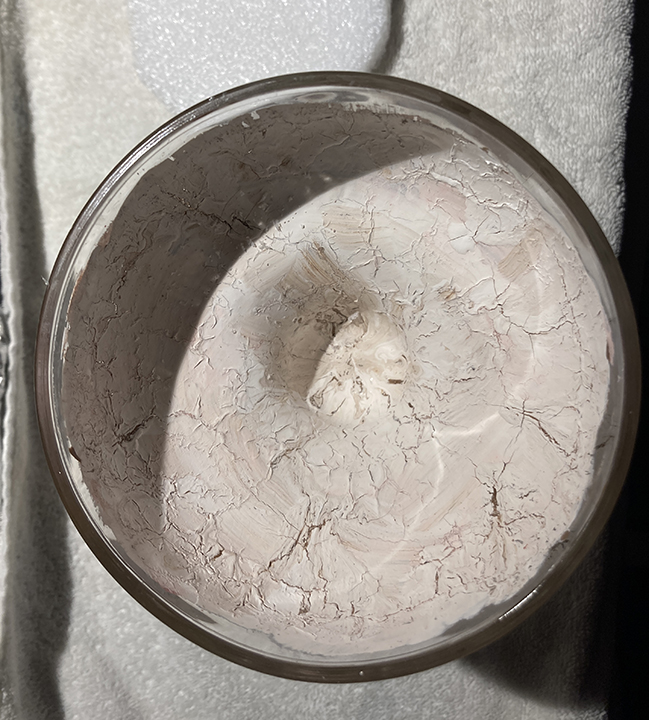
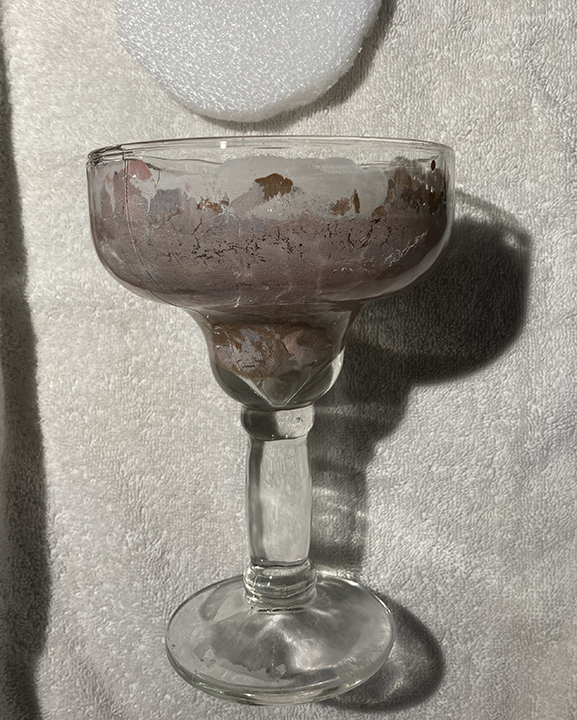
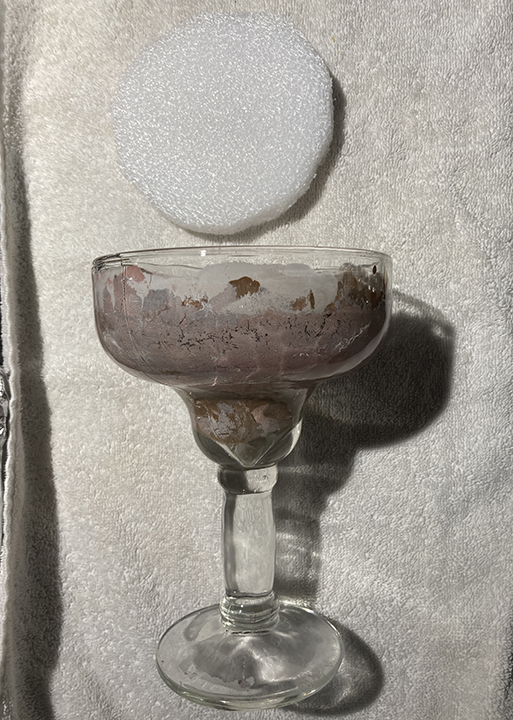
- I started by adding a cup of baking soda and pouring the white glue over the top and stirring it in. Then I added the paint. You want it to look like cookie batter. If it’s too wet, add more baking soda. If it’s too dry, add more glue. The paint is just for color.
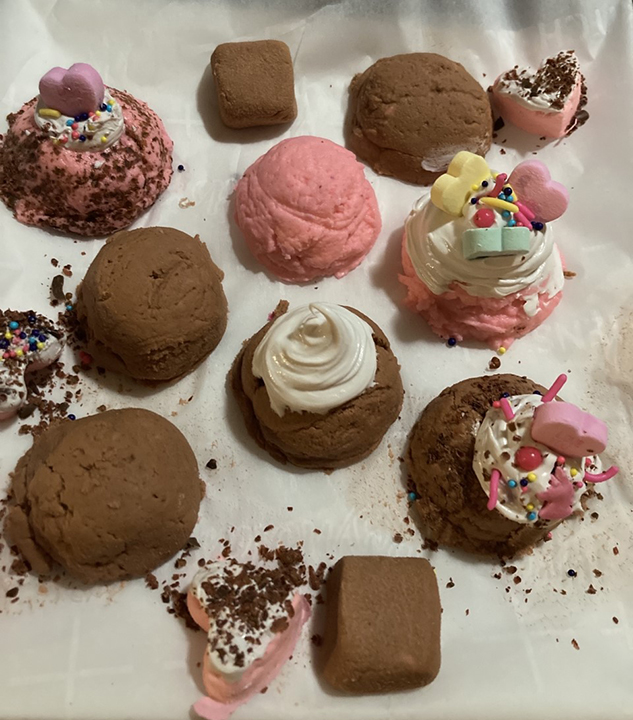
- Scoop out a small ball with your ice cream scoop and put it on some parchment paper. You can also make small candies that look like chocolates or conversation hearts with this by putting some in a mold or sculpting a shape yourself.
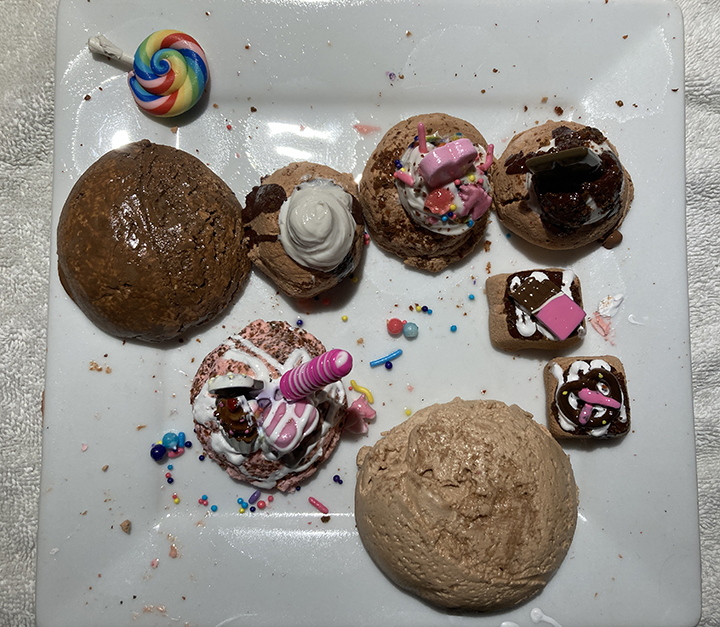
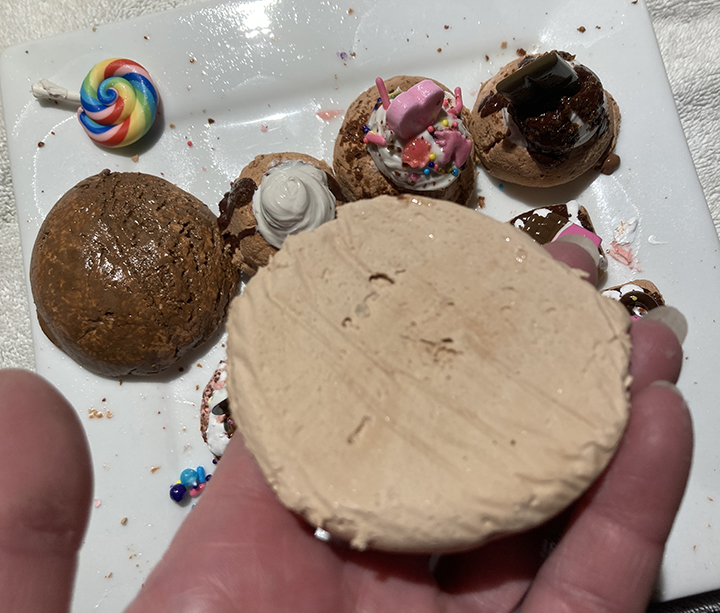
- Allow this to dry for about 2 days. You CAN bake these a 180 degrees for an hour, take them out and check them, then put them back in. Once they are uniform in color and the center is no longer dark, they are dry. I didn’t bake mine. I just let them dry by the fireplace and they were completely dry in 2 days. *Be aware the color gets much lighter when it dries. The cookies do crack the bigger they are. I suggest using the SALT DOUGH recipe for larger cookies and use the baking soda dough for small cookies and candies.
- Chocolate sauce is made with GLOSS Modge Podge (or Elmer’s glue if you don’t have any) and brown paint. You can put in squeeze bottle or cut the tip off of a plastic bag and drizzle on your item.
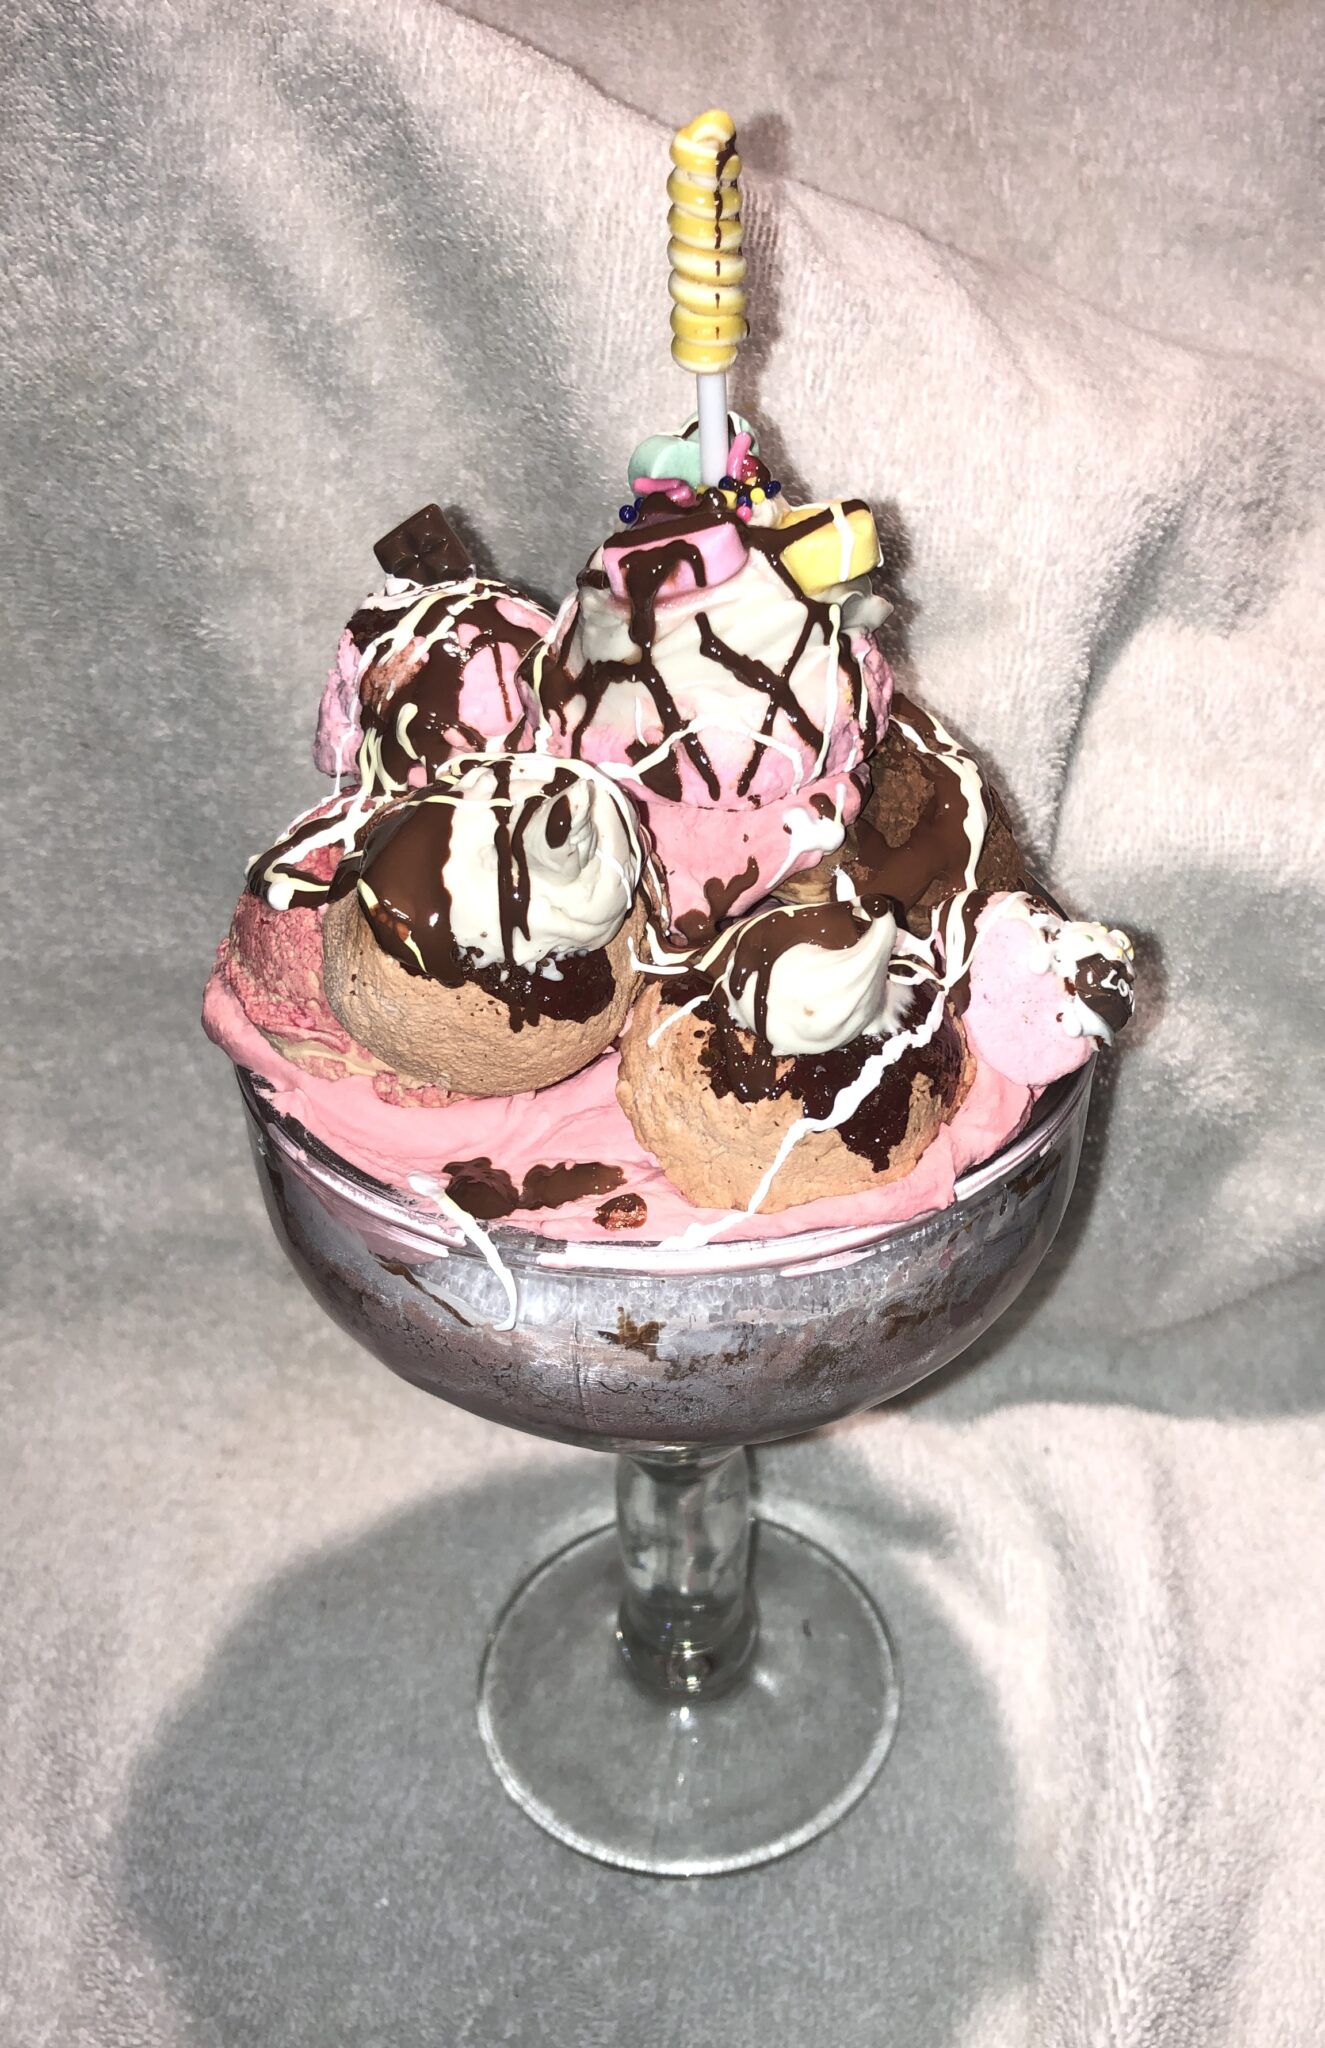
ADDITIONAL RECIPES
If you want to make your own puffy paint to use as marshmallow sauce or puffy icing, here is a good recipe for you. I got this from The Graphics Fairy. Here are her suggestions,
PUFFY Texture Paste:
- 1/4 cup baking soda
- 1 Tbs Mod Podge
- 1 Tbs white acrylic paint
“The combination of Mod Podge and baking soda made a much softer paste that puffs and expands when heated. When it’s wet, glitter sticks to it and refuses to come off. You can even color it with alcohol markers, pearl powder or sponge it with dye ink. The sky’s the limit with all the ways this stuff can be used! Add more baking soda if you’d prefer it thicker (up to 1/2 cup total) or a splash of water if you’d like it thinner.”
Her recipe is for more sturdy projects where mine is more of a paint to accent the cookies, etc.
Here is my recipe for puffy paint.
DIY Puffy Paint:
¼ Cup Flour
¼ Cup School glue (like Elmer’s)
¾ Cup shaving foam
a few drops of acrylic paint
LINKS
Resin flat back fake chocolates and candy
Ok, I know this is a LOT of info. It will be easier when you see the videos. I look forward to seeing you all tomorrow…even if it is through the TV. Let me know if you have any questions. The playlist will really help you. There are tons of videos on the playlist of people making amazing things. I just put my spin on it and made it less expensive. Sorry for the aweful web design. I’m not good at the techy stuff, just the crafty and sparkly things. See you tomorrow. Big hugs! Stay warm and keep crafting!
Love, Malena

