• We Buy Jewelry!
    • Shop
    • About Us
    • Blog
    • Contact

    Fancy That Antiques Buying and selling for a better community!

    DIY Recycled CD Jewelry

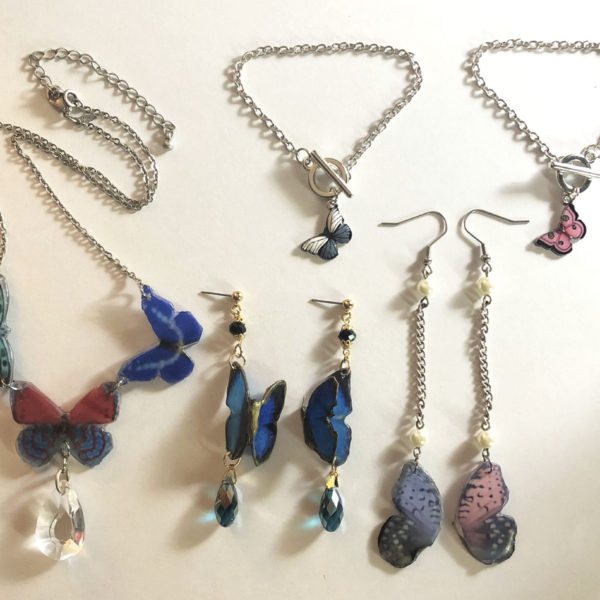
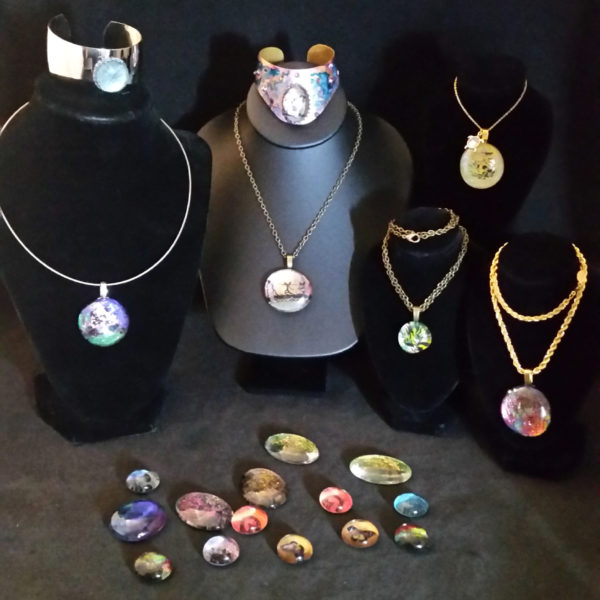
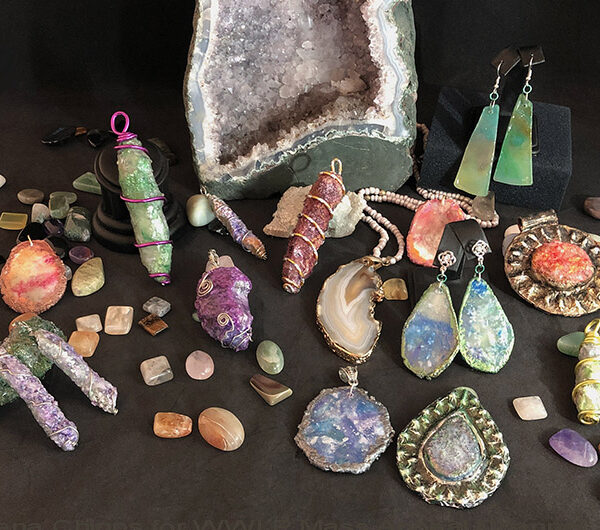
    Greetings neighbors! Here is a quick and easy craft to use up your old CDs. There are a bunch of different styles to make. All the clip art I used is at the bottom of the page. It’s formatted and sized so all you need to do is print it out. Here’s what you will need to make all the jewelry shown:

    SUPPLIES

    CDs ( Information CDs are best, not DVDs)

    Packing Tape

    White Glue

    Scissors

    Sharpie Pen

    Plastic Bag

    Cereal Box, Decorative Paper or Card Stock

    Jewelry Findings

    Clear Nail Polish

    Mod Podge

    Glitter, Rhinestones, Beads, etc are optional

    Templates and Printables below

    INSTRUCTIONS FOR EASY PROJECTS

    Cut the CD surface with a knife, blade or scissors on both sides. Tape down with clear packing tape.
    Use a plastic card to push down in a scraping motion for 3 minutes. Pull up the sides to see if the film is attached.
    Pull the tape off carefully to reveal the hologram CD material.
    Trace a pattern on to the BACK side of the CD film.
    Cut out the pattern and set it aside. Cut 2-3 layers of cardstock or paper and glue together.
    For the broken heart design, cut the heart into 2 sections.
    Glue down the film, put the credit card on top and press it down.
    Allow to dry, then cover the paper portion with nail polish or mod podge.
    I attached hooks, rings and chains to make earrings.
    I added nail glitter on one side.
    I cut the eyes out of the skull and glued in the film to make the skull jewelry.
    I attached the charms to broken jewelry to make these pieces.
    As you can see, all these were make with just rings attached to the paper and the foil and sealed with Mod Podge. This is very very easy!

    INSTRUCTIONS FOR MORE TIME CONSUMING PROJECTS

    Cut the CD surface with a knife, blade or scissors on both sides. Tape down with clear packing tape.
    Use a plastic card to push down in a scraping motion for 3 minutes. Pull up the sides to see if the film is attached.
    Pull the tape off carefully to reveal the hologram CD material.
    Trace a pattern on to the BACK side of the CD film.
    Glue on the clip art from the files I’ve made for you.
    Push the clip art down, cover them with plastic wrap or a sandwich bag and set a book over them for an hour.
    Cut 2-3 layers of cardstock or heavy paper and glue together.
    Glue the top layer on to the cardstock. Decorate with rhinestones, glitter etc. Cover both sides with Mod Podge and allow to dry for a good 2 hours.
    Take a pin and poke a hole through all the layers. Heat the pin with a lighter to make it easier.
    I poked two holes on this one and then added the jump rings on both ends.
    Use some beads from broken earrings to make charms.
    You can cover the edges with metallic powder or eyeshadow, rub n buff, paint or metallic markers. Seal with mod podge!
    Attach the cameo to a existing necklace.
    Add charms to the bottom and attach the pendant to broken beads.
    You can wear them layered too!
    I made all these in about 2 hours. I used broken jewelry I already had so it didn’t cost anything!

    TEMPLATES AND CLIP ART FILES

    mermaid_Jewelry_DIY_free-printablesDownload
    mermaid_cameosDownload
    jewelry_pendant_template10Download
    fairy_unicorn_skull_clipart-1Download
    jewelry_pendant_template4Download
    jewelry_pendant_template3Download

    YOUTUBE Videos on more CD DIY Projects

    Ok my friends…I will see you all tomorrow morning on Mass Appeal, WWLP Channel 22. You can watch the replay here Saturday. Let me know if you need any help. I’m just a text away. Here’s the studio #413-512-3714. I look forward to showing you all the fun stuff we made. Big hugs!

    Malena Chipps

    0
    Previous DIY Jewelry from Recycled Plastic
    Next DIY Faux Gemstone Geode Jewelry

    Related Posts

    DIY Valentines Day Cake Boxes & Crafts

    DIY Glass Christmas Ornaments

    DIY Floating Tea Cups Flower Arrangements

    Reader Interactions

    Copyright © 2023 Fancy That Antiques
    • Facebook
    • Instagram
    • Pinterest
    • Twitter
    Theme by SheShoppes