
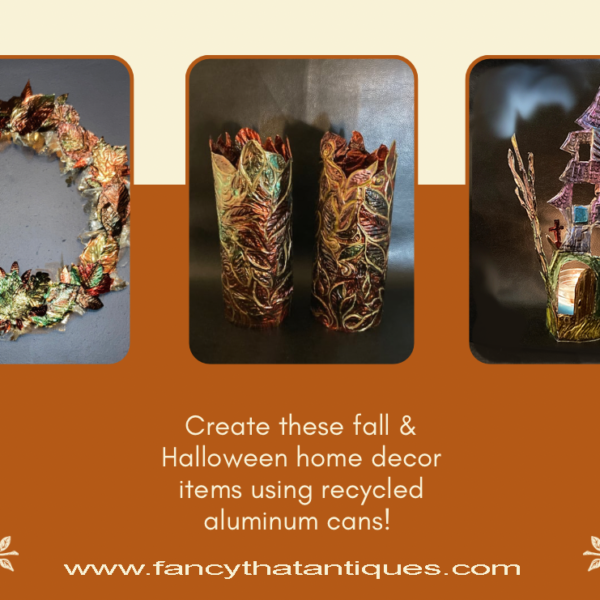
Greetings neighbors! I hope you had a wonderful July 4th holiday. Here is a fun craft where we use plastic bottle and food containers to create whimsical jewelry. It’s quick, easy and cheap! My favorite kind of DIY to do with the kids. As always, let me know if you need anything. I have rooms full of findings if you need any. The templates and links are at the bottom of the page. There are Youtube playlists for you so you can get a better idea of how to make everything. I’ll be on Mass Appeal tomorrow, July 8th at 10am to show you everything.
Here’s what you will need:
Supplies
Plastic containers
Sharpie permanent markers
Scissors
Nail polish
Iron or candle
Oven
Jewelry findings
Hole punch
Parchment paper
Cake pan
There are two techniques for two different plastics.
#1 Melt
Instructions


#2 Shrink
Pre-heat oven to 350 degrees
Cut a flat piece of plastic from a #6 plastic container. (Video below for more info)
Trace or draw pattern. Color on one side with permanent markers or paint pens. *Paint pens will bake and add dimension as shown in the sea shells. Punch hole at the top, leaving a little room as it will shrink.
Place the plastic pieces far apart on a piece of parchment paper in a pan with the decorated side UP. Place the pan in the oven and watch the items bubble up and then flatten out. They will shrink about 75% in size. Quickly remove the pan and allow the items to cool.
You can seal them with clear nail polish or add gloss with a product called Glossy Accents by Ranger or Dimensional Magic by Mod Podge.
Add jewelry findings.


TEMPLATES
LINKS
These videos will show you everything we didn’t have time for on the TV show! There are TONS of great ideas here so watch the playlist, you will lovveee ittttt!!!
OK, that’s it for now my fellow crafty creatures. Let me know if you need anything. The findings are no charge for Mass Appeal viewers in Massachusetts, just a few dollars for shipping. Contact me at: info@fancythatantiques.com or text the studio at: 413-512-3714. I’m happy to help!
Big hugs from the Berkshires!
Malena
