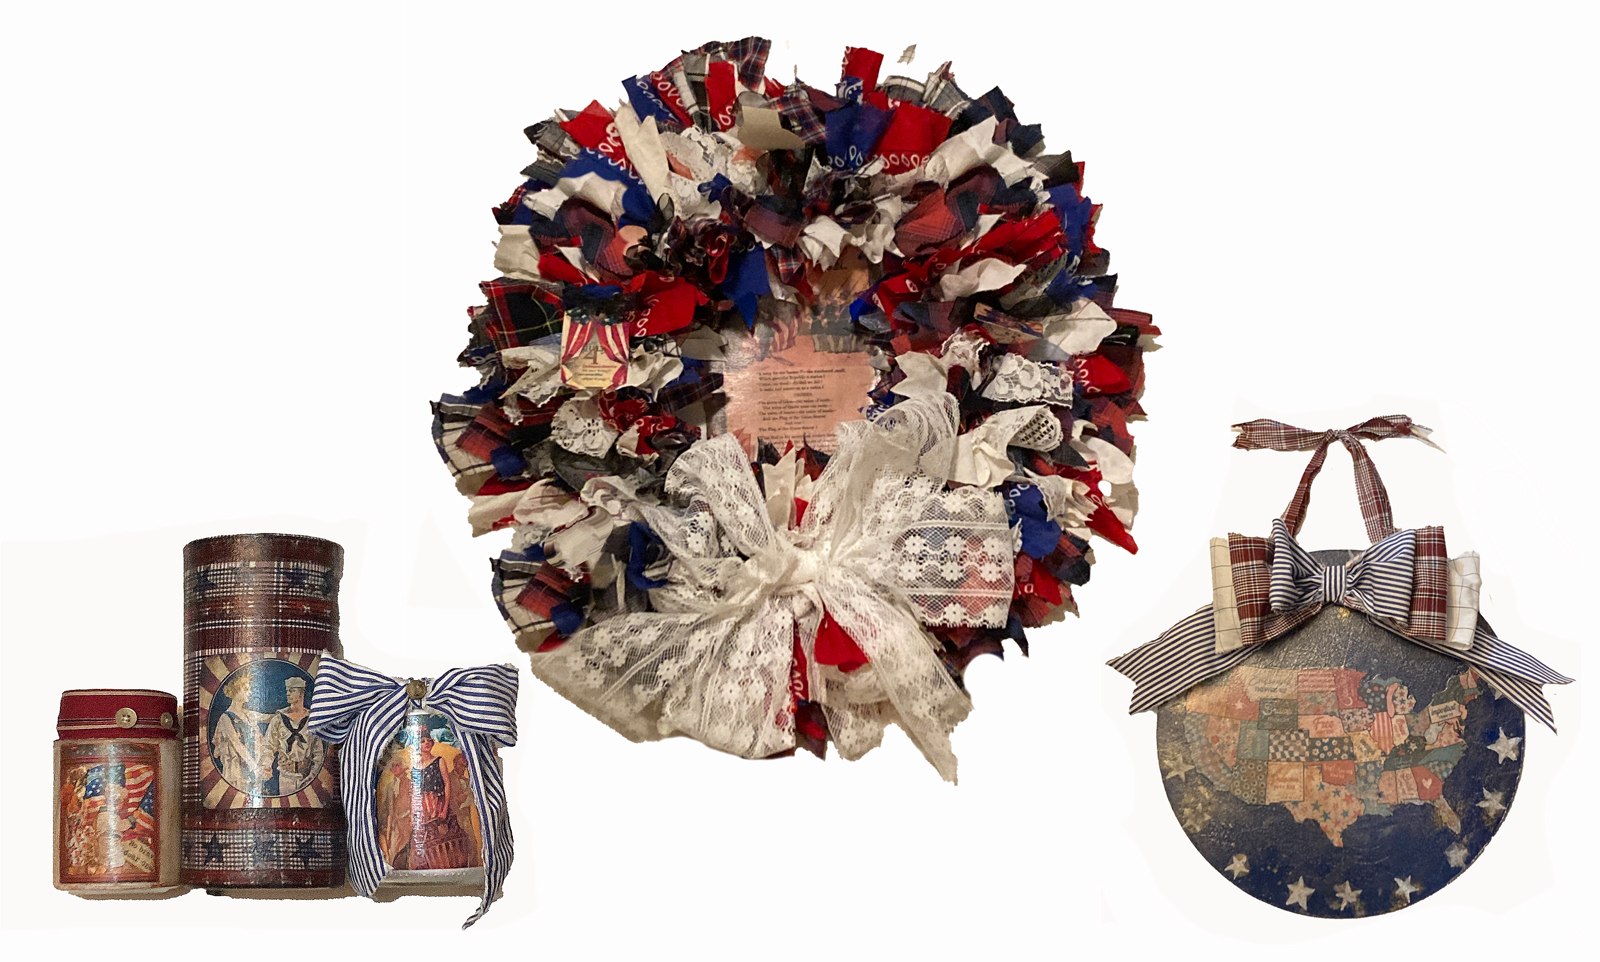
I love the challenge of turning something I should throw away into something cute. For this month’s craft, I decided to rummage through the Goodwill box and see what I could find to make something patriotic.
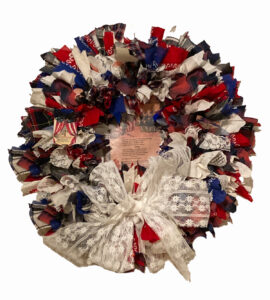
The first project we will be making is the rag wreath. There is a video at the bottom of the page from Youtube since my Mass Appeal segments are taken off the air in a few days.
Woven materials are better for the wreath than knitted materials. For this craft we’re going with red, white and blue, using different patterns and prints. When you have too many colors, then it starts to look a little crazy, which works for a boho style but not much else.
SUPPLIES:
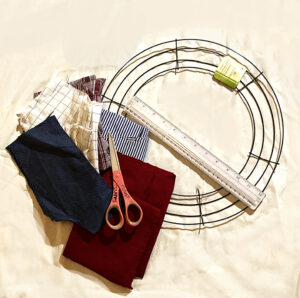
- Wire wreath form (Dollar Tree)
- 2.5 yards of fabric total ( I used 4 button down shirts and 2 pillow cases)
- Scissors
- Ruler
- Optional: buttons, ribbons, clipart
INSTRUCTIONS:
1. SHIRTS: Start by cutting on the seams so you have two pieces for the front, one piece for the back and two sleeves. Then you cut the seam of the sleeves so it will open up completely. Next, you cut off the collar and the cuffs and the button down panel on the front. You’re going to want to save all of these pieces for later don’t throw anything away.
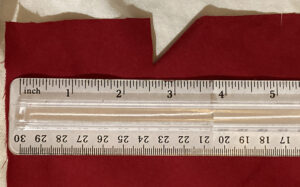
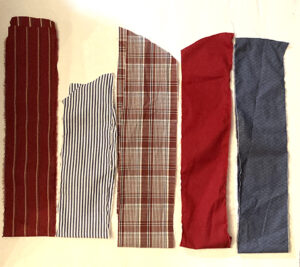
2. Using scissors, cut your strips of fabric. The measurements should be about 2.5×9″. Your measurements and cuts don’t need to be exact.
3. Once you get your strips cut, organize them by color in front of you.
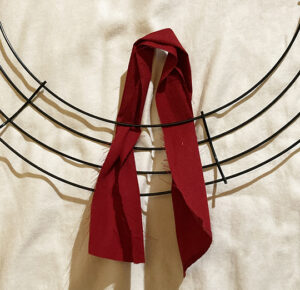
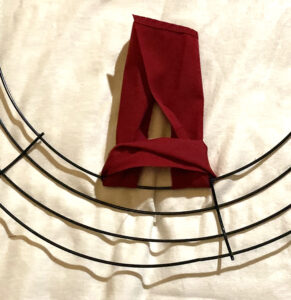
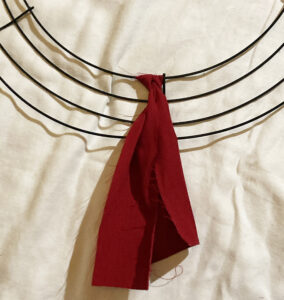
4. Place your wreath form on your work surface. Starting from the inside ring, take one strip, fold it in half, and place it under one wire. Pull the ends through and tie a knot (For a fluffier look, tie a normal knot instead).
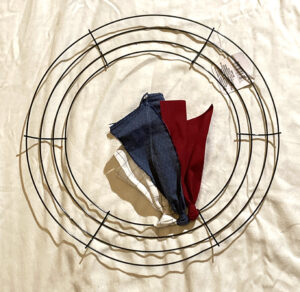
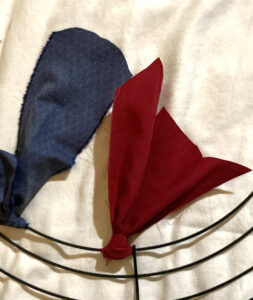
5. Go down the list of colors you have in front of you, tying each color on the inside ring. Repeat this process, pushing the knotted strips together as you are working to create a fluffy look.
Cut the ends to the length and shape you prefer.
6. Repeat the process on each ring. Crunch and fluff the fabric. Pull off any loose threads you don’t like.
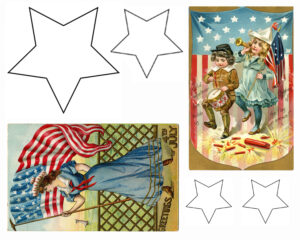
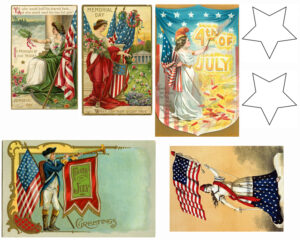
OPTIONAL: You can print out the clip art from the link below. Attach the photos by punching a hole at the top of each picture and thread through a piece of ribbon. Then tie it on the wreath.
PROJECT 2 Fabric Decoupage Collage
SUPPLIES:
- jars, boxes, containers
- spray paint
- acrylic paint
- white glue
- paper napkins
- fabric
- clip art
- scissors
- optional: buttons, ribbons
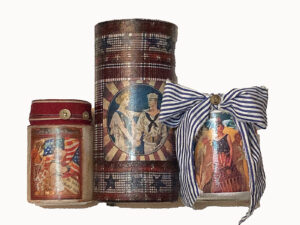
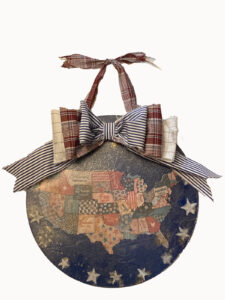
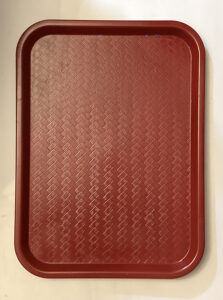
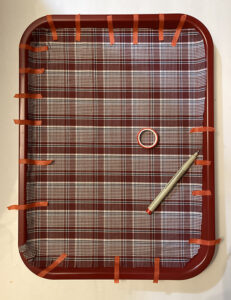
Everything I made for this show is made the same way. I layering glue, fabric and paper on glass, plastic or cardboard. The door sign is cardboard. The food tray is plastic and the jars are glass. There is a video at the bottom of the page from Youtube since my Mass Appeal video is taken off the air in a few days.
Craft 2
Decorated Trays, Jars & Boxes
1. Prime your item by using spray paint of any color over the surface. This will make everything stick better.
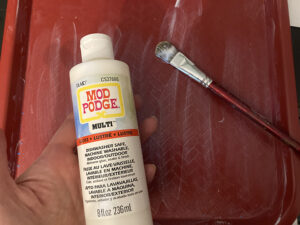
2. Once the spray paint has dried completely (I would say overnight), then brush on a coat of decoupage glue all over the item.
3. Take a piece of fabric and place it in the center and press it down with your fingers, gently pressing outward to the outside and all the way around. Make sure you press down hard and firm so that there are no bubbles.
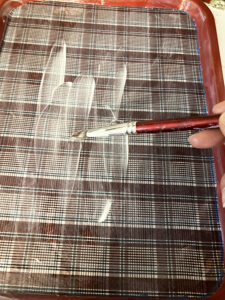
4. Next, you’re going to want to paint over the top of the fabric with another coat of decoupage glue making sure there are no bubbles and covering all of the fabric completely. Then let it dry until it is hard.
OPTIONAL STEPS:
Now you can add paper clip art by painting another layer of decoupage glue over the top of the fabric AND painting a light layer on the back of the paper clip art. Press it down. Paint another layer of glue on the top of the clip art. While the glue is wet, press it down with your fingers, rubbing lightly and quickly in small circles so there are no bubbles.
Once the layers are totally dry, then paint another layer of decoupage glue over the top of the paper and let that dry completely. It’s going to have a slightly shiny finish and it will be hard when it is completely dry.
Next, you can add a strip of the fabric we used on the wreath to make a bow or add a gift tag or some buttons to complete the look.
If you want to use this item outside, I suggest using a waterproof outdoor decoupage glue and or a polyurethane outdoor sealer to make sure it can get wet. If you use outdoor sealer, let it dry completely for about two days in a well lit area so it’s completely cures.
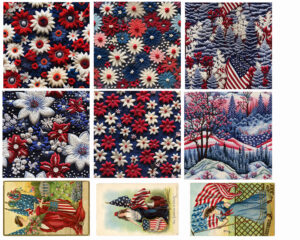
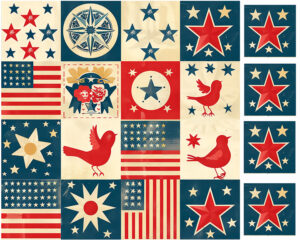
As always, I have compiled a playlist of DIY patriotic videos for you. I also made a bunch of graphics for you to download and use in your projects. You can click on the links below for that.
DIY Rag Wreath Video and 55 other July 4th Craft Videos!
DIY Fabric Paper from Treasure Books
DIY Decoupage on Glass
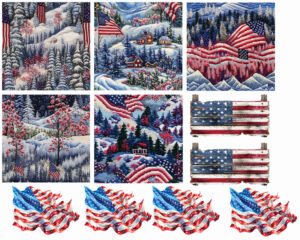
Here is the link to the images on my google drive. There are a ton of images for all the crafts we make on the show. Google Drive
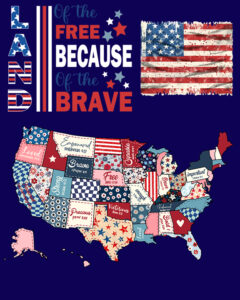
Preview of images. These will be full size on the drive.
Ok my friends, let me know if you need any supplies. I have rooms of this stuff. I have a bunch of paper napkins, strips of fabric, buttons, lace, etc. Just text the store # at: 413-512-3714 Thanks for watching. We really appreciate you!
Big hugs,
Malena
