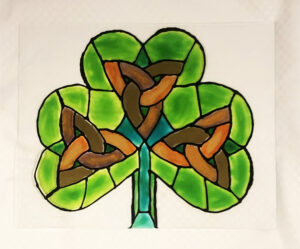
Greetings neighbors! I hope you are all staying warm in this gorgeous winter climate of ours. I found a fun craft you’ll love to do with the kids. It’s cheap, takes no artistic ability and can be done in the time it takes to watch a movie. My kind of craft, being the little home body that I am! So, here are the supplies and instructions. Videos and downloads are at the bottom of the page. Also, if you follow my shows, you can find info on the next Easter craft at the bottom of the page as well. As always, I hope you are doing well. Text me if you have any questions at 413-512-3714. I always love to hear from you! Shout out to Marissa in Chicopee. This is a good one for you lady!
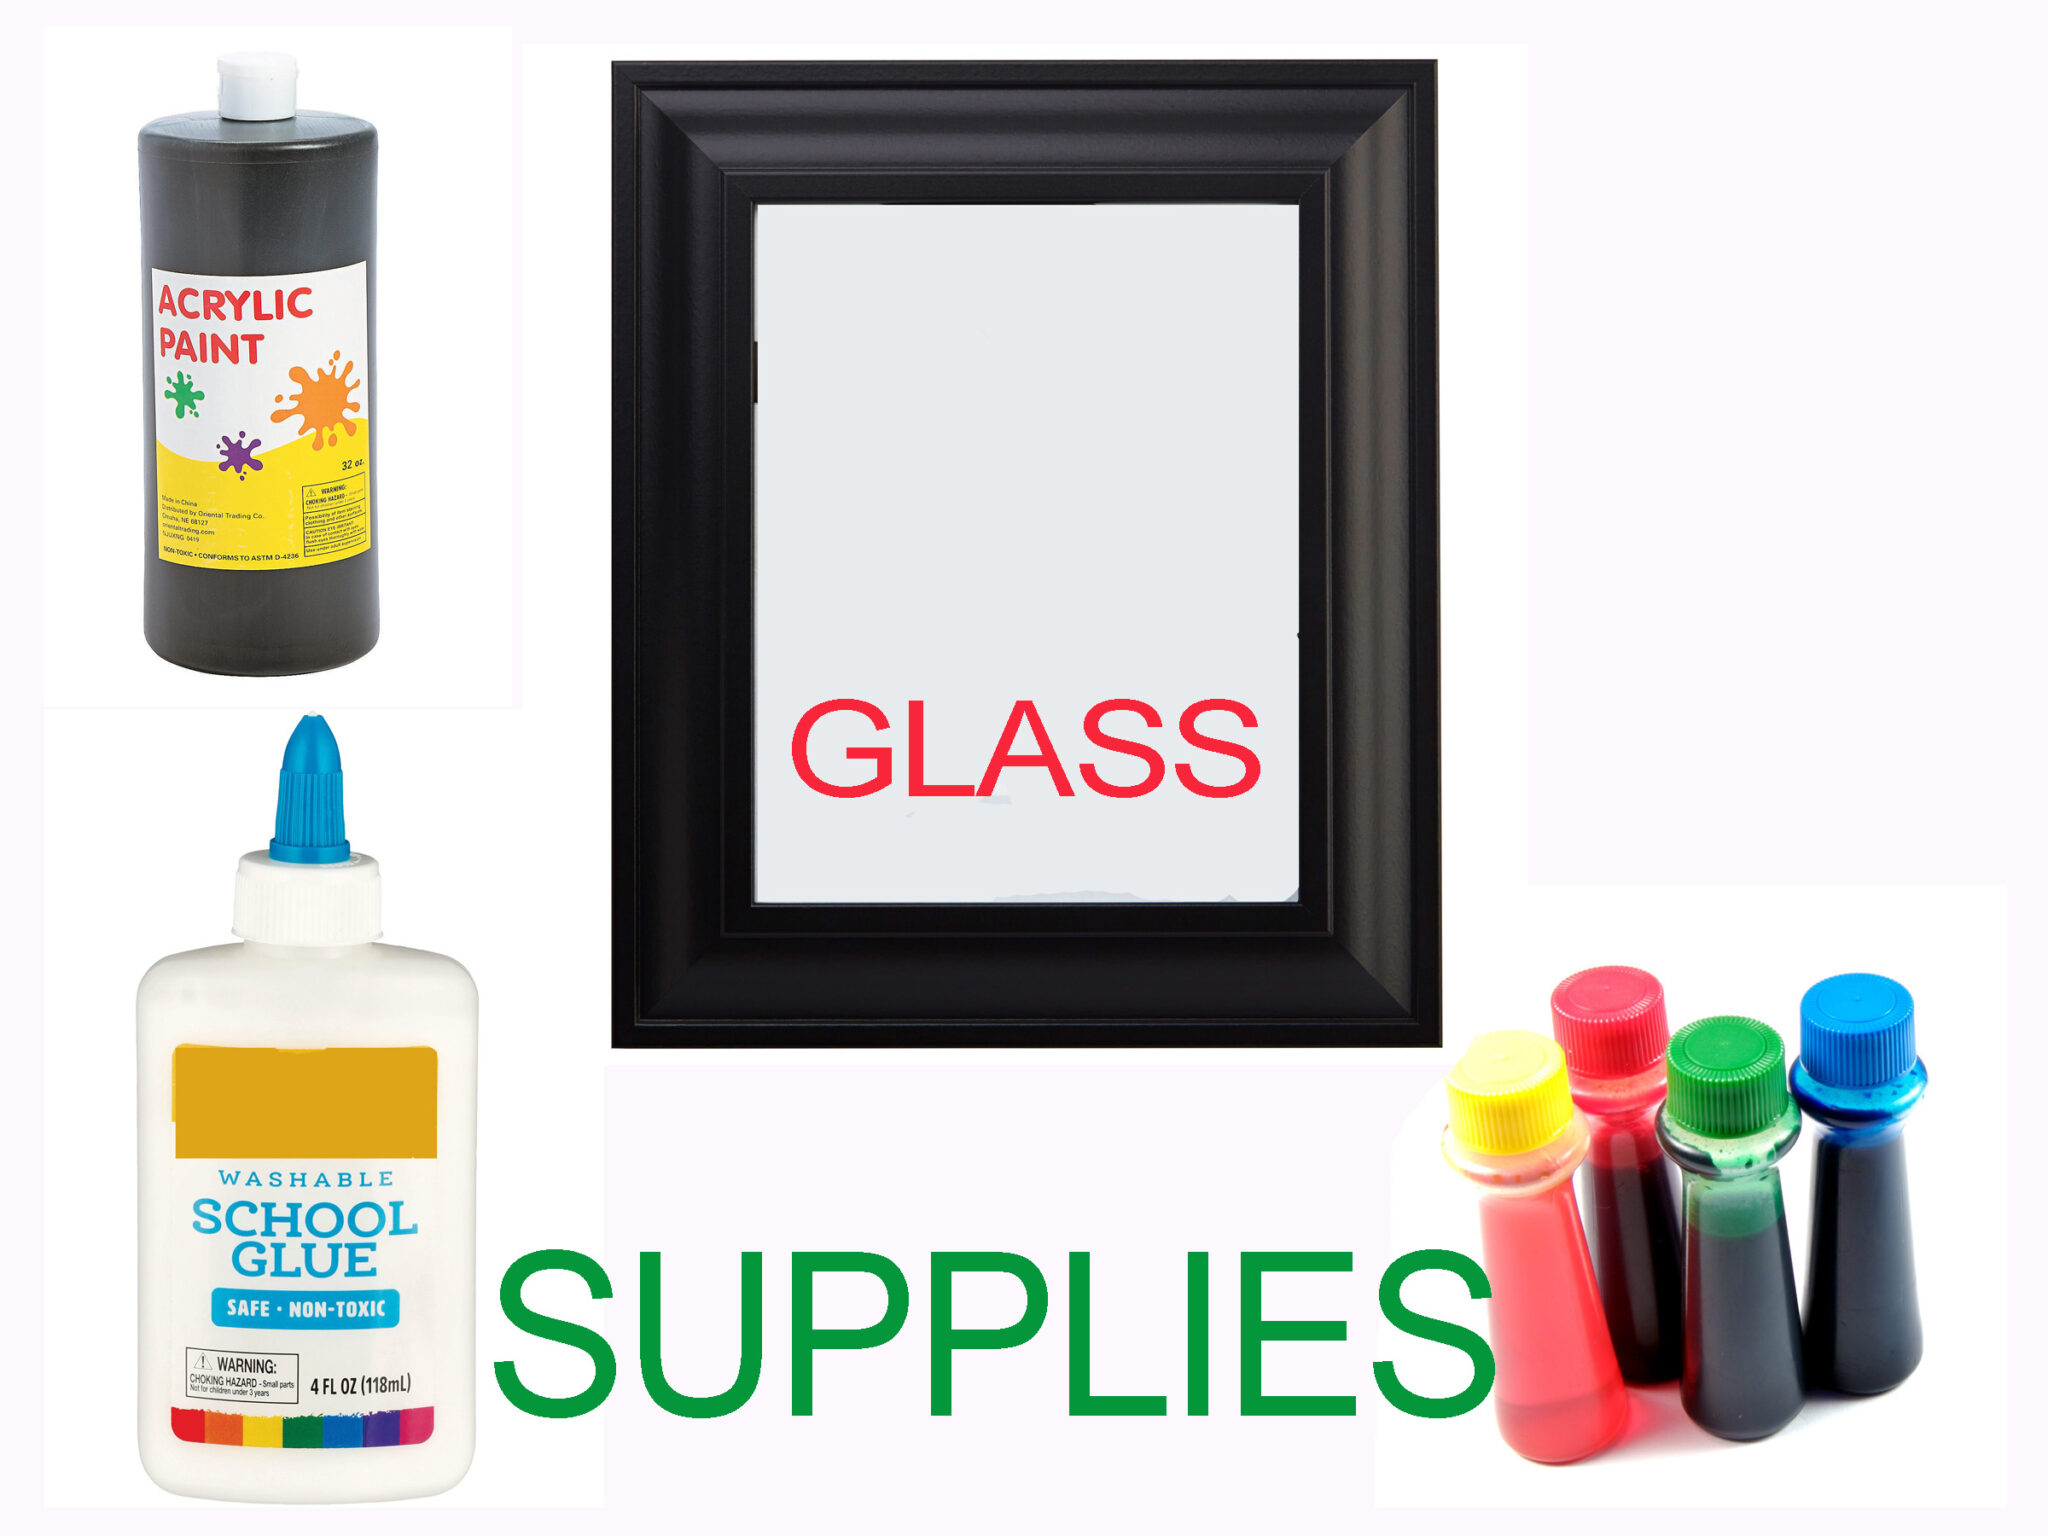
SUPPLIES
Egg Carton or plastic containers
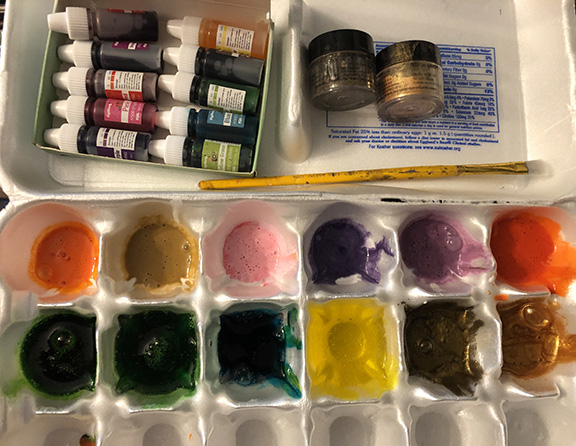
Food Coloring OR acrylic paint (food coloring is clear while the acrylic paint dries matte and opaque.)
Clear glue or white glue (clear glue dries see through while the white glue is a little more opaque.)
Paint brushes
Clear tape
Glass picture frame
Aluminum foil tape
Craft wire
Clear spray sealer
*OPTIONAL: Metallic powder such as eye shadow or pearl powder
PHOTO DIRECTIONS
(Detailed written directions to print below the photo gallery.)

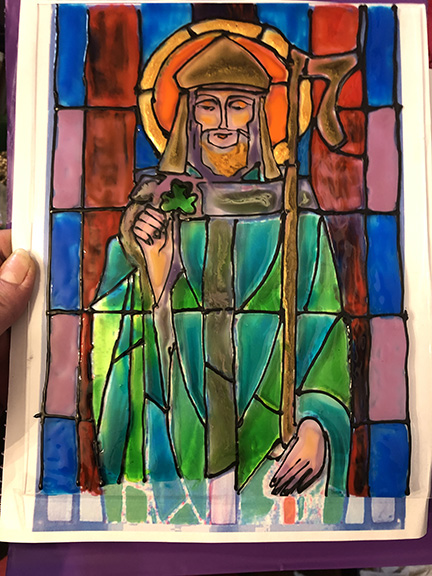
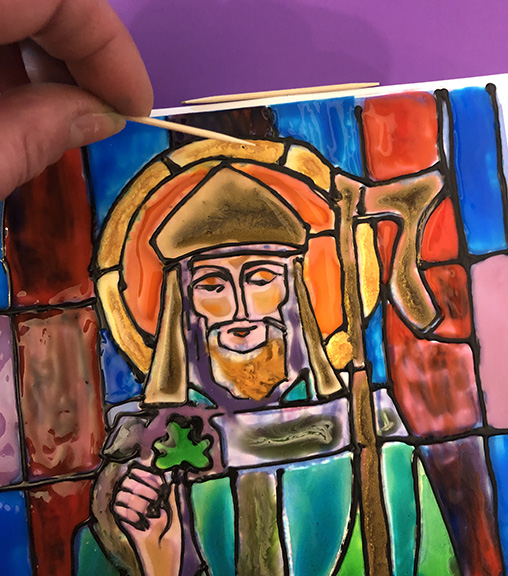

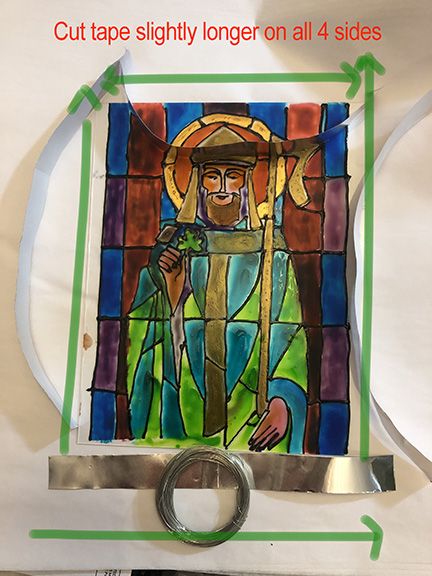
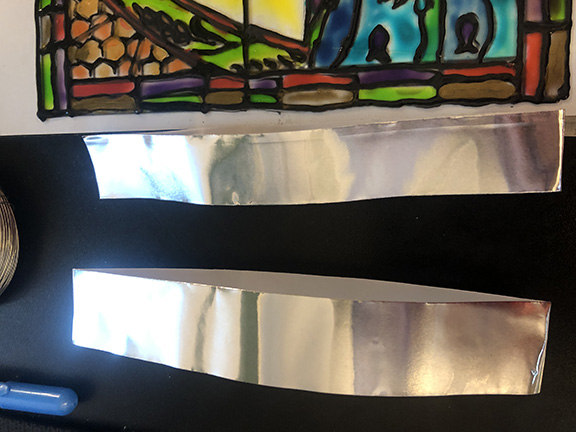
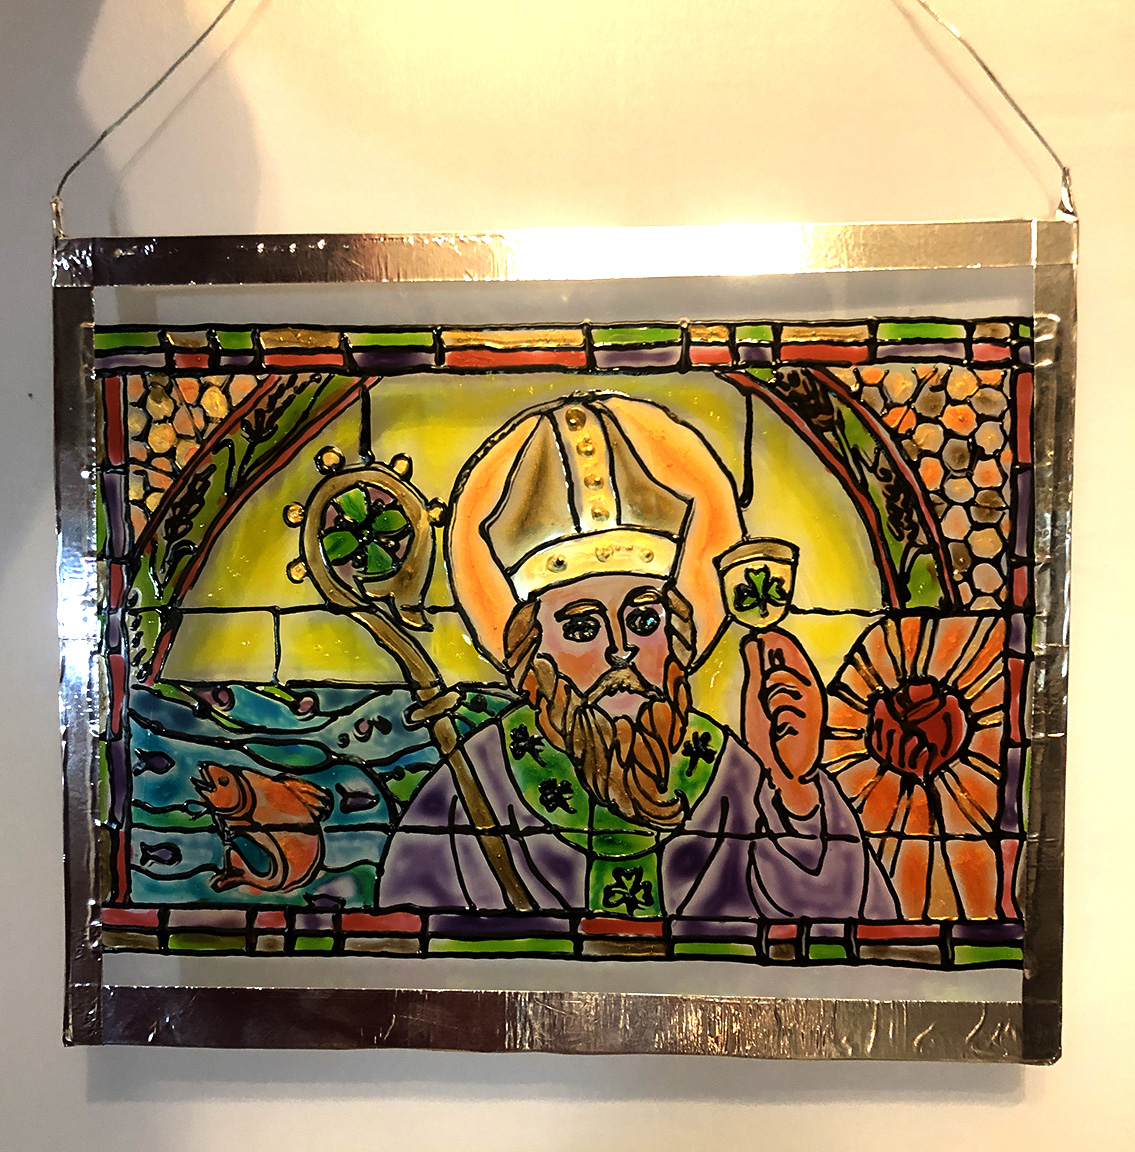
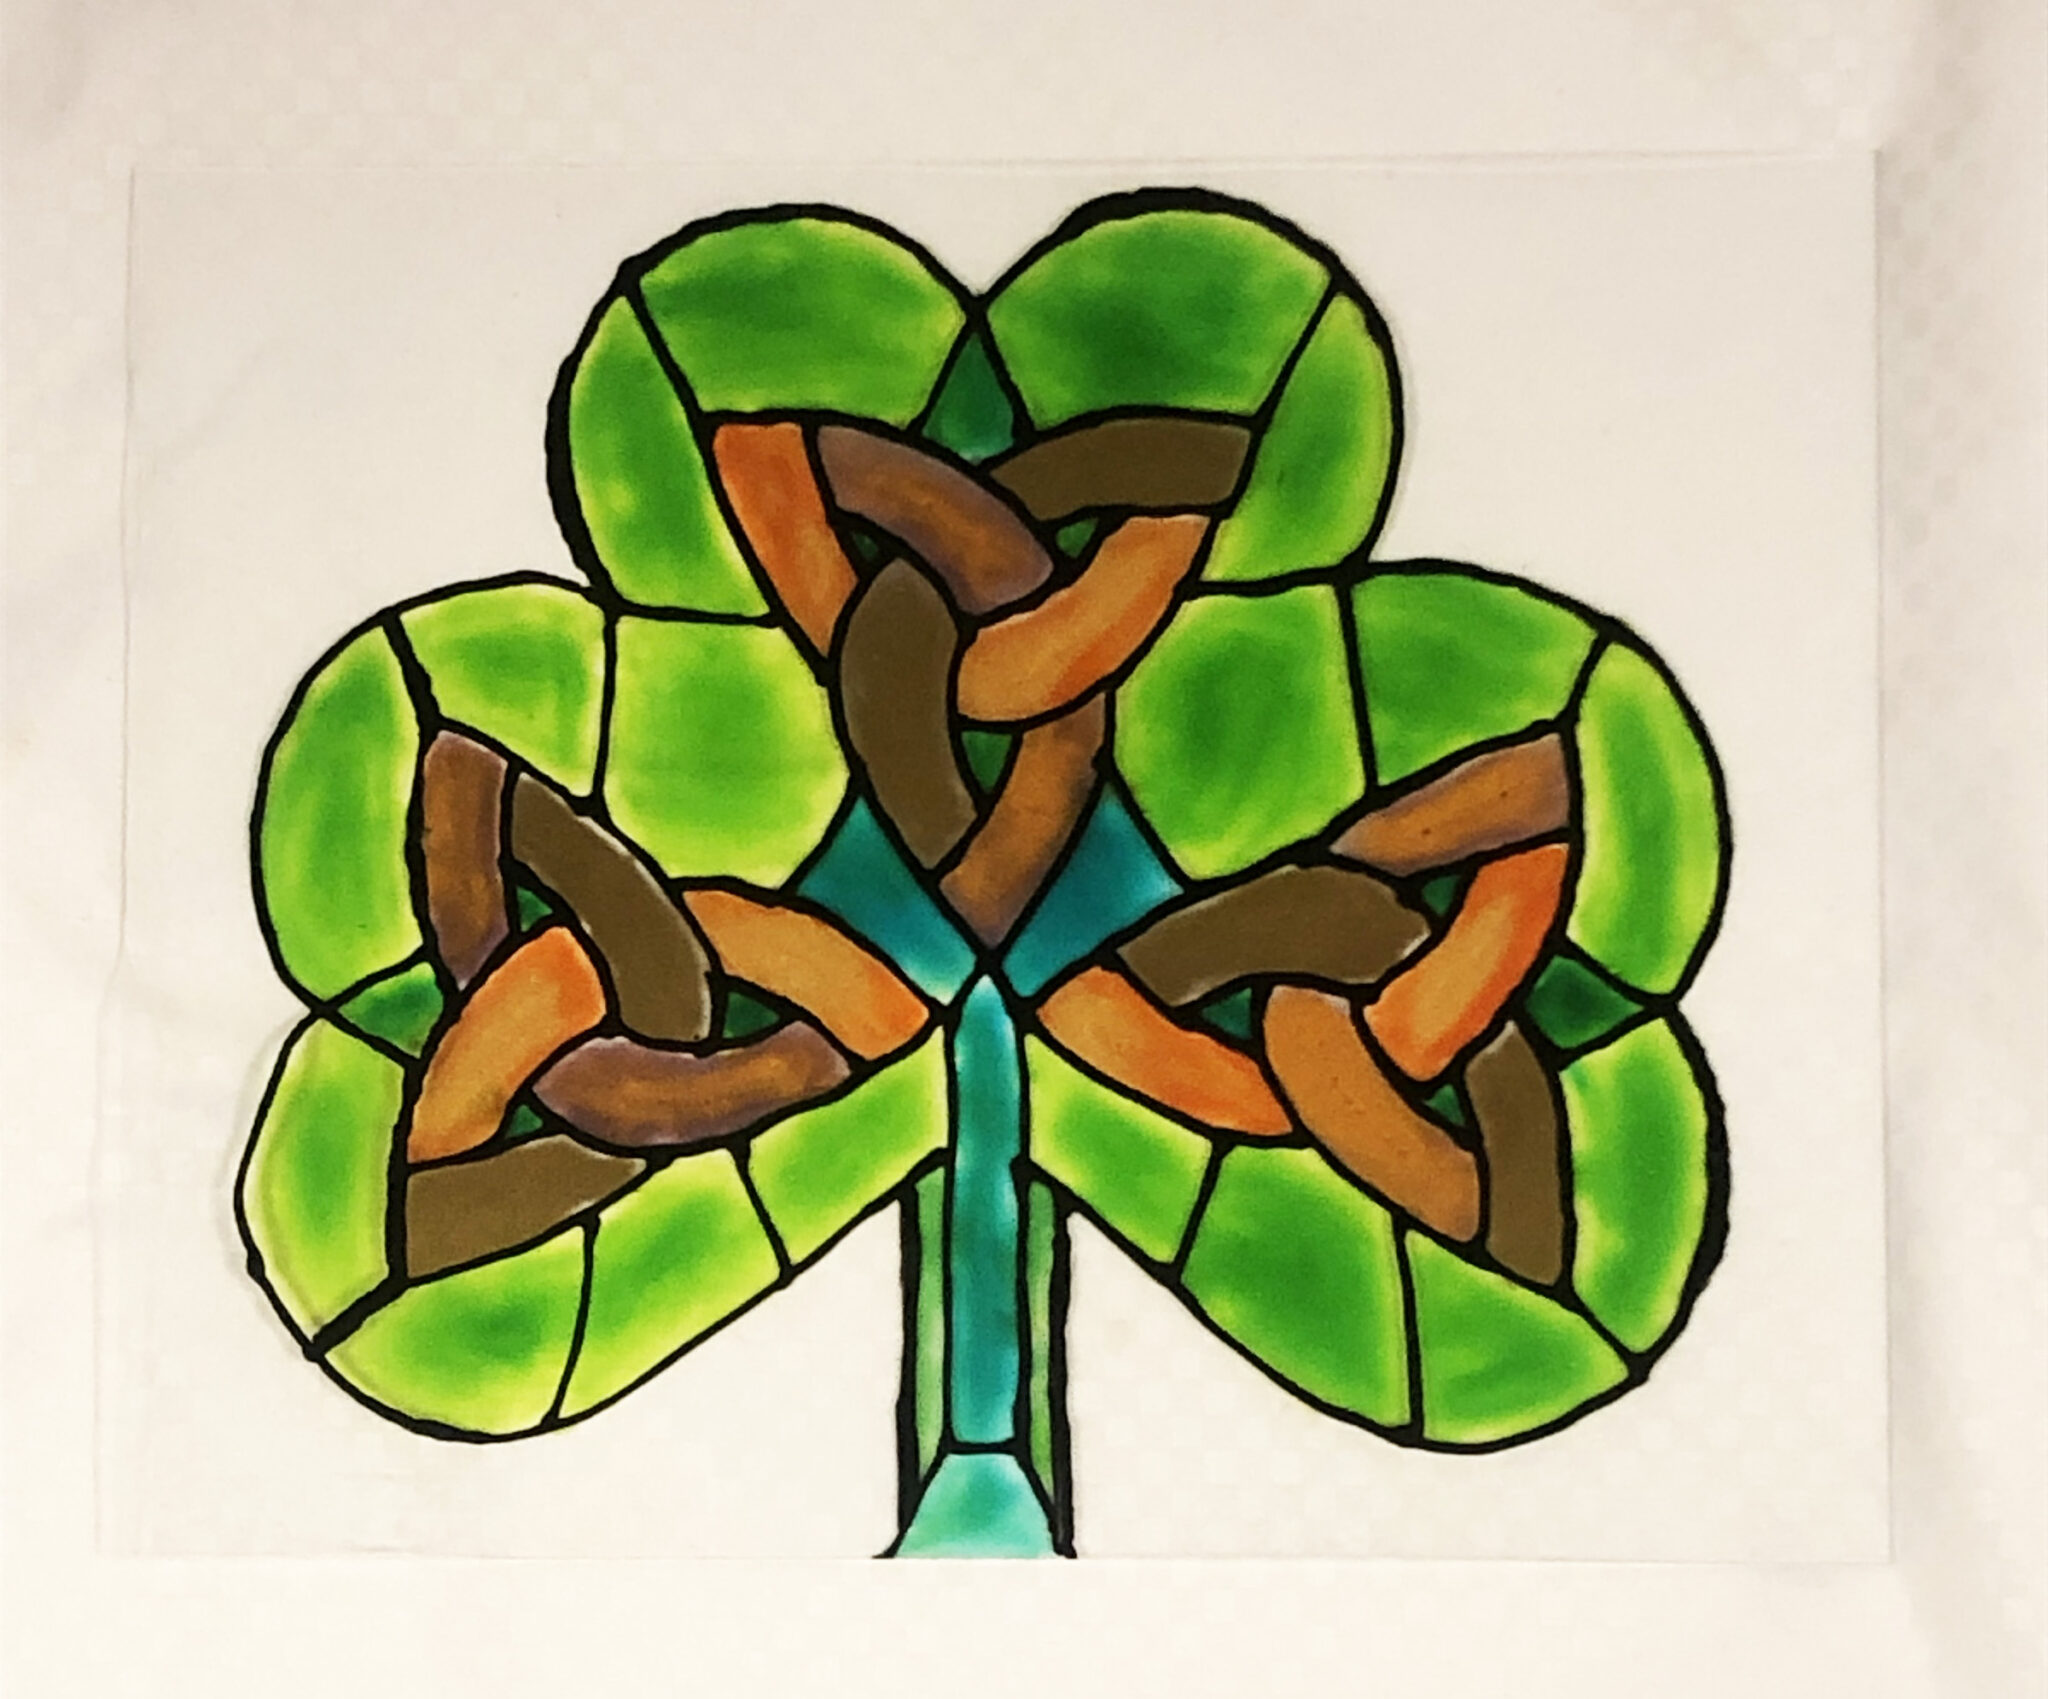
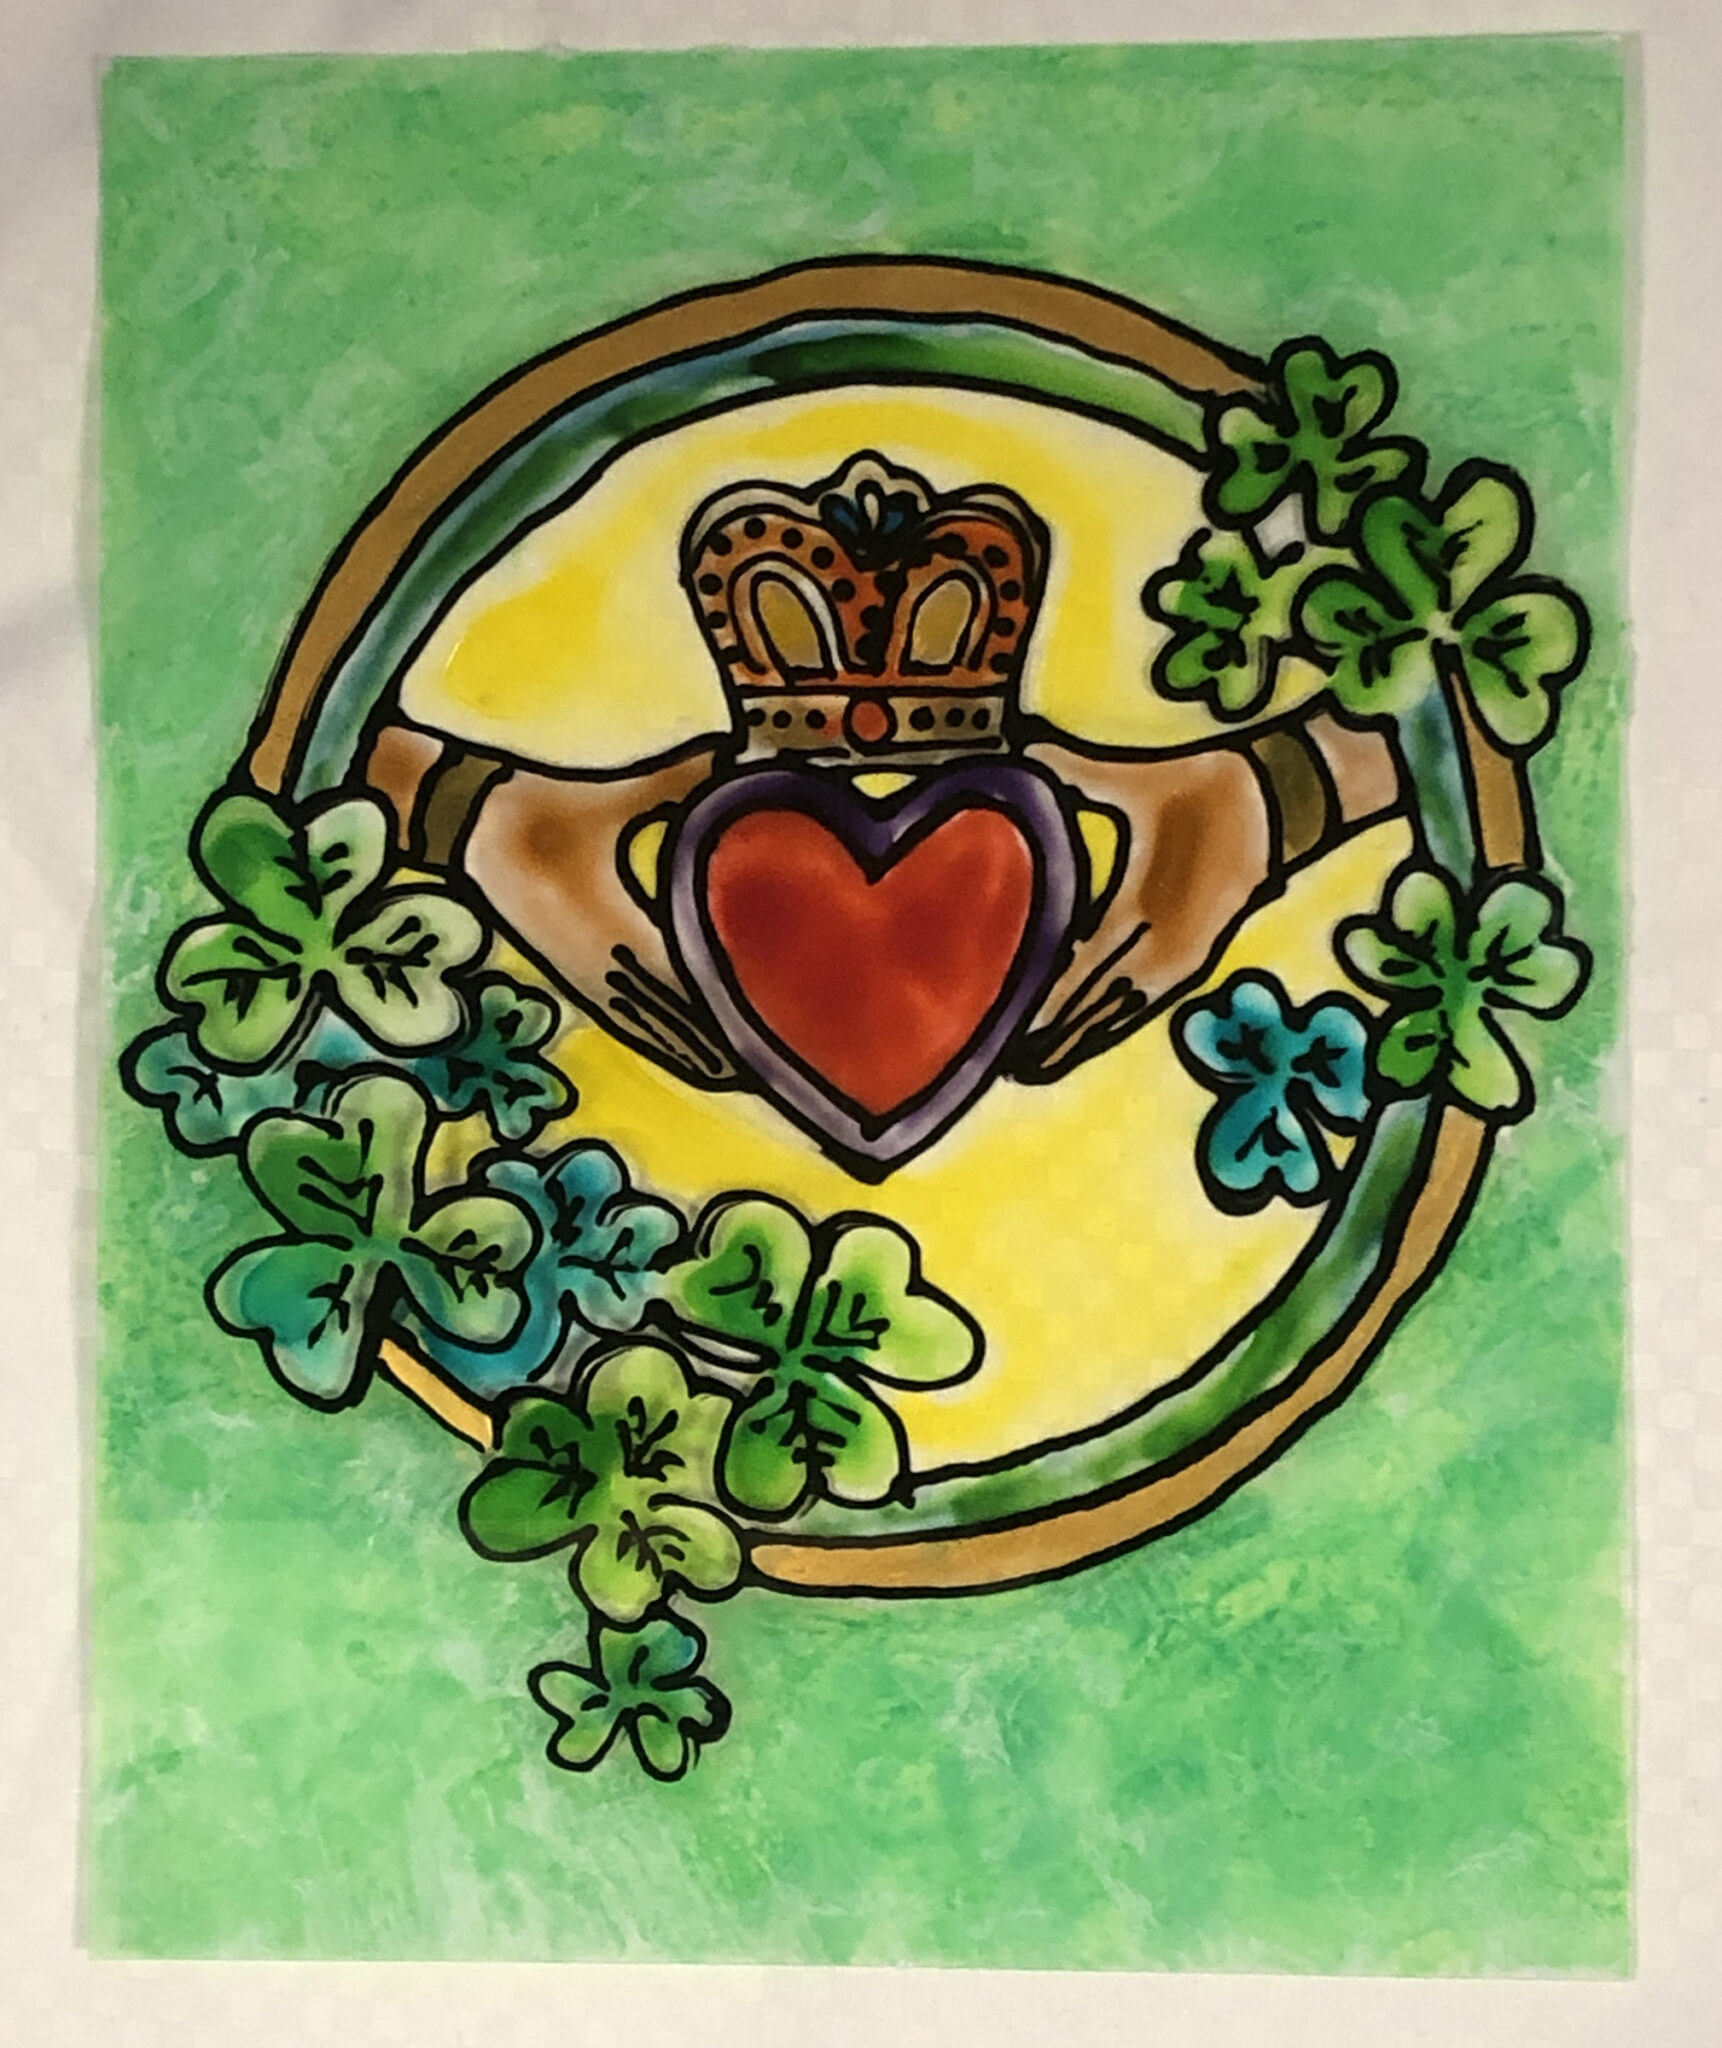
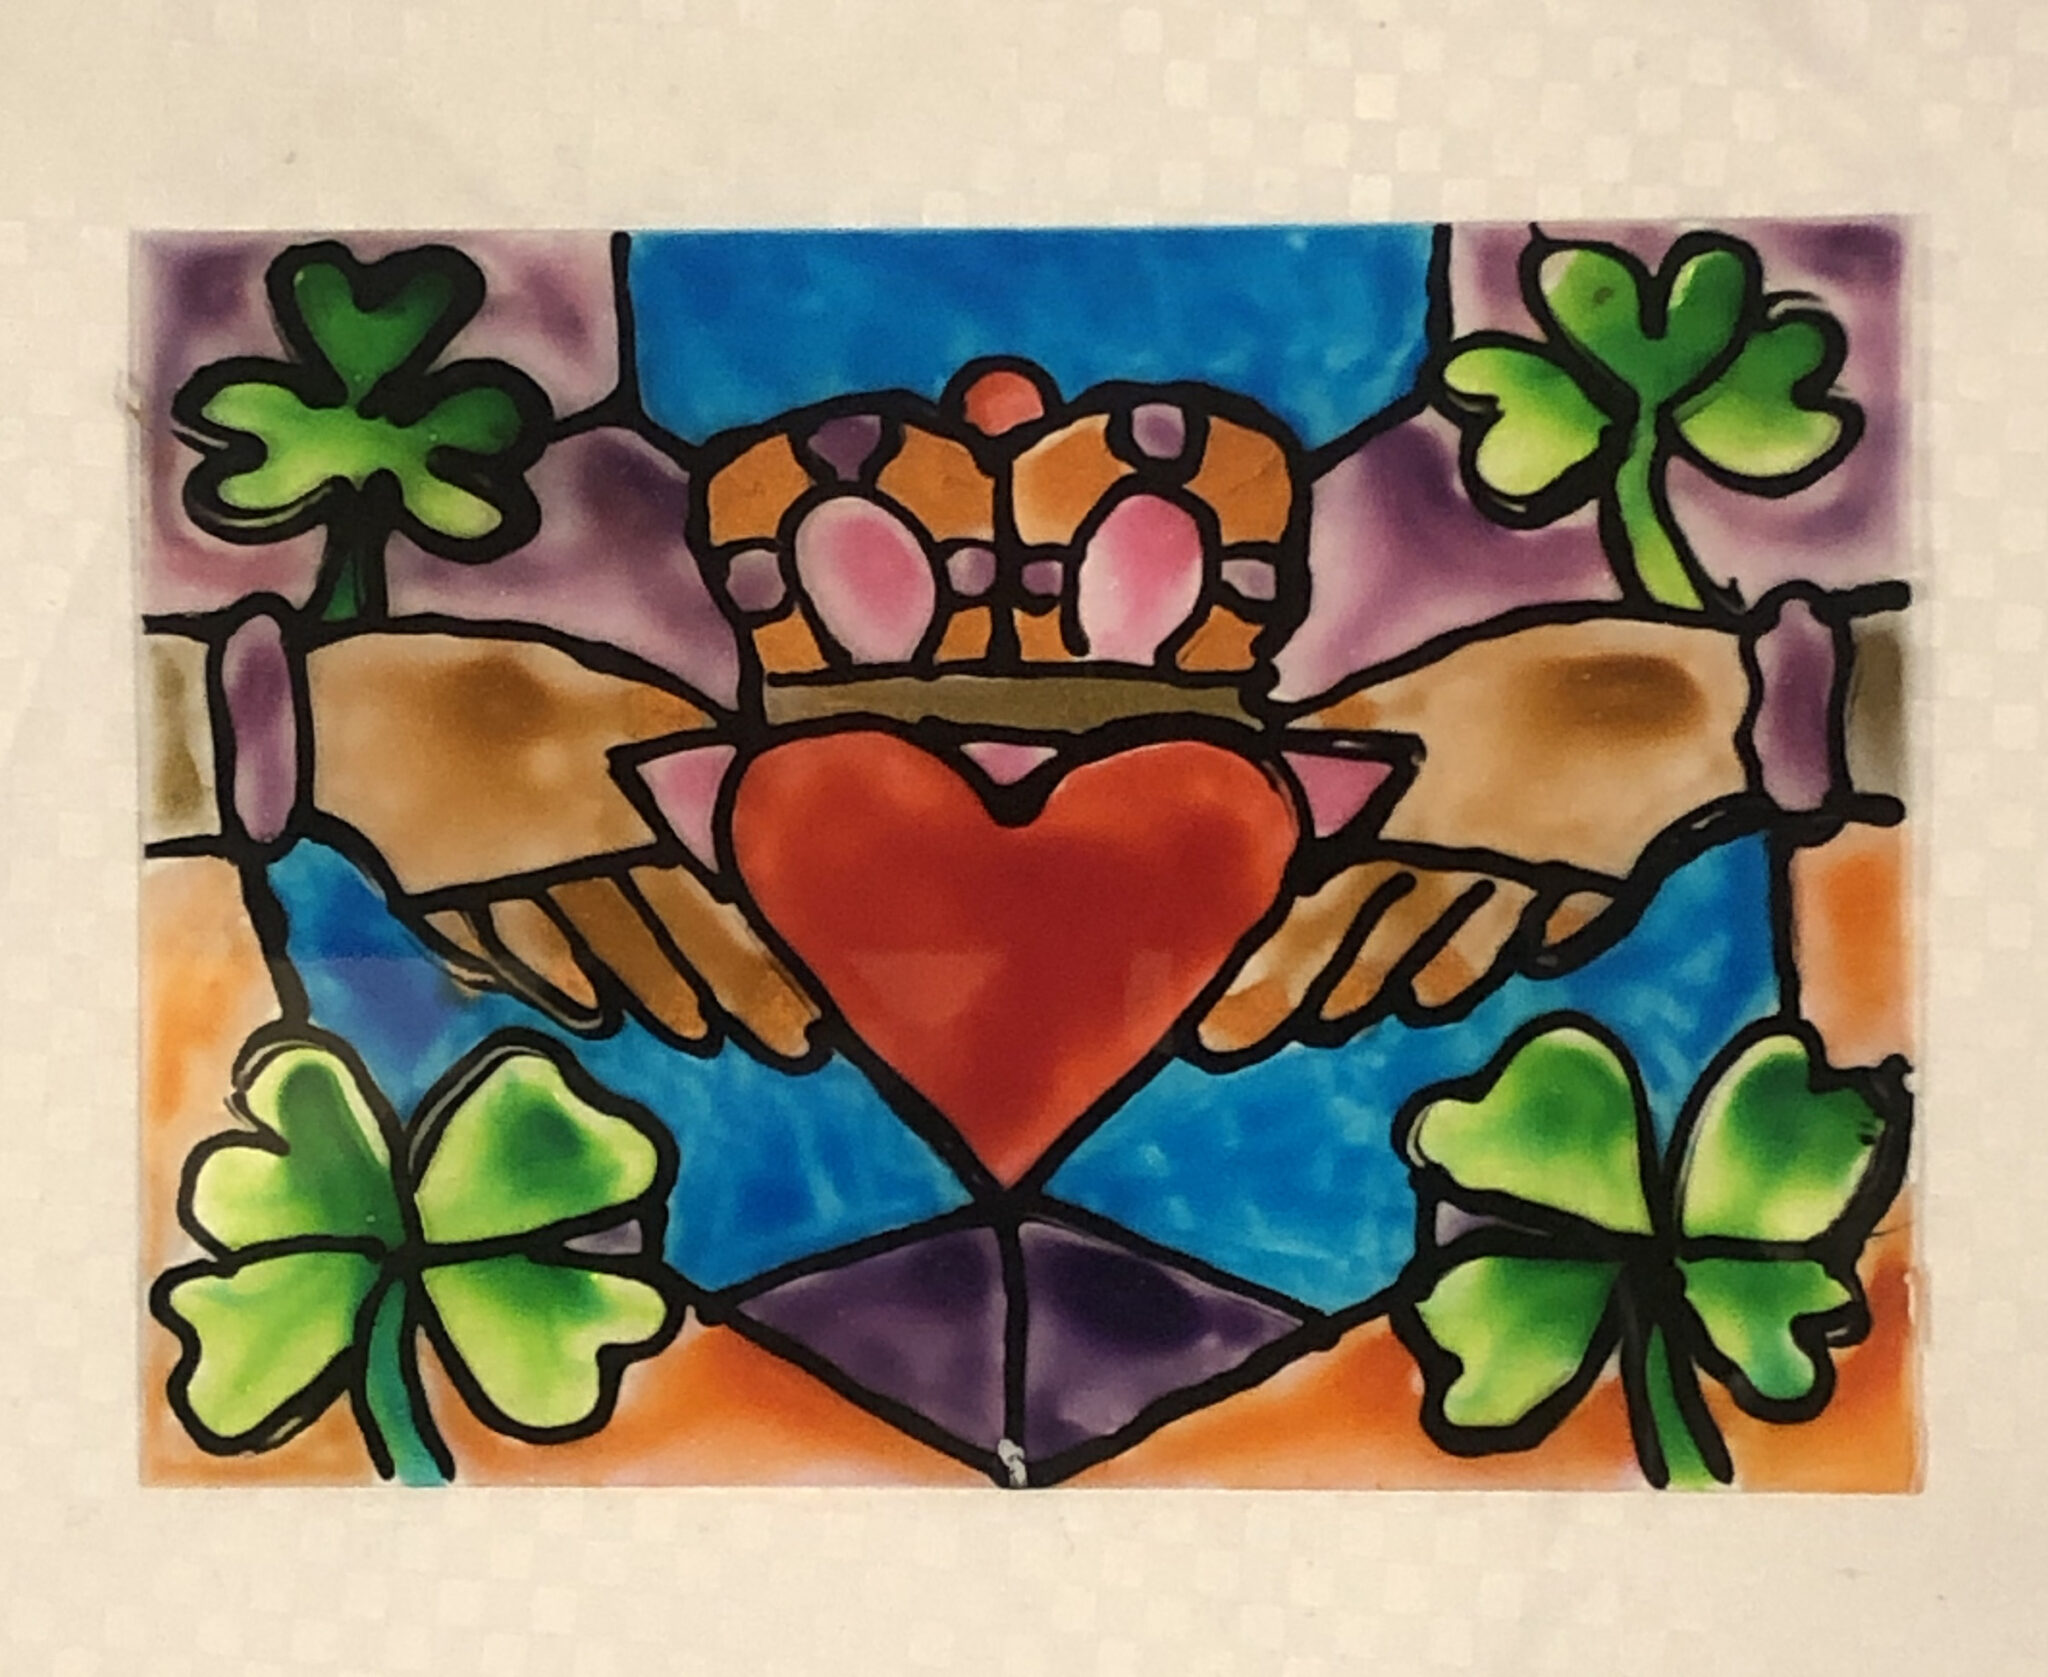
STEP BY STEP INSTRUCTIONS
1 Print image 2 inches smaller than the size of the glass so you have room for the silver tape.
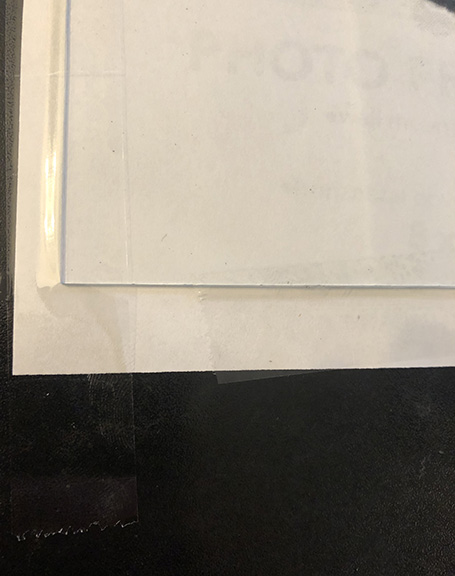
2 Remove glass from frame. Clean with alcohol.
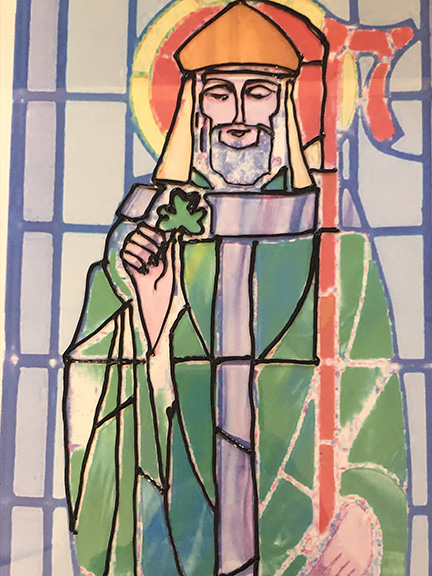
3 Empty a small amount of glue from the bottle. Add black acrylic paint. Stir with a stick or pin. Add metallic eye shadow if you choose. Tap the bottle a few times on a table to help the air bubbles come to the surface.
4 Tape your pattern underneath the glass. Start to outline the picture with the black glue, starting in the center and moving outward. Have a Q-tip or a baby wipes handy in case you need to wipe away a mistake. *TIP: All this will easily be removable when dry so if you make a mistake, you can take an X-Acto knife or a razor blade and easily cut out a portion and start over if need be. Once you are finished outlining, let the outline dry for at least a few hours until it is no longer sticky.
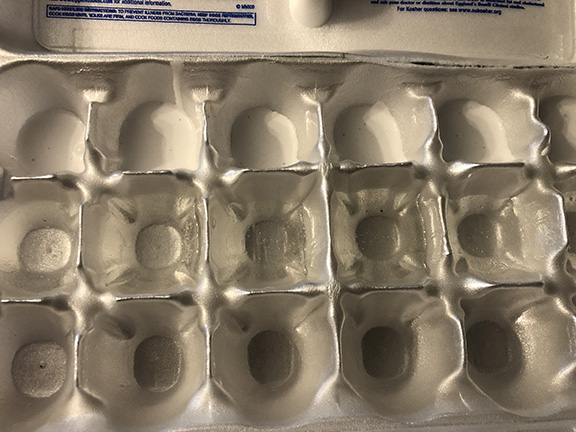
5 Take a Styrofoam or plastic egg carton and fill it up with a small amount of clear school glue or white school glue. The white will dry more opaque so I would say if you want the stained glass to have a very clear look choose clear glue. I used a little bit of both for varied effects.
6 Put a few drops of plain food coloring in the glue and stir with a toothpick. Stir slowly to avoid air bubbles. You can also use acrylic paint for a more opaque look. You can add metallic eye shadow, pearl powders or glitter if you choose.
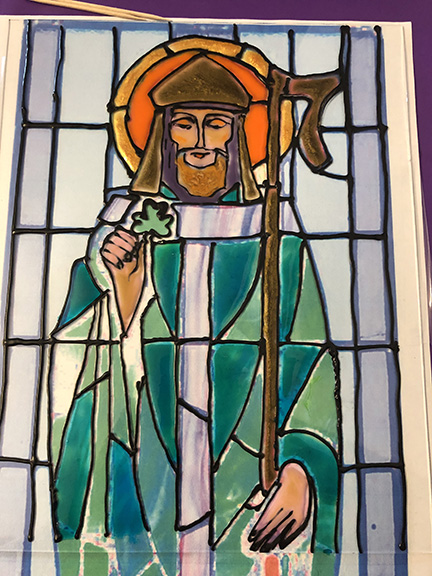
7 Once all of the colors are mixed, start in the center of the picture and paint inside the black lines. Once dry, you may need a second layer depending on how dark the colors are. I did two layers on the pictures shown to get a more vibrant appearance.
8 To make the colors last longer, I would suggest spraying this with a clear coat varnish. That way the colors don’t fade as much if you put it in a window.
9 Take aluminum foil tape and measure around the sides and the top and bottom. Allow an extra inch on all sides. Cut four pieces of aluminum foil tape. Cut them in half long wise to make them more narrow.
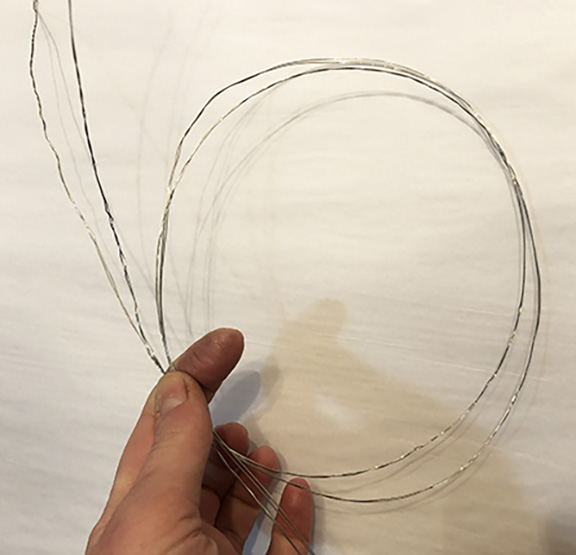
10 Measure craft wire all the way around the picture frame. You’re going to need three times total the amount of wire so you can twist it. Start at the ends and twist the wire so you have two ply strength. Twist the wire and make a dent in the center. Fold it in half and make a small bend in the center so you know where the center is.
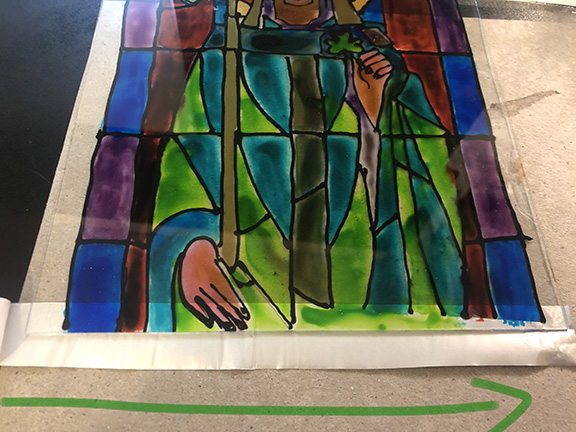
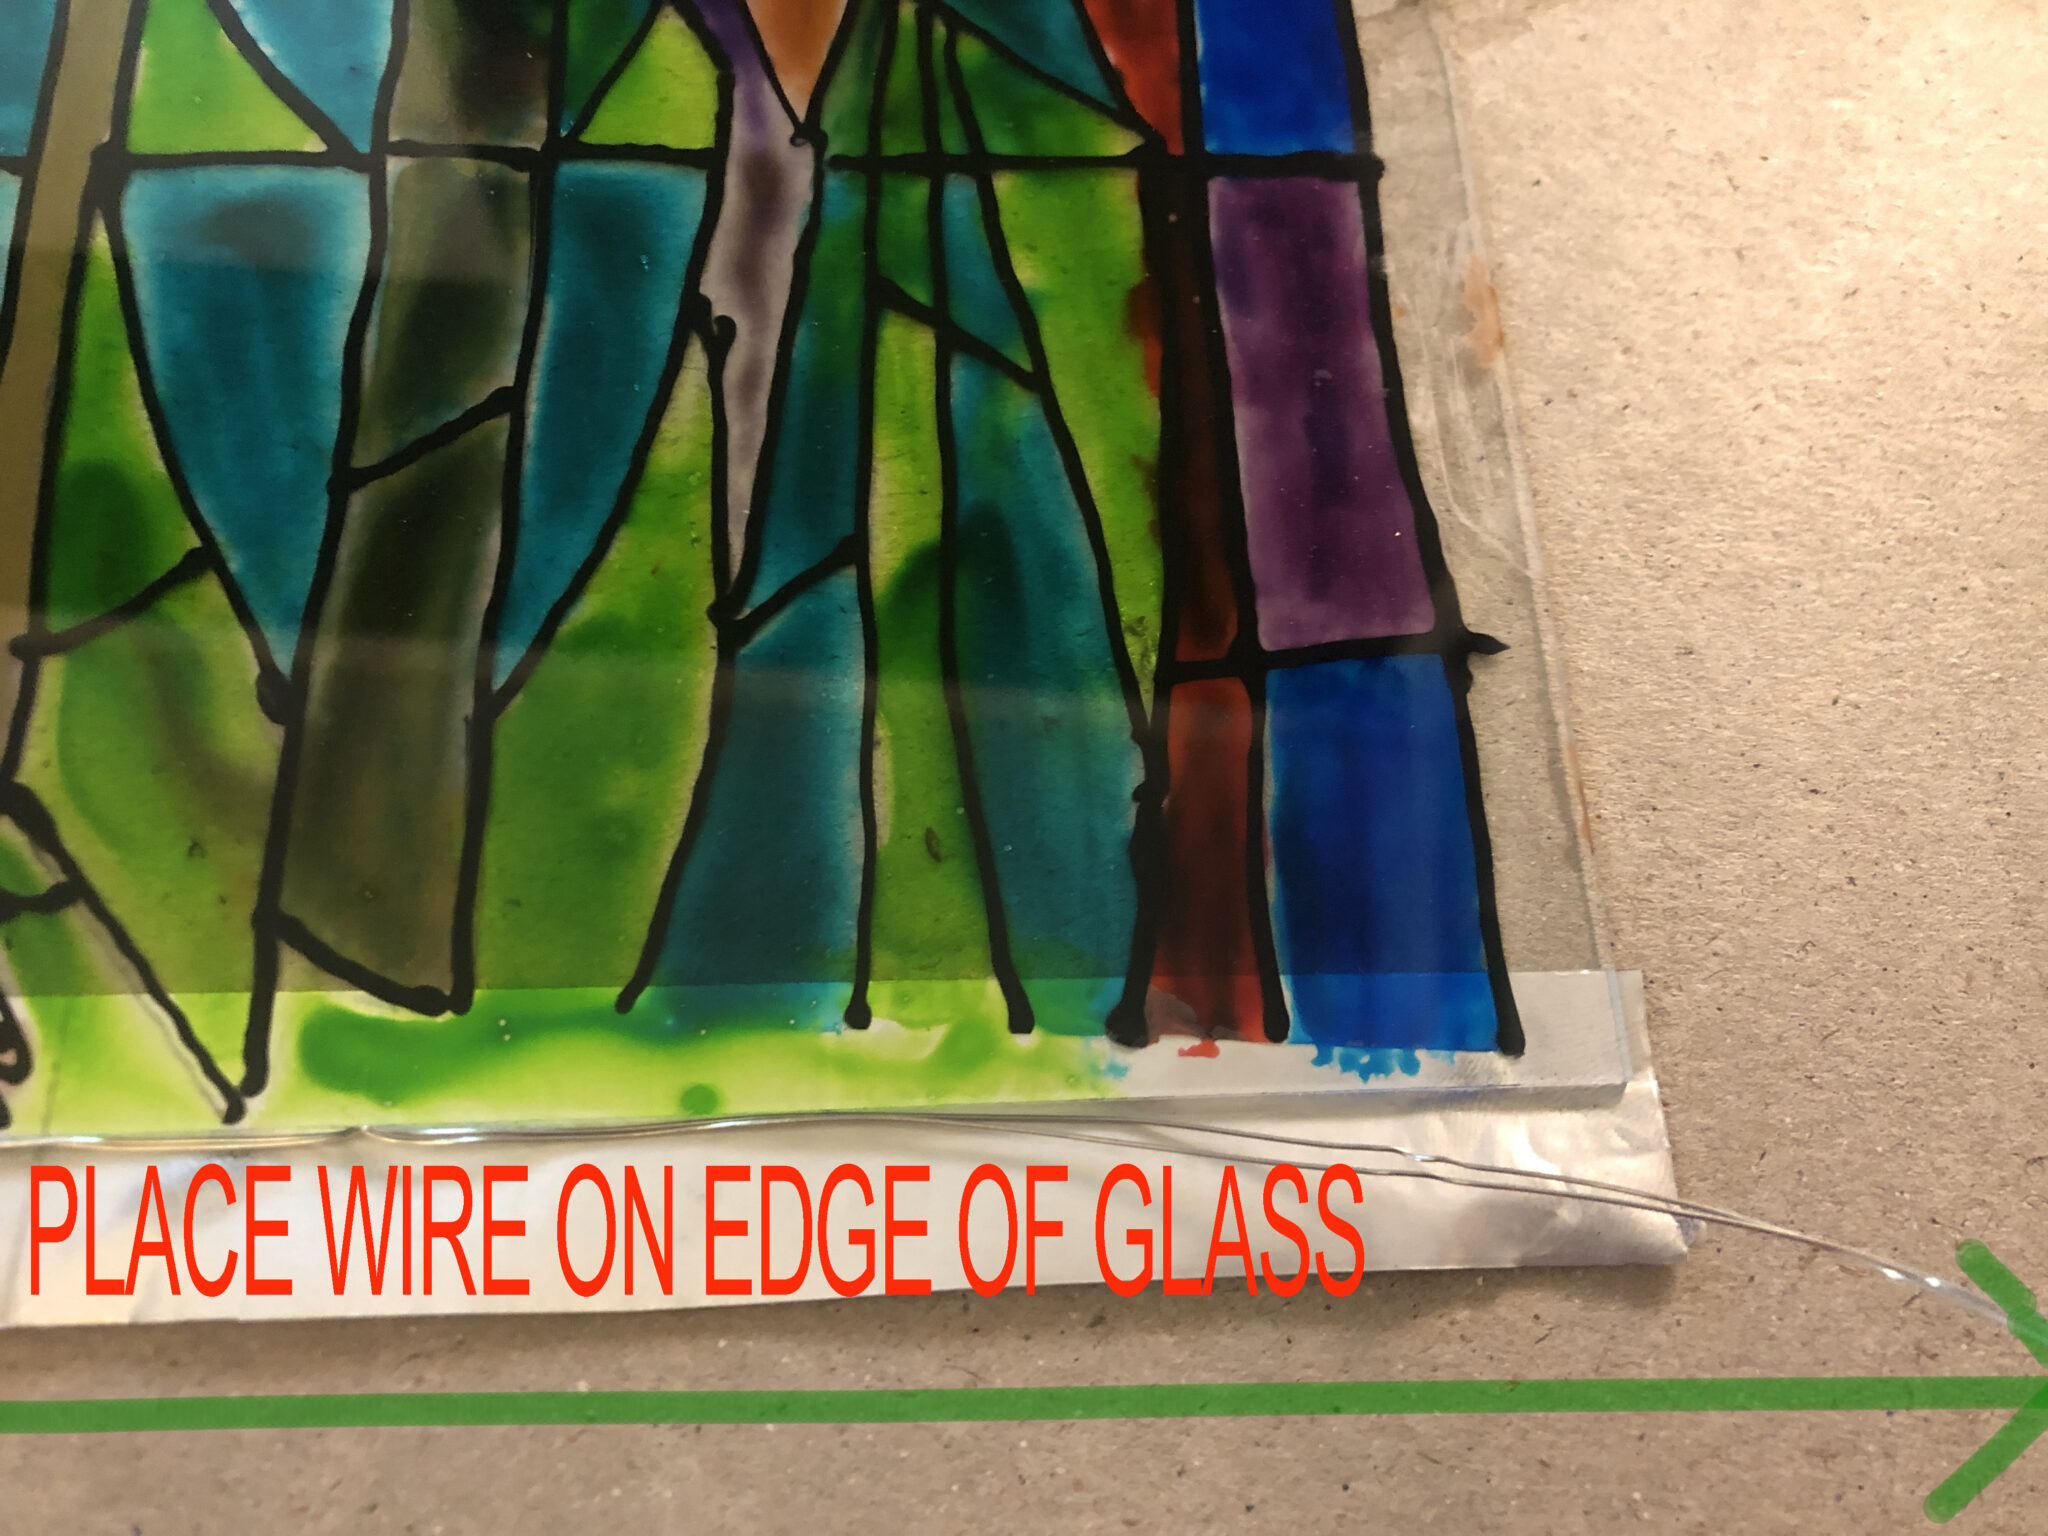
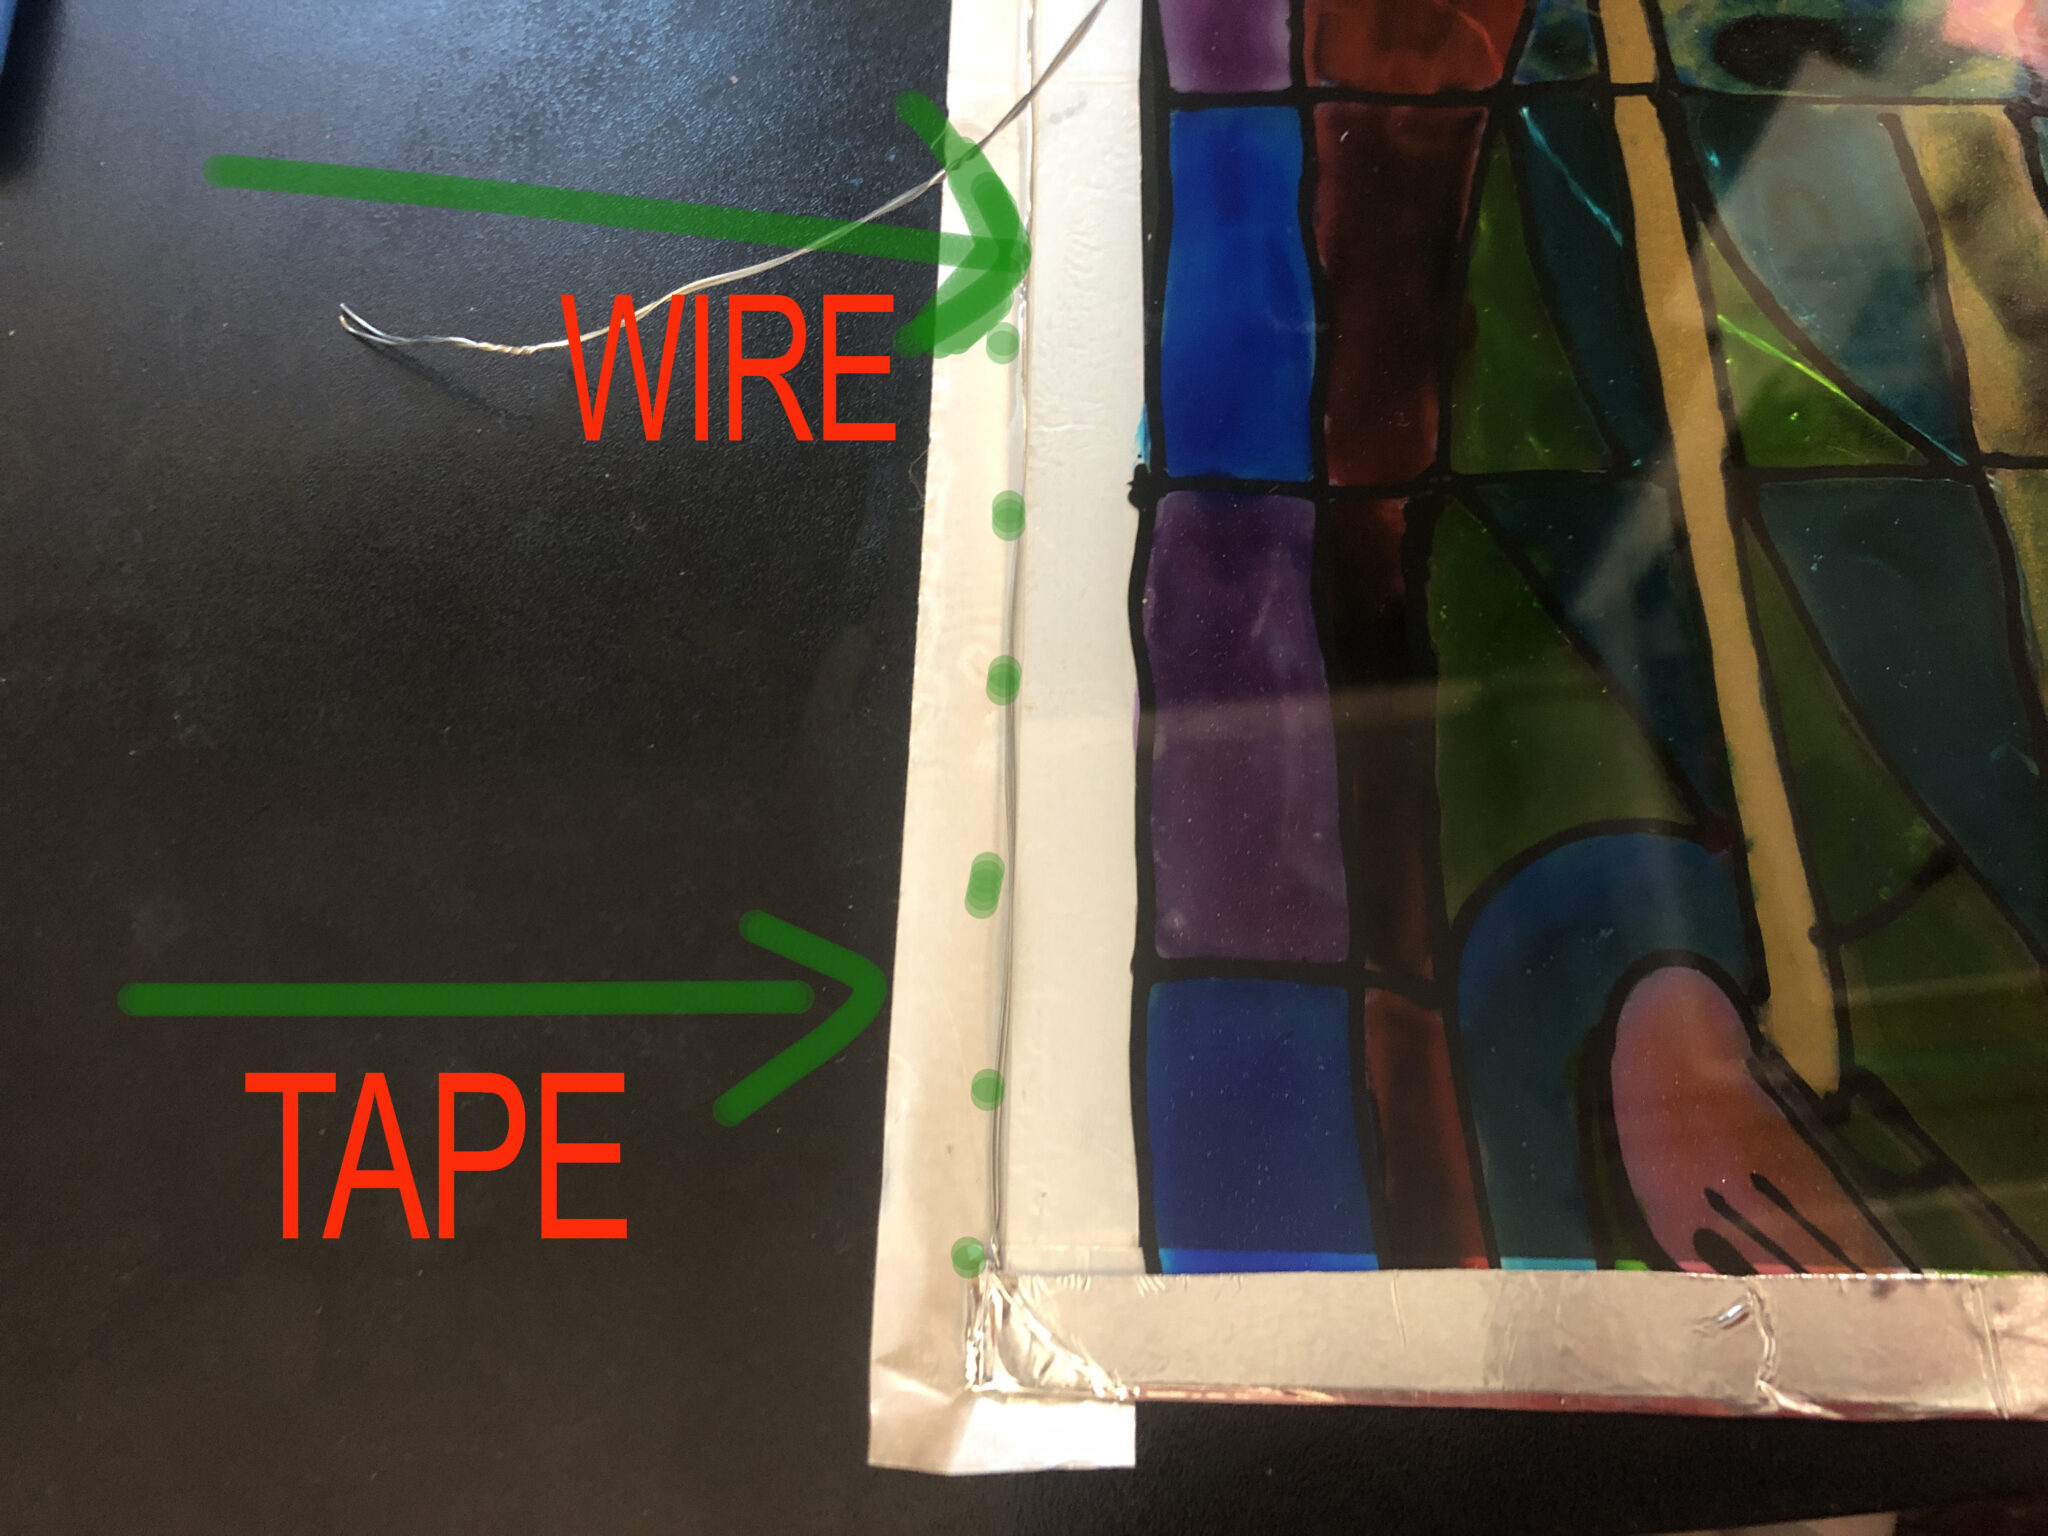
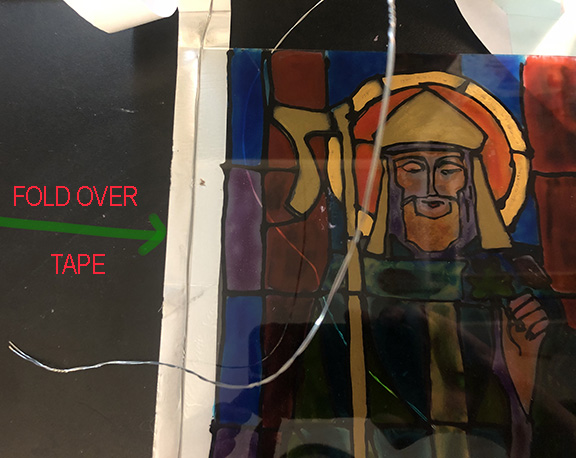
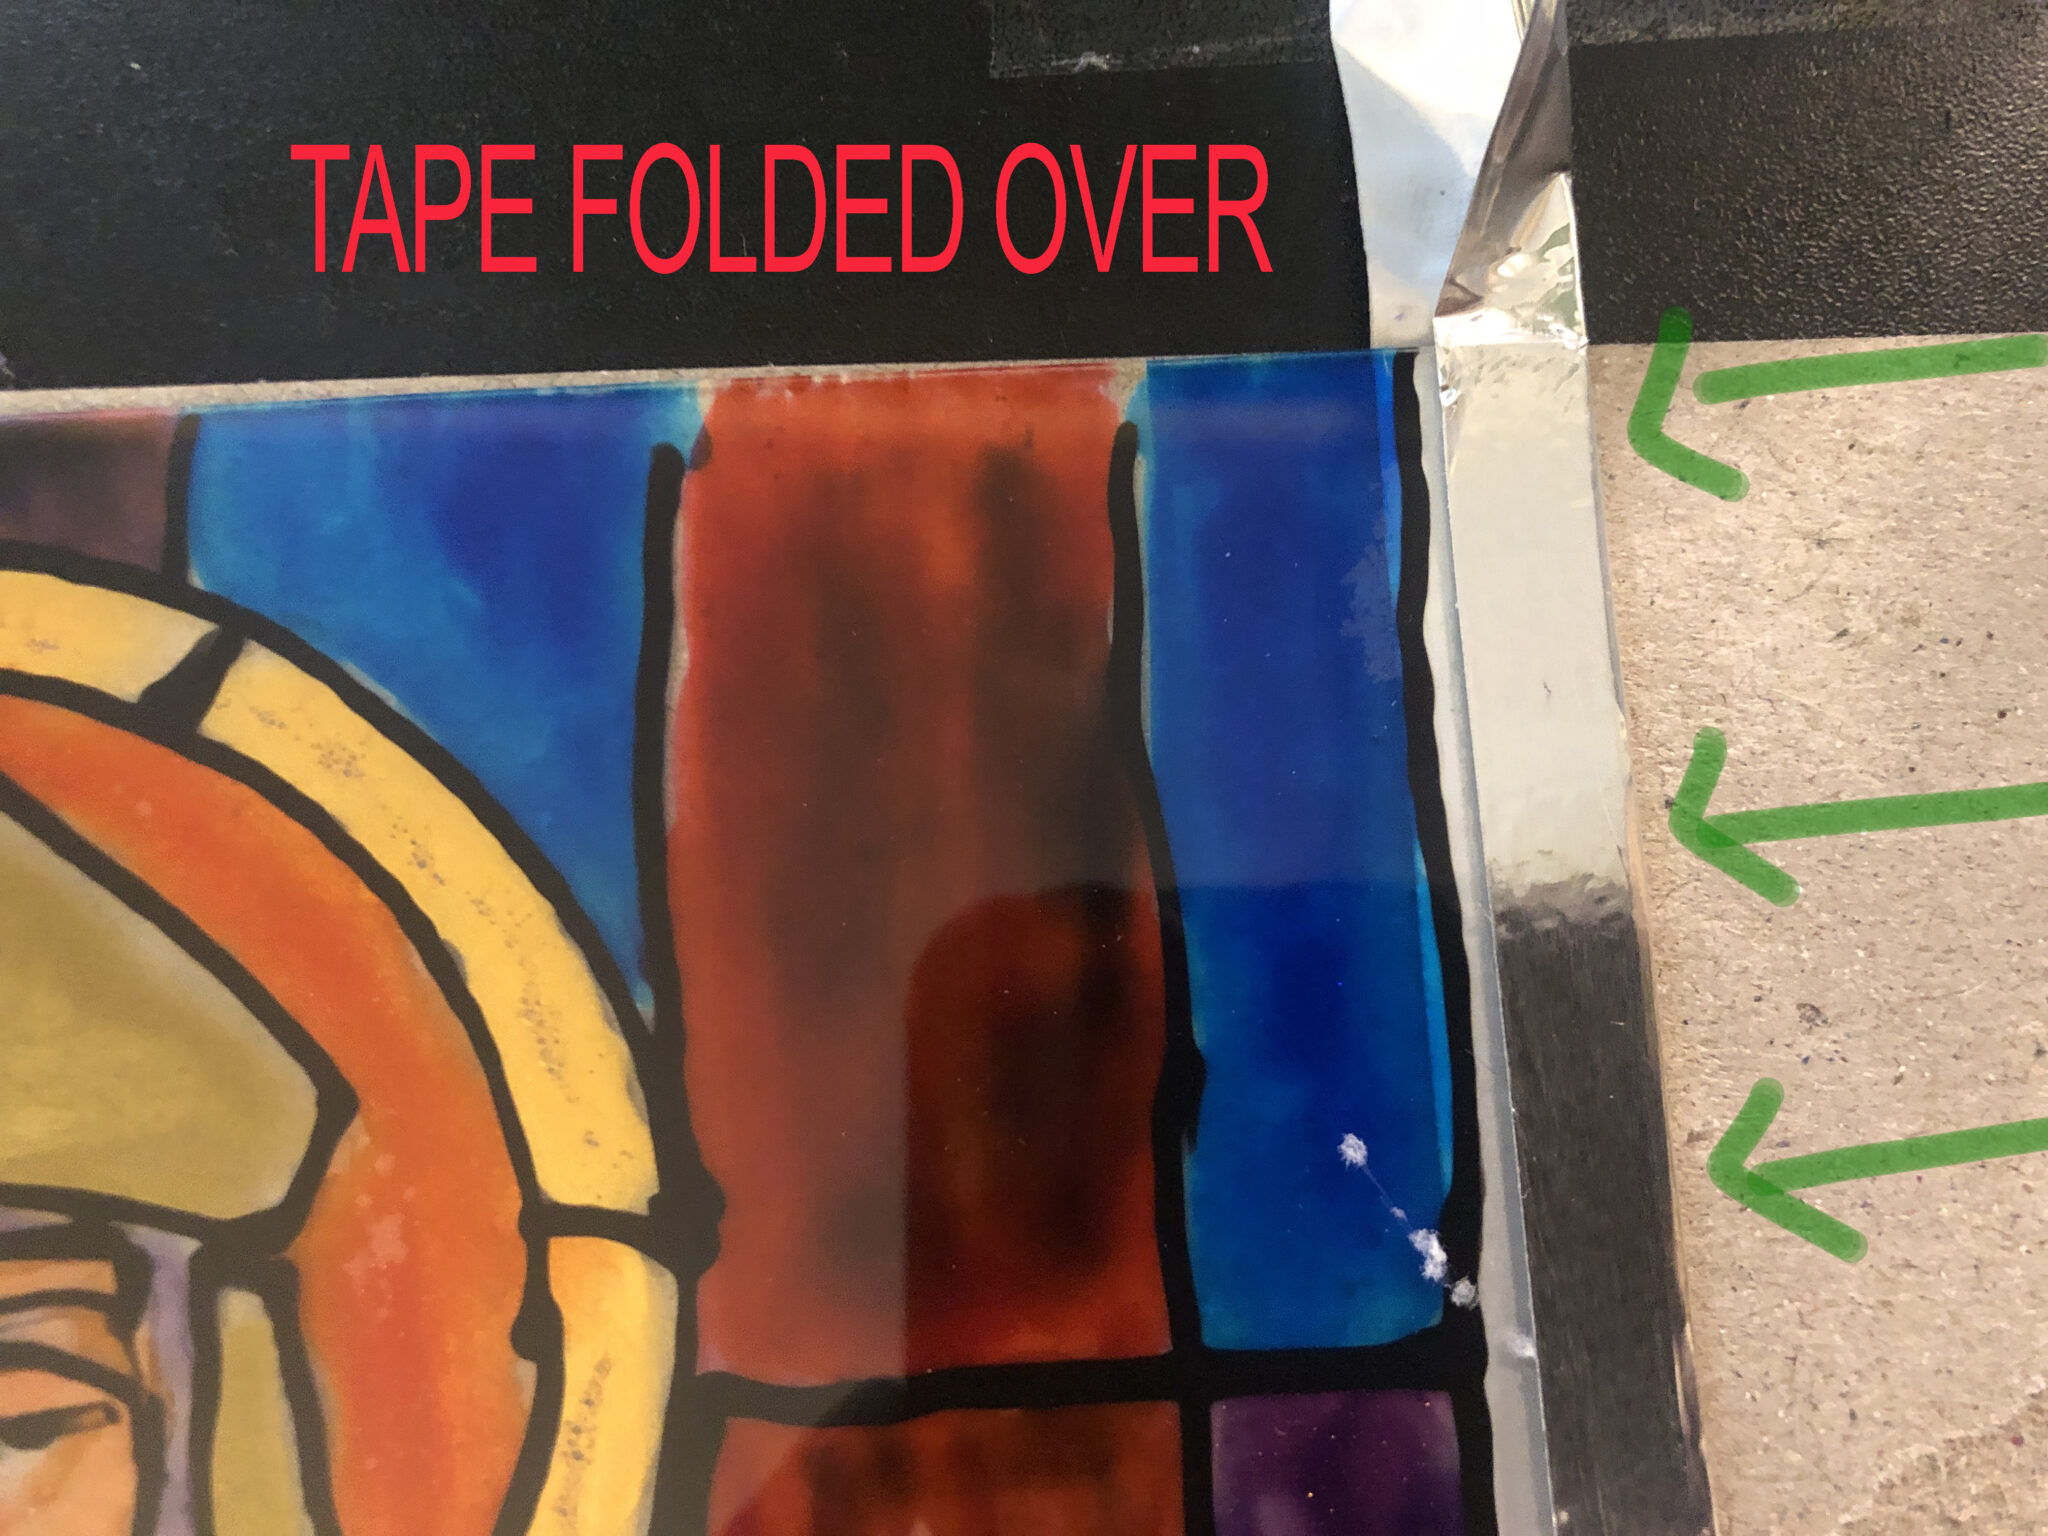
11 Starting on one end of the tape, slowly remove the backing and place it on the bottom edge of the picture frame. Once the tape has been smoothed out, you’re going to place the wire on the outer edge of the glass. Then fold over the tape, so it covers the wire. Cut the edges of the tape or fold it over.
Next you’re going to go on one side of the glass doing the same thing with the tape, slowly push the tape all the way up to the top of the glass, then bend the wire around the edges and let it stick on the tape, then fold the tape over and smooth it down with a credit card. Repeat on the other side.
Now you’re going to do the top. We are just going to fold over the tape on the top of the picture frame. We are not going to place the wire inside. Smooth it over with a credit card.
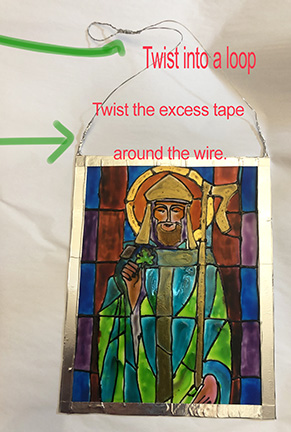
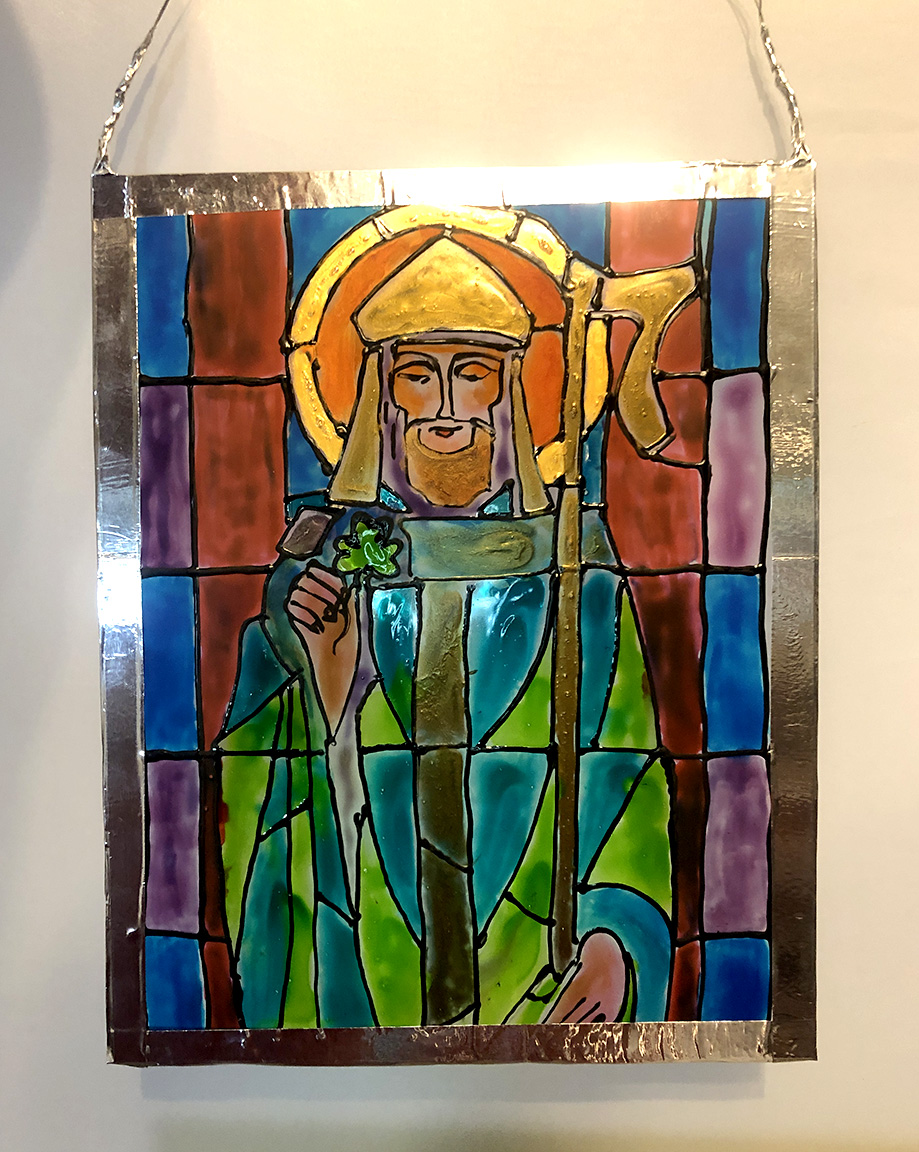
12 Take the wire and twist it in the center make a loop and then twist the wire around the bottom portion of the loop to make a hanger.
YOUTUBE Playlist
I’ve compiled a bunch of videos for you to watch of many people making this craft. This will help you see how to do it.
DOWNLOAD PATTERN FILES & PRINTABLE INSTRUCTIONS
Here are some stained glass patterns to get you started.
EASTER DIY PREVIEW
Ok, so… for the Easter DIY I am going to attempt to make something fabulous with a paper egg carton and egg shells. With as pricey as eggs are, we might as well make some crafts with them right ladies? Ughhh! So, start saving your shells, cartons and any containers you want to upcycle such as cigar boxes, paper mache boxes, glass vases, card board boxes, old bowl and plates, etc. I will keep you posted on my instagram @fancythatantique. Stay in touch. Big hugs from your neighbor in the Berks!
Love, Malena

photo blooper alert! Oops! I forgot to dye over the gray hair today. Oh well, 50 years is 50 years! Keep calm and carry on! :))

