Hello Mass Appeal viewers! Happy Holidays!
- Our two poopers, Cocoa Pebbles and Chaneli Benelli
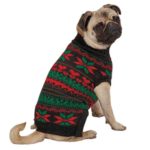
- My baby Chaneli in small pattern example
- A very unhappy Chaneli, the sweater was too small!
- Big pattern example
- Small pattern example
- Big pattern example, with added hood
So, you are all done Christmas shopping and have nothing to do but make something for the dog right? Ahh haa haa we all say, as we scramble to get the kids gifts with our paycheck we hopefully get before Christmas! So, I wanted to make some DIY dog sweaters, thanks to a Facebook request. There are some cute patterns out there for small dogs, but if your dog is bigger than a TOY, the pattern won’t work. I used the pattern I found online on my papillon Chaneli and it was almost too small. So, I went to work making a pattern that would fit every dog from a Bull Mastiff to a Terrier. By the way, we have 126 sweaters to choose from, so stop by the store and pick out ONE FREE SWEATER! If you want more than one sweater they are $5 each. I have brands like Pendleton, Talbots, etc., many in wool, angora, etc. We have a lot of nice sweaters for skiing and some weird colorful ones too. **Sorry we ran out of time today. Let me know if you need any help.**
Here’s what you will need…
SUPPLIES
1 Sweater
(You can gauge what size you need by the neck opening and the sleeve size. I think the bigger the sweater the better as you can always cut it down, unless your dog is smaller than 6 pounds, then you will want a ladies MEDIUM)
Glue Gun
Glue Sticks
OR
Iron On Stitch Witchery
Scissors
Old Towel
PATTERN

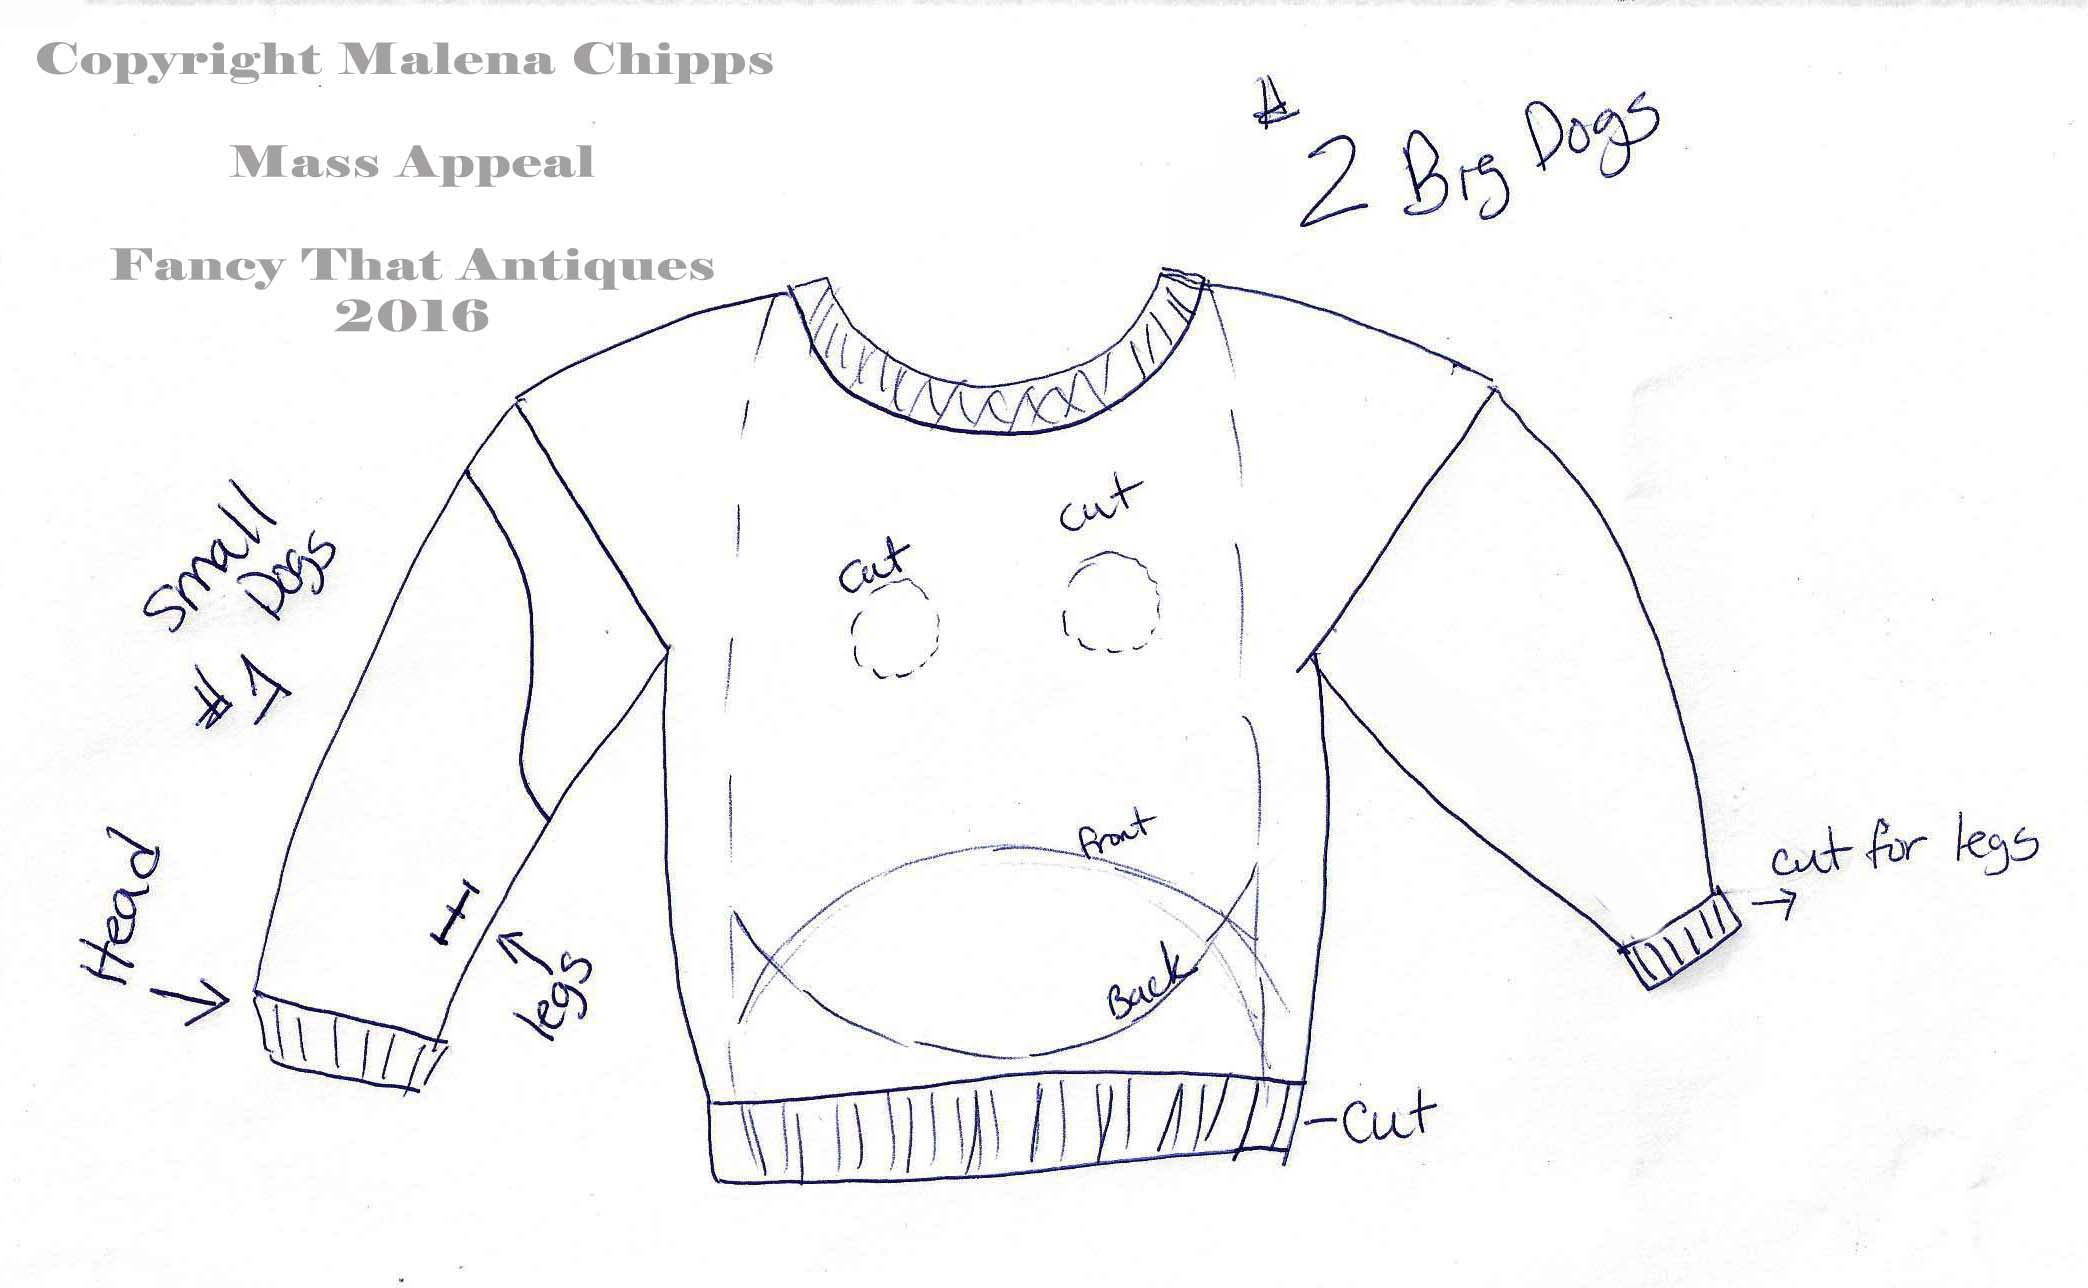
#1 Small Dog Instructions
-
Cut the sleeve as shown on the above pattern. Cut a slit for the legs on ONE SIDE, then turn the sleeve over and repeat. Then snip tiny bits at each edge as shown.
2. Next, cut the other sleeve cuff 1/2 inch above the seam. This will allow you to glue it and have a finished looking edge. Start gluing the raw edge of the hole to the raw edge of the cuff and fold it over, pulling the cuff as you go to create stretch. DO NOT stretch the sweater, only the cuff. (I will show you how to do this on the show.) Once the sleeve is made, cut the end of the cuff, fold it over and glue.
3. Cut the bottom band 1/2 inch above the top seam. Glue around the bottom of the sweater using the same method in the previous step.
4. Decorate!
This is a very simple and easy way to make a dog sweater. You don’t need step #2 and 3. You can just glue the edge and fold it over if you wish.
#2 Big Dog Instructions
-
Start by measuring your dog from the collar to the end where you want the sweater to end. Next measure around the dogs chest. If you don’t have a measuring tape, you can use a string. Just cut the string where the measurement ends.
-
Take the string and fold it in half. Lay it on the sweater at the widest point. This will show you where to cut the side seams. Add 1/2 inch minimum per side for seam allowance. Lay the sweater flat so the bottom edge is even, then start at the top collar and cut 1″ away from the collar down the sides. On the back side where the label is, cut it down the center but do not cut the band, just leave it for now.
-
Take a string or a measuring tape and measure your dogs upper leg. This will tell you how big to cut the 2 leg openings. Cut small circles, using your string as a size guide. You can always make them bigger, not smaller!
-
Next, cut both sleeve cuffs 1/2 inch above the seam. This will allow you to glue it and have a finished looking edge.
-
Flip the sweater inside out.
-
Start gluing the raw edge of the hole to the raw edge of the cuff and fold it over, pulling the cuff as you go to create stretch. DO NOT stretch the sweater, only the cuff. (I will show you how to do this on the show.) Once the sleeve is made, cut the end of the cuff, fold it over and glue.
-
Glue the side seams and back seam together with a hot glue gun, pressing hard with a towel over the seam so the glue seeps in well and you don’t get burned. (Fold over and glue again as shown on TV.)
-
Take the string you used to measure the length of your dog and lay it over the sweater. Cut a half moon shape on the underside of the sweater as shown on the above pattern. Cut a half circle on the top side as shown, ending 1/2 inch longer than where your string ends.
-
Cut the bottom band 1/2 inch above the top seam. Glue around the bottom of the sweater using the same method in the step #6.
-
DECORATE!
This is a very simple and easy way to make a dog sweater. You don’t need step #6 and 9. You can just glue the edge and fold it over if you wish.
If you are going to wash these sweaters, hand wash them in cold water. Warm and hot water will melt the glue and make a huge mess!
As usual, it is much easier to SHOW you how to make these than to write out instructions. I look forward to seeing you all Tuesday on Mass Appeal!
Merry Christmas!
Happy crafting,
Malena


