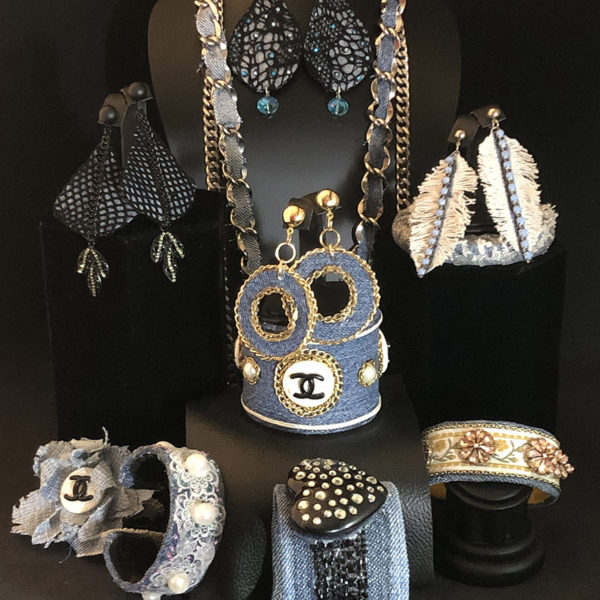
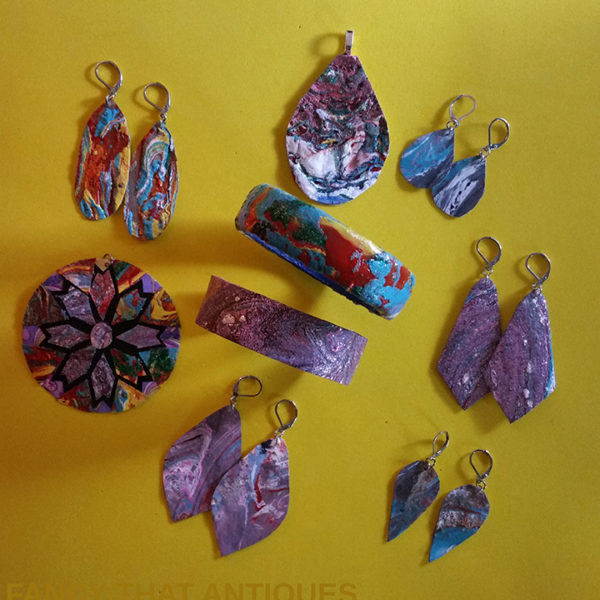
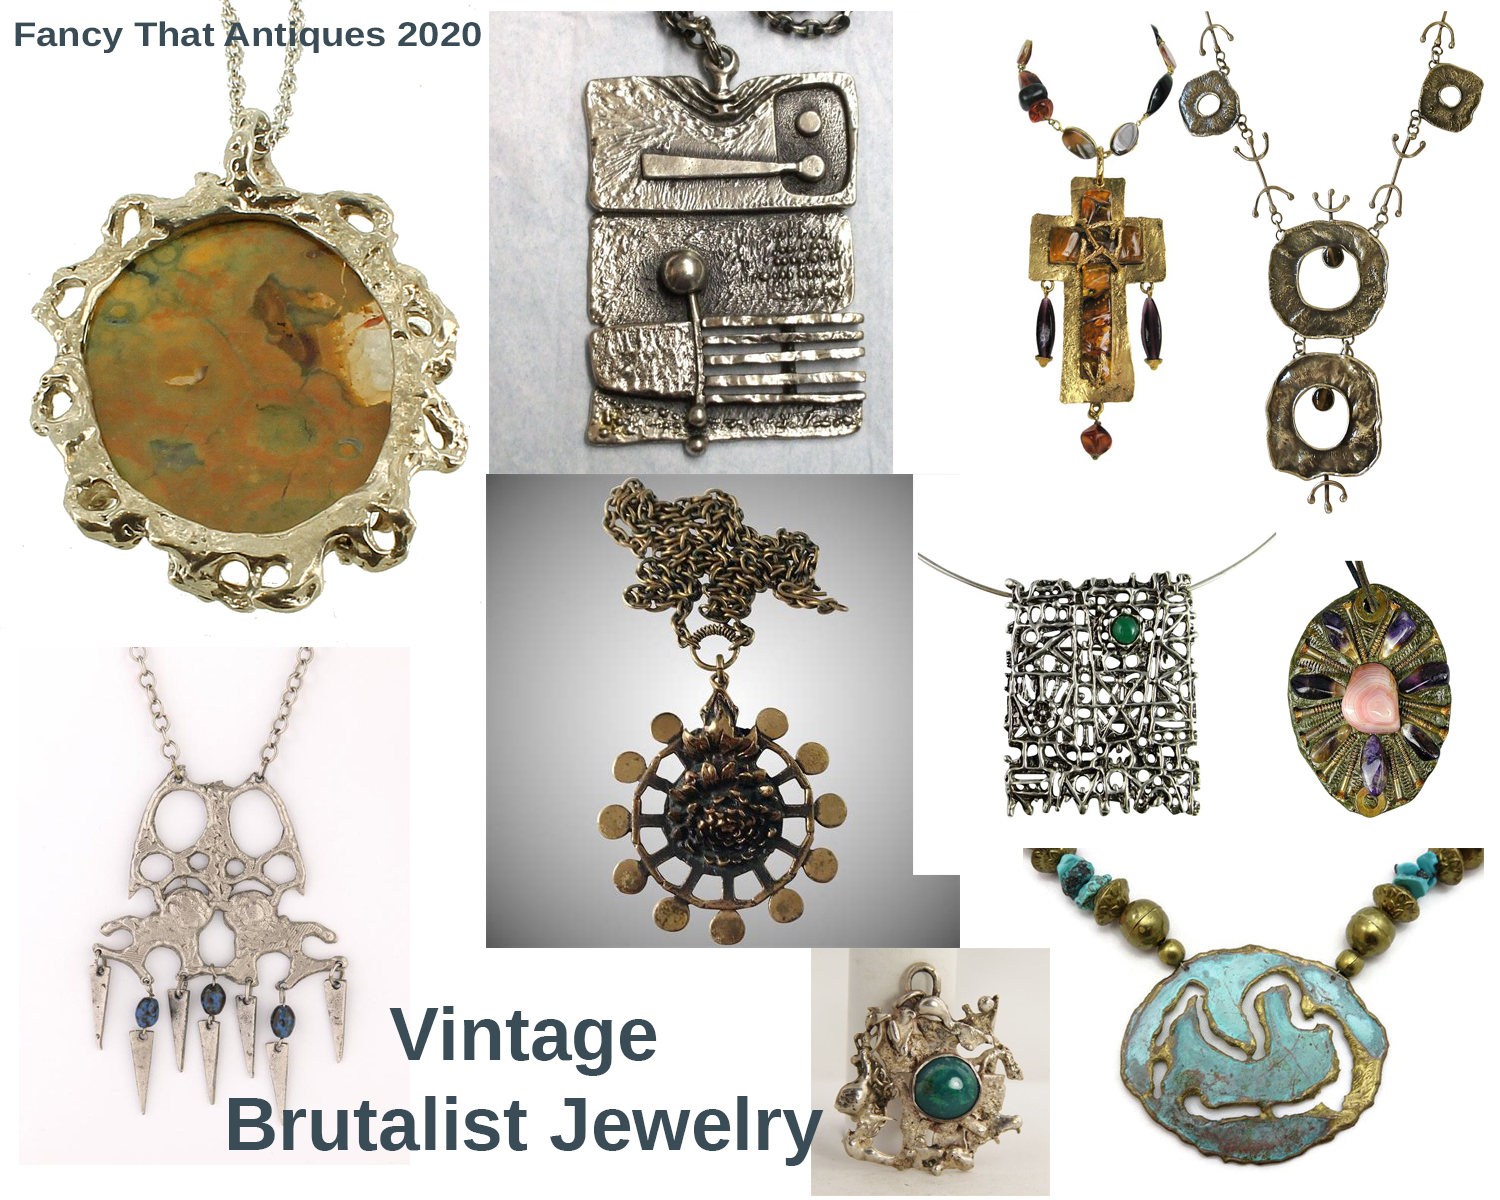
Greetings neighbors! Today on Mass Appeal we will be making faux metal jewelry in vintage modernist & brutalist styles. This is an easy fun craft that can actually be worn! You can make craft show pieces, kid’s super hero costumes, or just a nice pair of wearable earrings for yourself. This craft does include fire, so if you are doing it with the wee ones, use the NO BURN METHOD. Let’s get started by showing you some real vintage pieces from the mid-century era.
Here’s what you will need to replicate this style of jewelry today:
Brown paper grocery bags
Cardboard cereal box or other cardboard
Aluminum foil
White glue
Glue gun & glue sticks
Lighter or matches
Black acrylic paint
Metallic powder makeup or craft pigment powder
Decorations like rhinestones, pearls, beads, lace, rope, buttons (OPTIONAL)
Jewelry findings
-I ordered a bunch of findings for you such as clasps, jump rings, leather cord, etc., so just let me know what you need. The findings are free of charge if you live in Mass. Just text me at: 413-512-3714 and I’ll send them free of charge to anyone in Massachusetts!
*ITEMS NEEDED FOR THE BURNED VERSION
Pliers
Candle
Matches or lighter
PROJECT #1 NO FIRE NEEDED
STEP 1
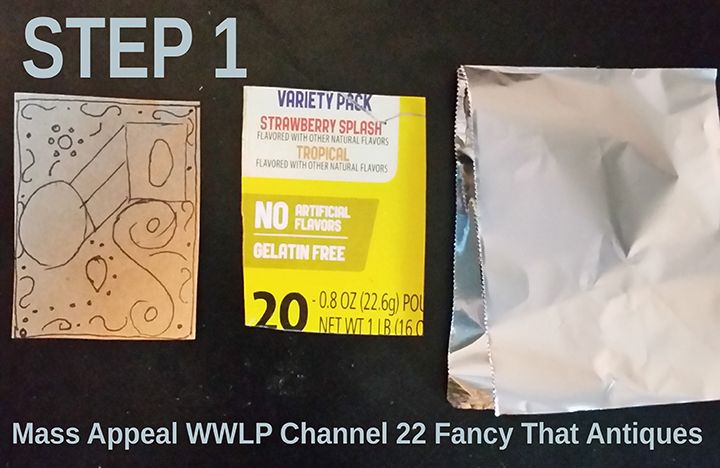
Cut 3 layers. The first layer is a brown paper bag. The second is from a food box. The third layer is aluminum foil, which needs to be a little bit bigger as shown.
STEP 2
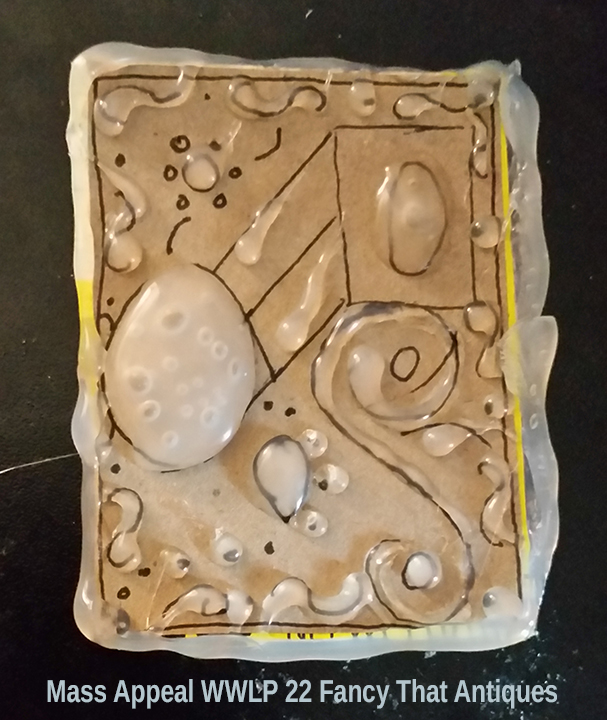
On the top grocery bag layer, draw on some designs with your glue gun. Allow it to dry for a few minutes.
STEP 3
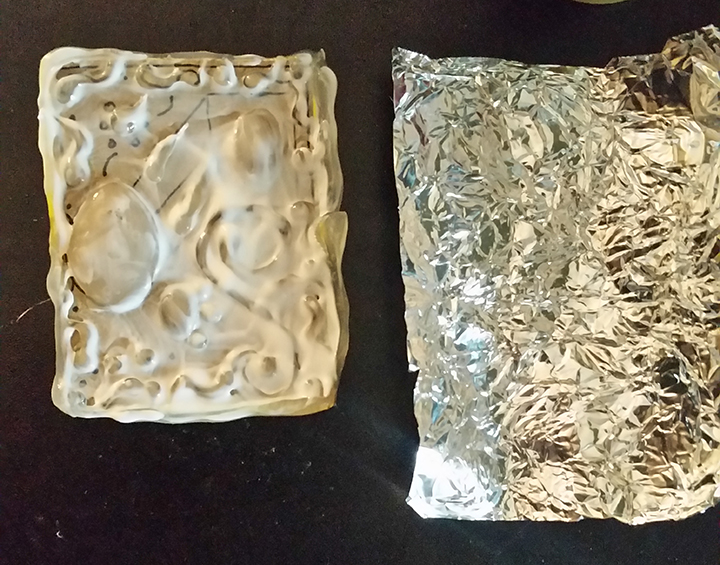
Paint both sides with white glue and cover both sides with aluminum foil while the glue is wet.
STEP 4
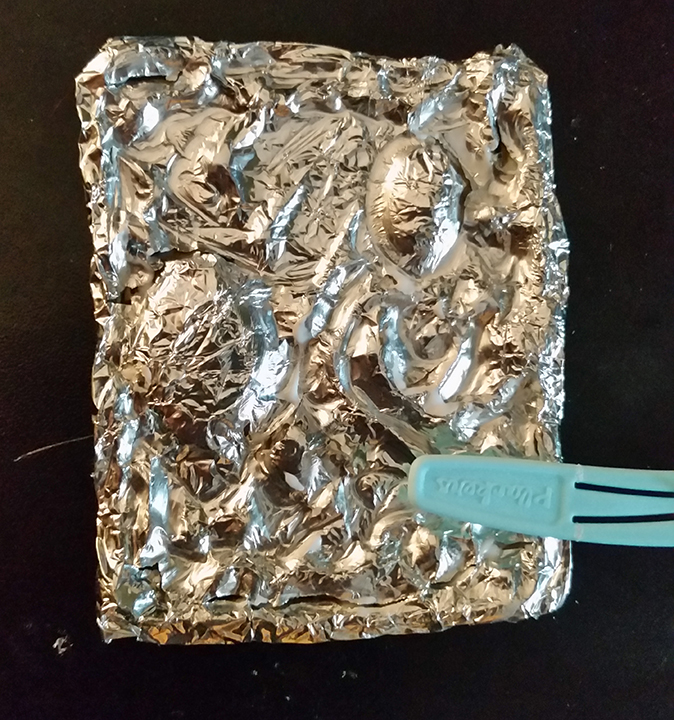
Use a brush or stick to push the aluminum foil into the recessed areas. The foil will break and the glue will start to show. Allow that to dry for a few hours.
STEP 5
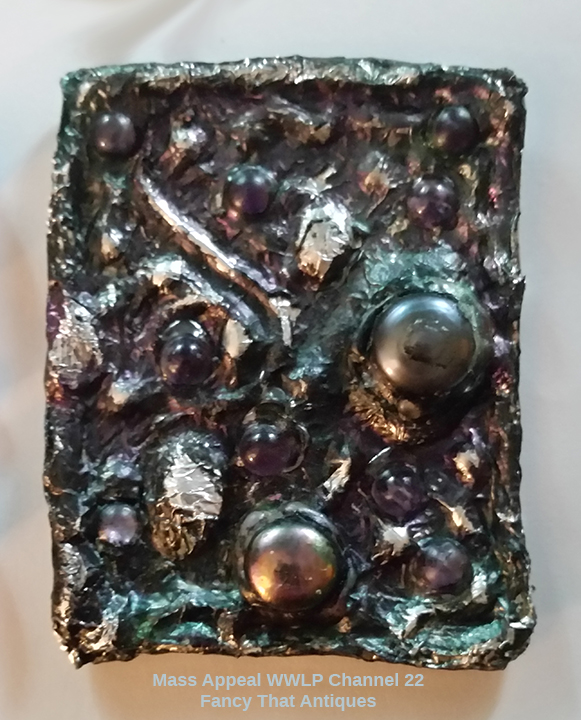
Dry brush black paint over the entire piece pushing the paint into the recessed areas. Allow it to dry for a few hours. Take your metallic powder and paint over the RAISED areas. You can now add faux gems and finish with one more coat of white glue or paint with clear nail polish.
Here is the finished necklace!
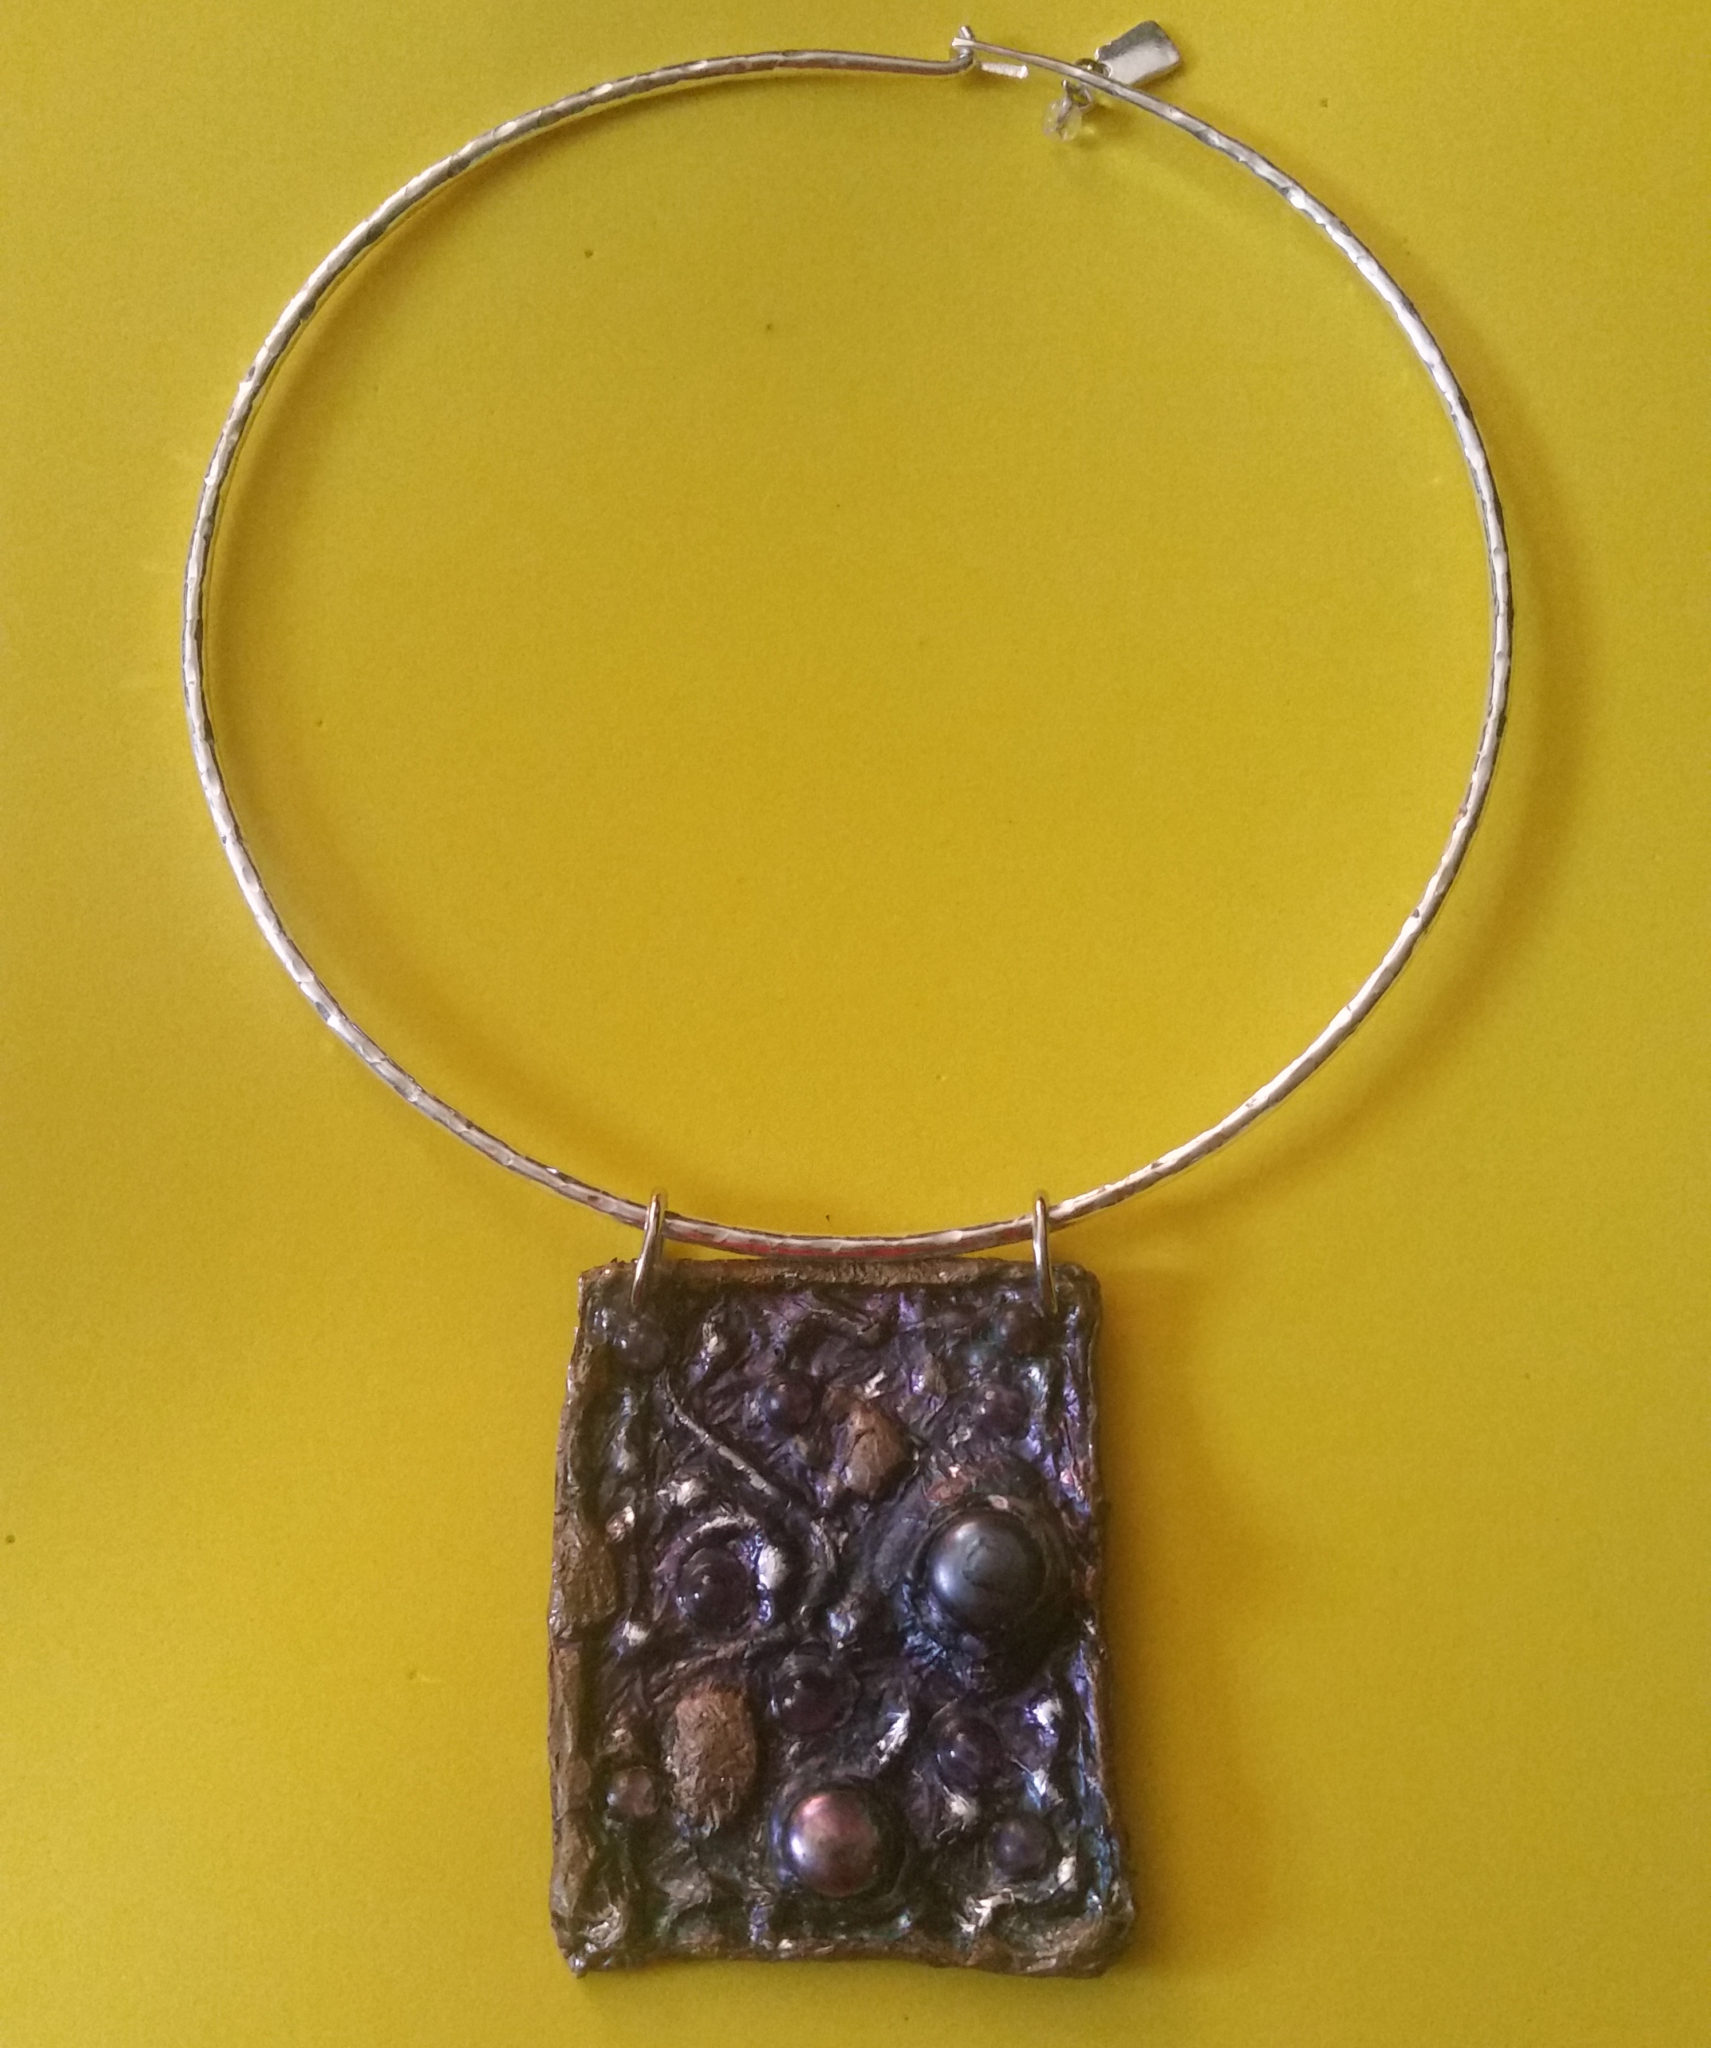
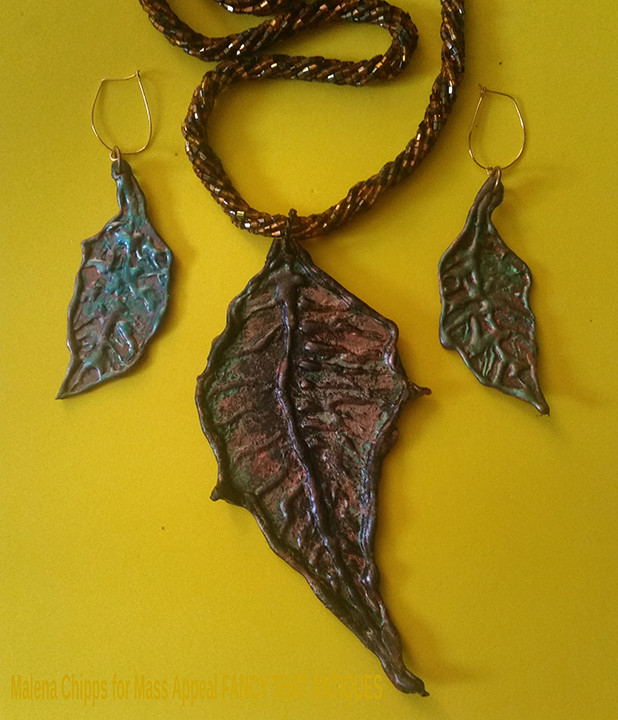
Both of these styles were done the same way. The leaves were made with metallic eyeshadow and acrylic paint. I sealed them with another layer of white glue, which dries clear.
PROJECT 2 WITH FIRE
STEP 1
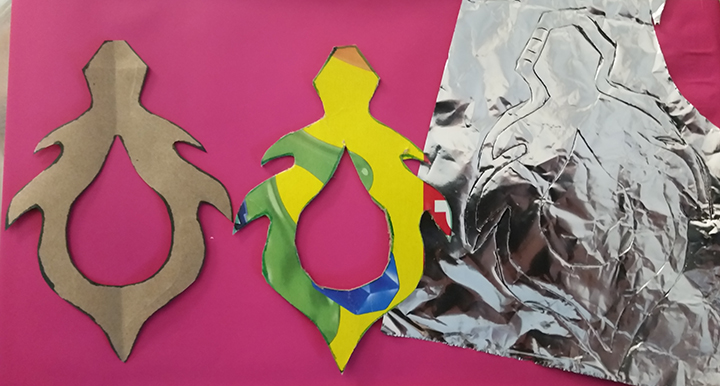
Cut 3 layers. The first layer is a brown paper bag. The second is from a food box. The third layer is aluminum foil, which needs to be a little bit bigger as shown. Cover the food box cut out with the aluminum foil then glue on the grocery bag cut out on the front.
STEP 2
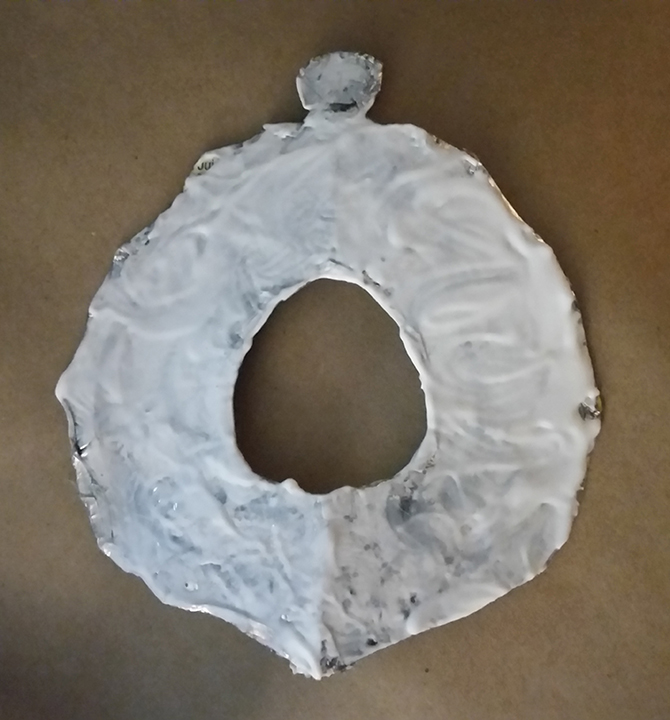
Cover the grocery bag side with a LOT of glue. This is the side we are going to burn. You will need to hold the top with pliers.
STEP 3
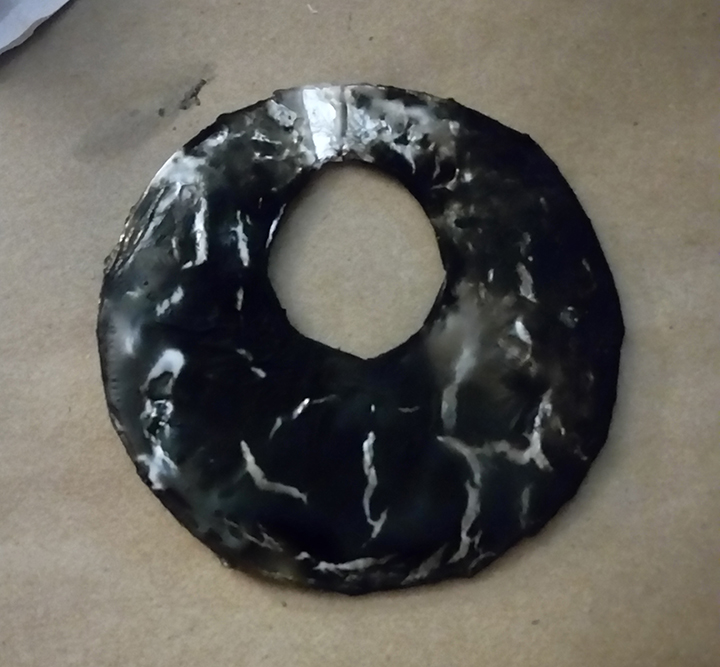
Hold the wet glue over the flame and cook the glue until it is black. It should NOT catch fire. If it does, you are holding it too close. Once all the glue is black, not white, set it aside and allow it to dry for 4 hours or so. This will give you the forged metal effect.
STEP 4
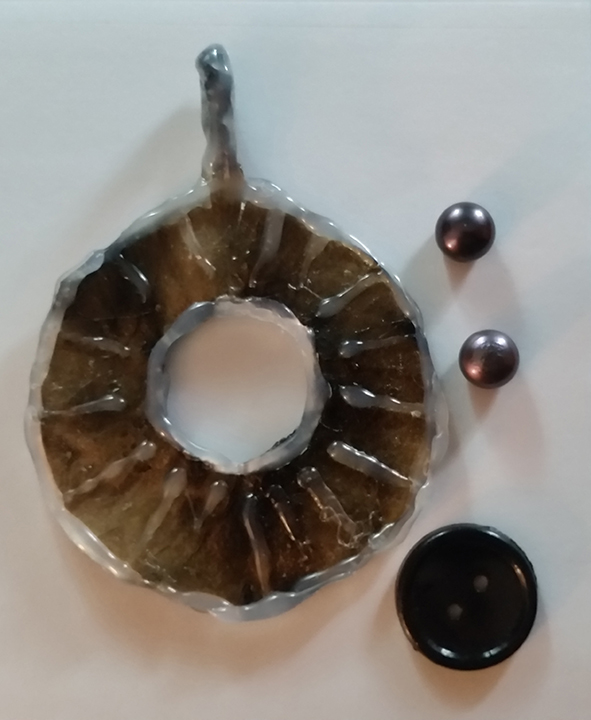
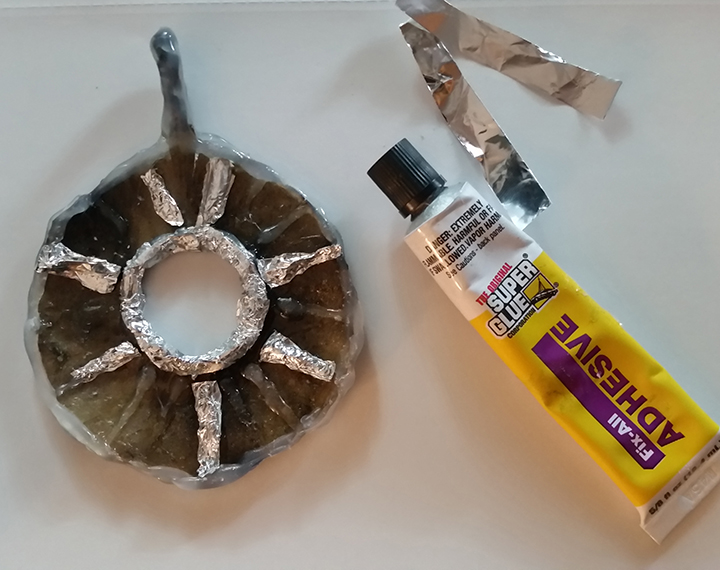
You can add a design with a glue gun and cover with aluminum foil or just rub some metallic powder or paint over the raised areas as shown. The metallic powder or paint is what will give you the forged metal look!
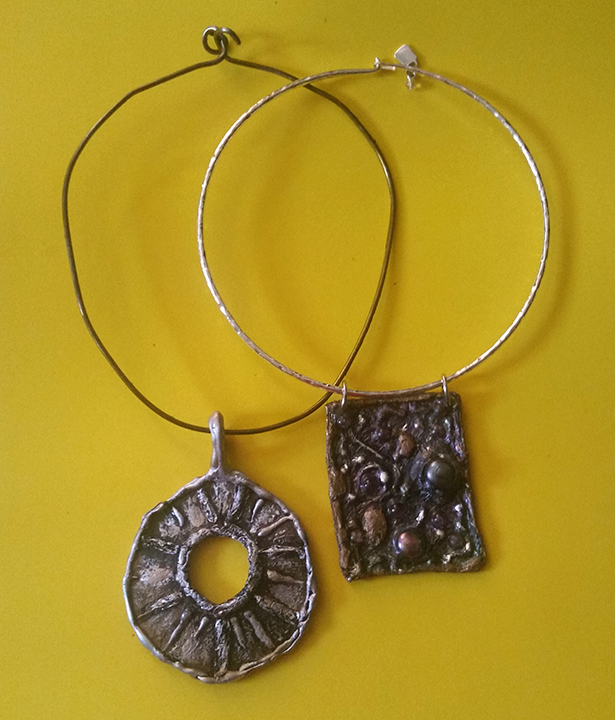
As always, let me know if you need any help or supplies. You can text the studio at:
413-512-3714
See you again on the 12th of June for another fun DIY.
Stay safe and healthy out there!
Malena

Jewelry Tips with Malena Chipps on Mass Appeal, WWLP Channel 22 Massachusetts

