Happy fall neighbors! Summer is FINALLY over! As a winter loving person, I am so happy it’s sweater season again. The fall leaves are gorgeous in New England. It’s tourist season here in the Berks and all the “leafers” are out taking photos. So, I thought you might want an easy way to preserve those lovely leaves! No wax is required. You can use this technique to make wreaths and a variety of other crafts. The leaves won’t age or fall apart and they are water resistant. Here’s what you will need:
SUPPLIES
2 Packages of hot glue sticks
Hot glue gun
Iron
Parchment paper (NOT WAX PAPER! It will stick!)
Leaves (Real, paper or fabric) *Printable templates at the bottom of the page. Fabric leaves are available at the Dollar Tree.
Jewelry findings (Contact me if you need some. Info below)
Metallic paint (I used Rub n’ Buff) Acrylic works fine. Permanent markers get gummy on the silicone, so avoid those. You can also use nail polish or gold leafing. If in a pinch, you can add some metallic eye shadow to the clear nail polish for a metallic look.
Lighter
OPTIONAL
Glitter
Broken jewelry, rhinestones, etc for decoration
INSTRUCTIONS

Cut 2 pieces of parchment paper. Cut the hot glue into tiny pieces and IRON 
Open the folded paper while the glue is still hot and melted. Place the leaves on the bottom layer of the hot glue. 
Place the top layer of the paper over the leaves and iron again. Then put a book over it and press down. 
Allow it to cool completely and gently pull up the paper. 
Remove the leaves/glue mixture. 
Cut the leaves out allowing a little extra around the edges for now. 
Take the iron OR a heatgun or lighter and hold it 1 inch over the surface until the glue melts clear. 
The leaves will look clear and shiny. 
Cut as close to the leaf edge as possible. 
Paint the backside and around the edges with metallic paint. 
BACK VIEW 
FRONT VIEW 
Take a pin and heat it with a lighter. Poke a hole at the top of the leaf and add your spring ring, then attach the findings. 
I added these leaves to an existing necklace I had. I used one of the rings from the necklace.

I painted some resin cabs to make the ladybugs. 
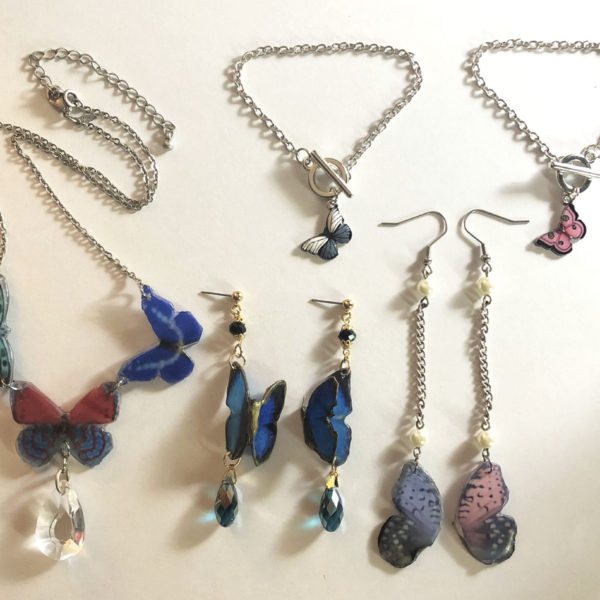
The pendants are attached to gold bead necklaces I sell. I attached the leaves to a bead from the necklace in the next photo and added wires to make the earrings. 
I attached the leaves to a pre-made necklace. I attached the leaves to some jewelry findings and added beads from a broken necklace. 
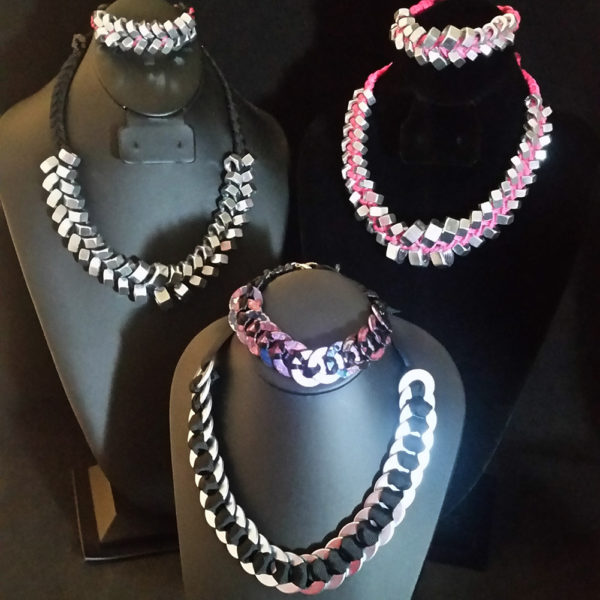
Here are the finished pieces.
That’s it! I’m sure you already know this but, I keep these DIY projects simple so you can do them with your kids or while watching a movie. I see no reason to spend a bunch of money on something until you know you like doing it. Then, you can buy the fancy materials. Let me know how you like the segments and what you’d like to see. Christmas is coming so I’ll be back on Friday, December 3rd for a holiday show. As always, if you need some jewelry findings, let me know. I can send you whatever you need. This is free for Mass Appeal viewers in Massachusetts. Out of state people pay $10 for shipping and supplies. Thanks for stopping by. Have a great month and I’ll see you soon.
~Malena
Studio # 413-512-3714
TEMPLATES AND PRINTABLES