Greetings neighbors!
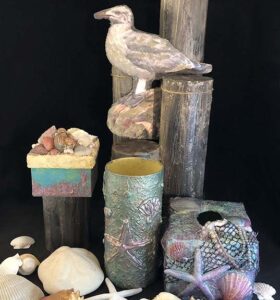
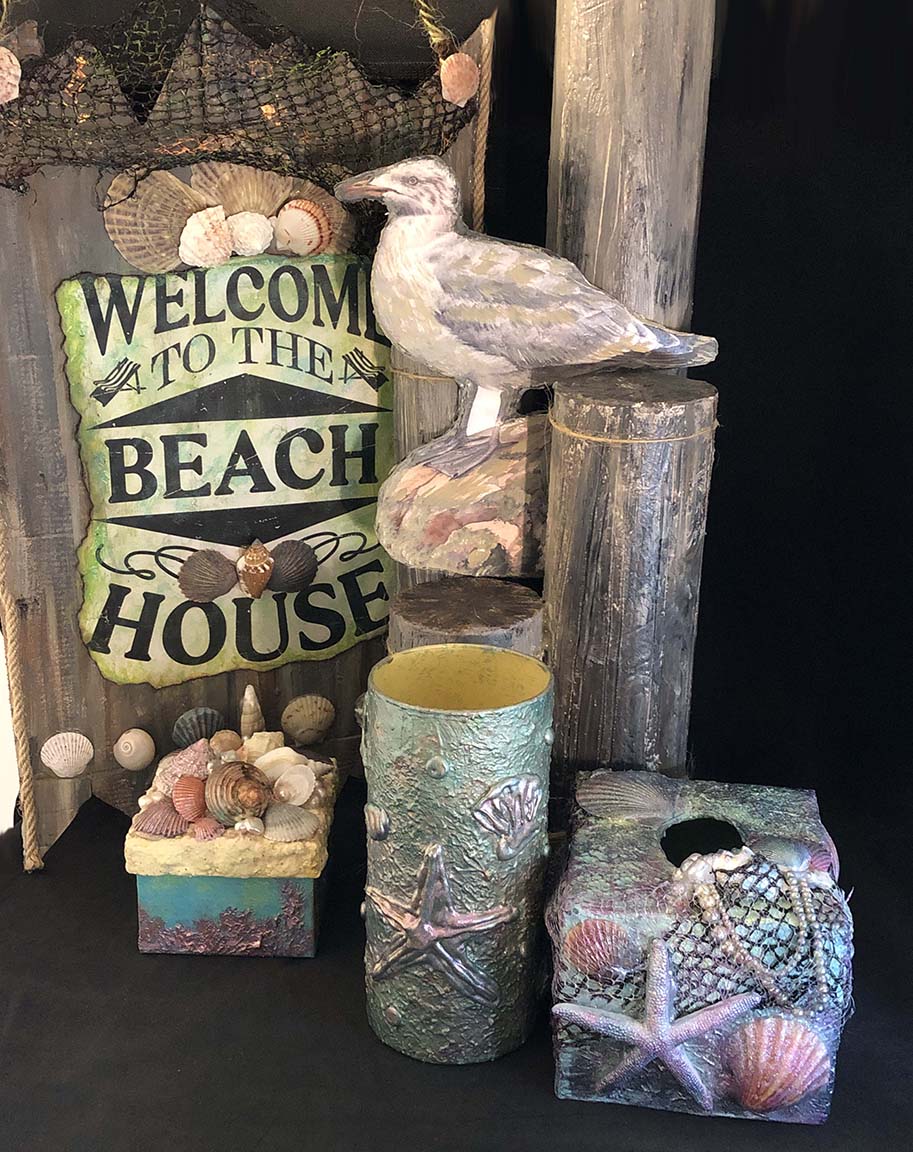
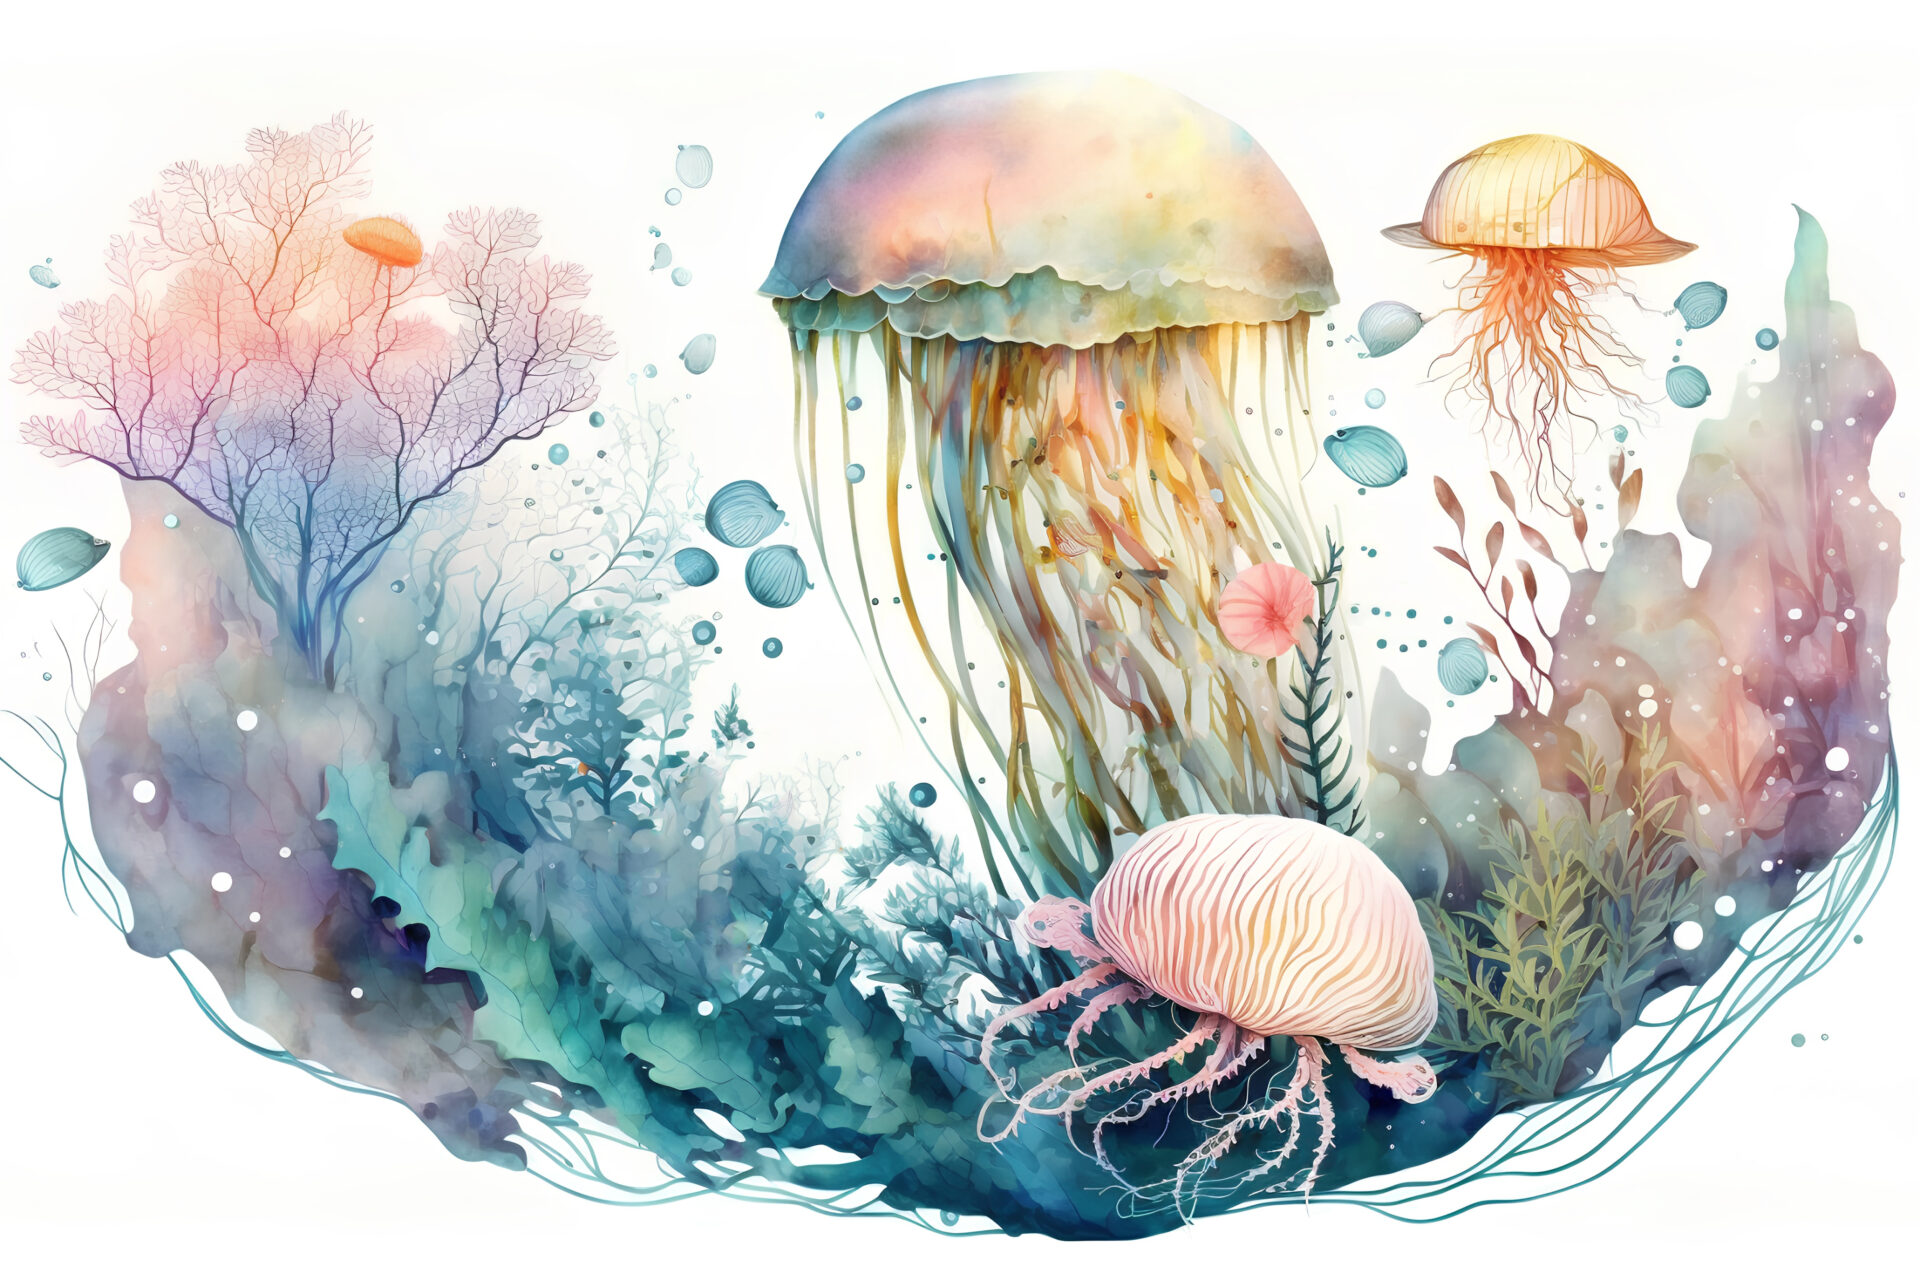
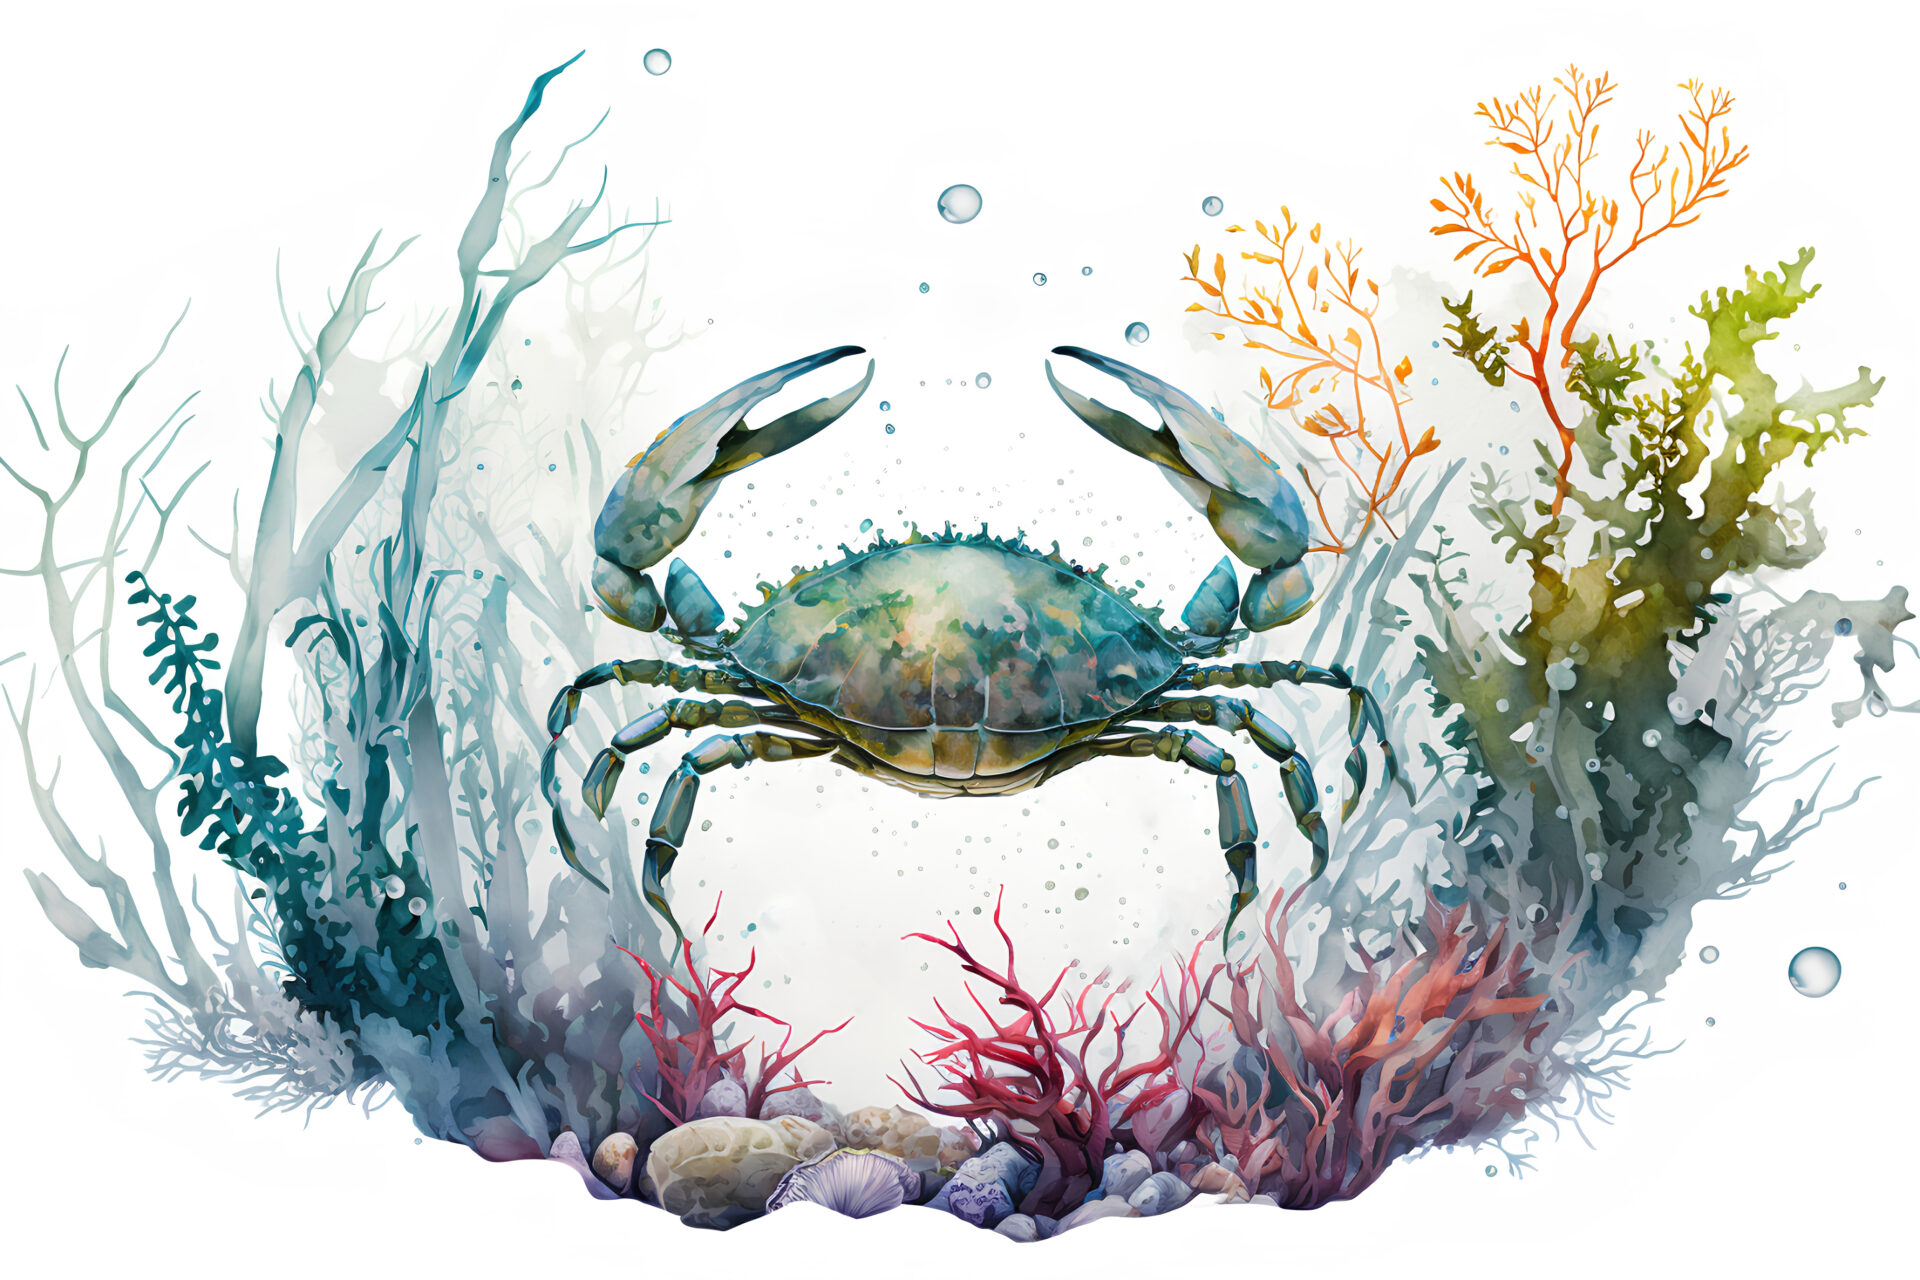
I hope you are all having a great summer and staying cool. Everything I made for the show is made with the same recipe. There are only a few ingredients you will need. The recipes are below. I also have some clip art for you. All the files are at the bottom of the page.
RECIPES
Texture Paste
1/4 Cup Baking Soda/Baby Powder/Corn Starch or Plaster of Paris (PP for glass or plastic items)
1 Tablespoon White Glue
1 Tablespoon Acrylic Paint
Mix it all together and add more powder until it’s a thick cookie dough consistency
You can add a little salt, sand, coffee grounds, dirt, etc for more texture if you like. I added salt and coffee to make the sand on the gift box. I have a video HERE for reference.
DIRECTIONS for Paper/Cardboard
Start by taping the item with painters tape so it’s stronger. Then paint over the tape completely with acrylic paint. Once the paint is dry, you can slather on a good amount of texture paste. For faux wood, paint on the texture paste and create lines with a fork or a comb. Allow the paste to dry completely. Once the texture paste is dry, take brown, white and black paint and streak them on with a tooth brush. This will give the illusion of a wood grain finish. Once the paint is dry, you can add decorations like netting, sea shells, rope, clip are etc. All the projects are super easy!
DIRECTIONS for Vase
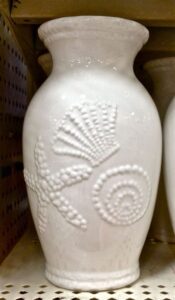
Start by painting your glass/plastic container. Spray paint is best for glass and plastic. Then once the paint is dry, you can slather on a good amount of texture paste. You can use a fork, lace, stencils, etc to create texture. Once the paste is dry, you can decorate it with hot glue, add sea shells, glitter, etc.
Here are photos for reference.
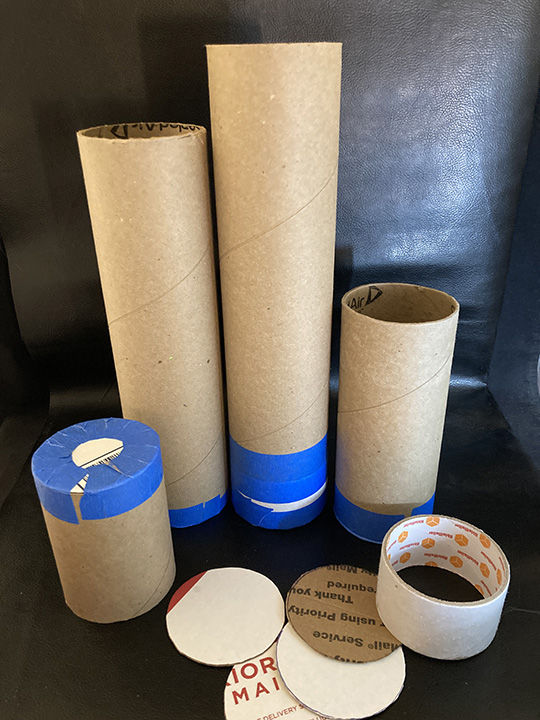
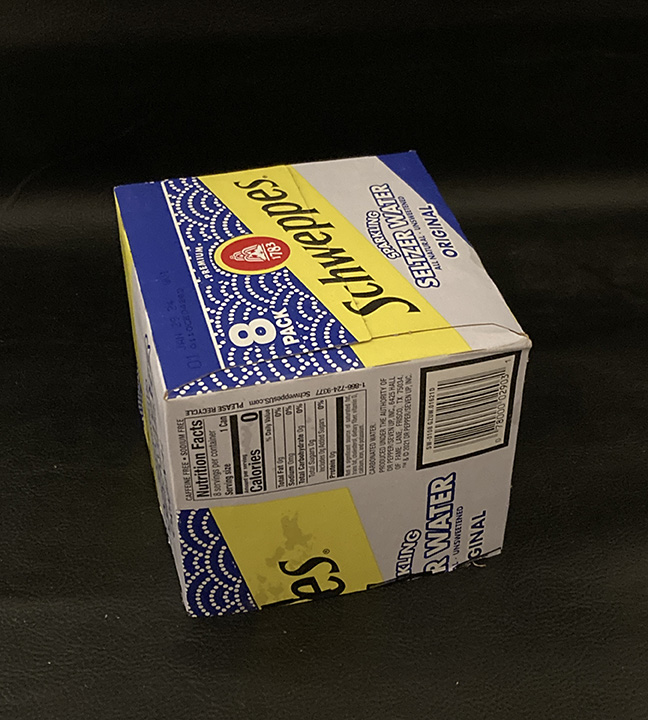
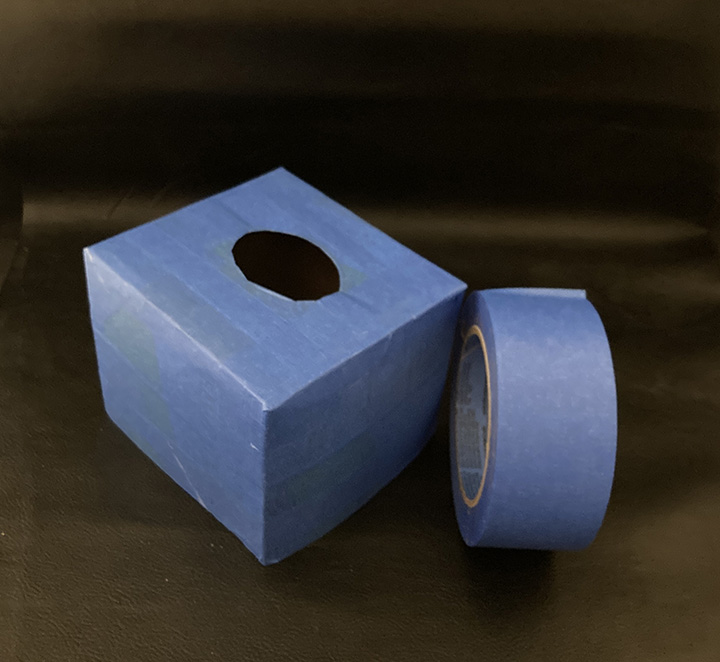
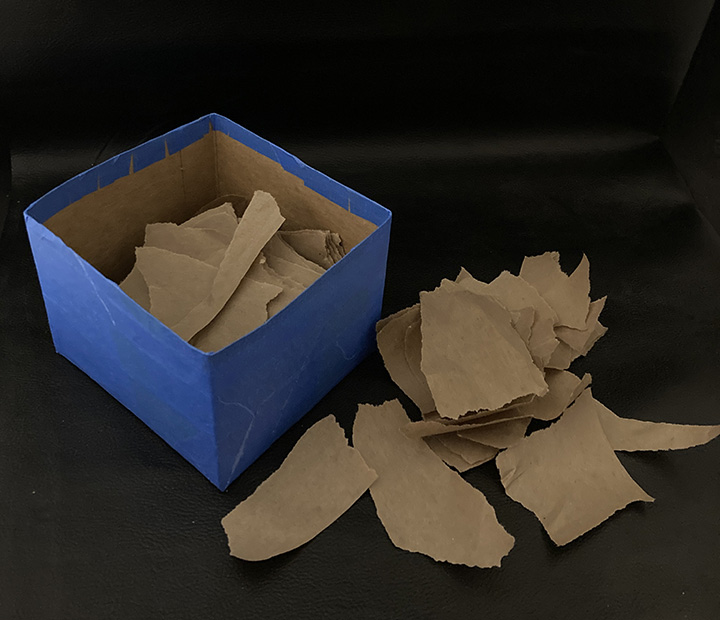
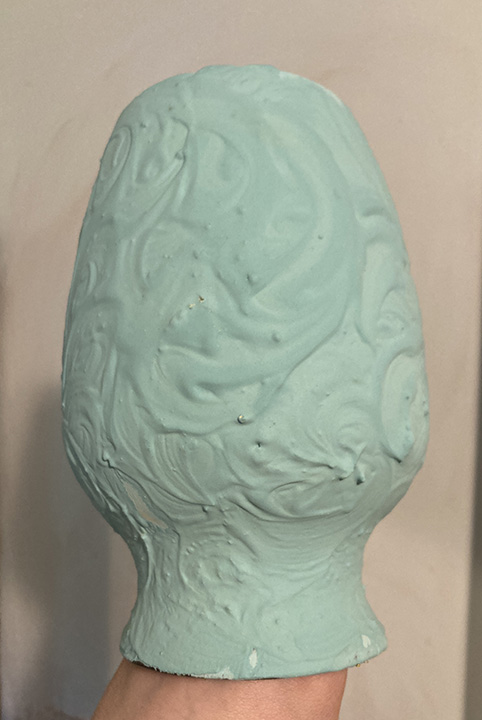
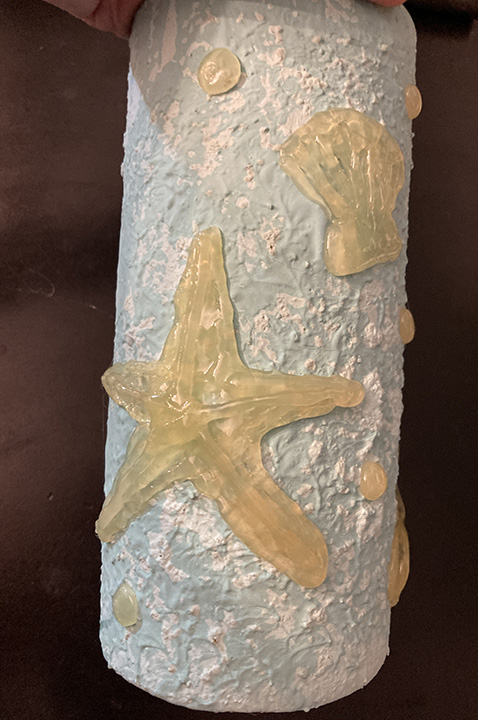
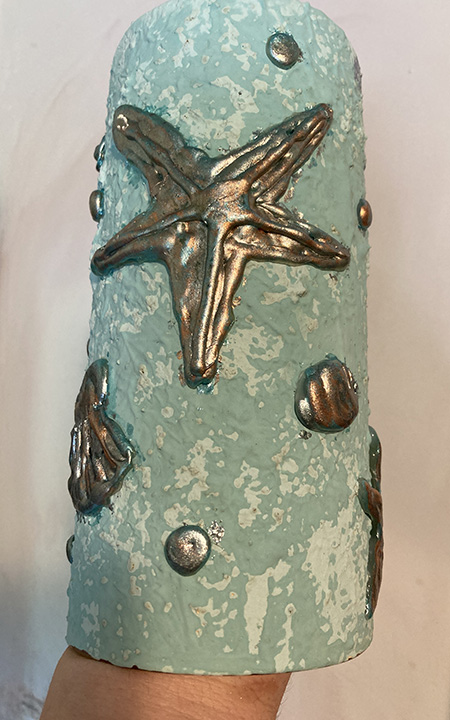
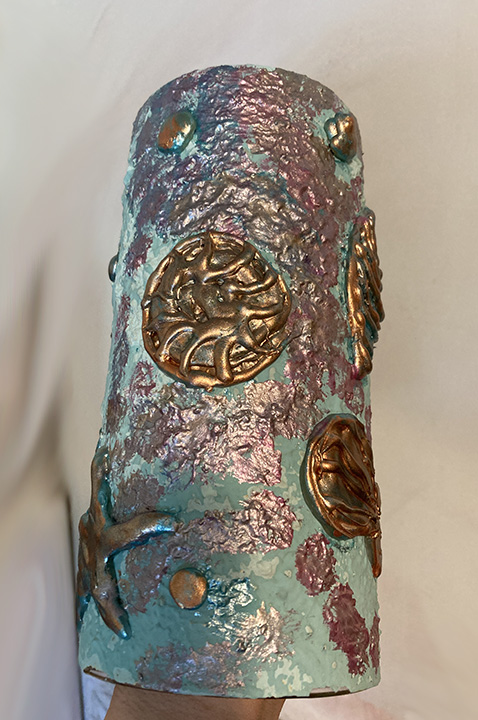
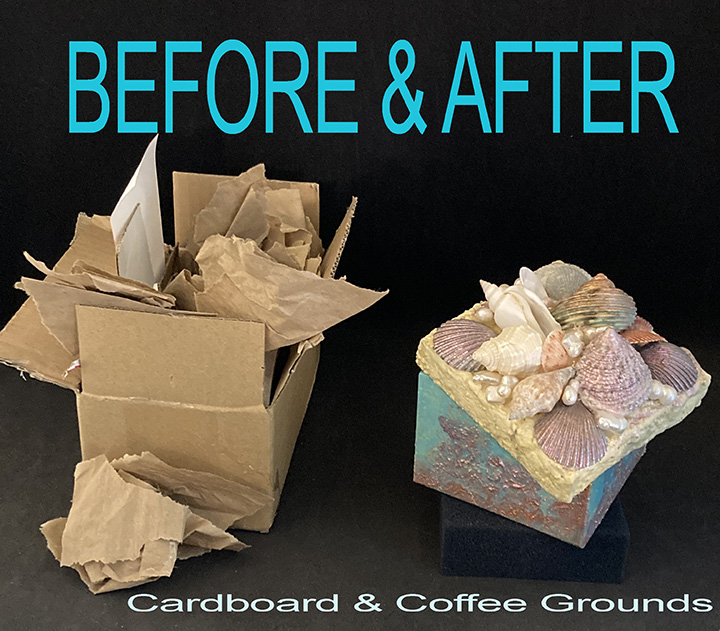
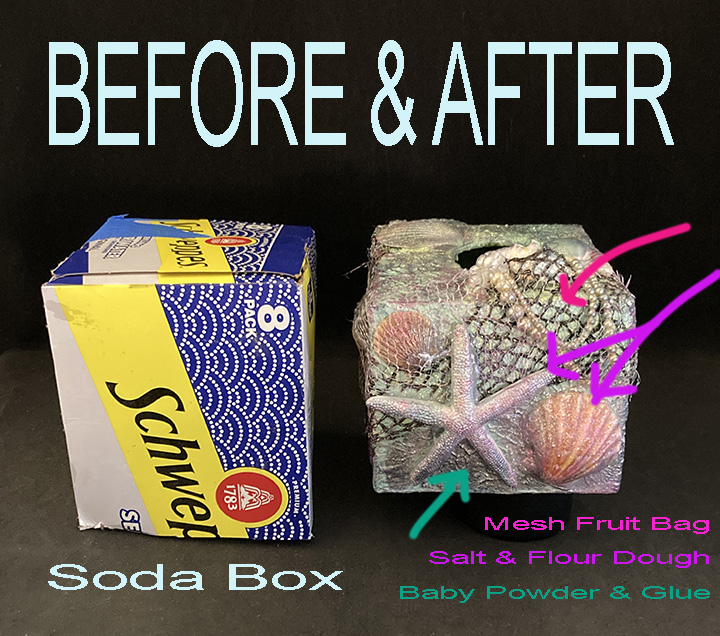
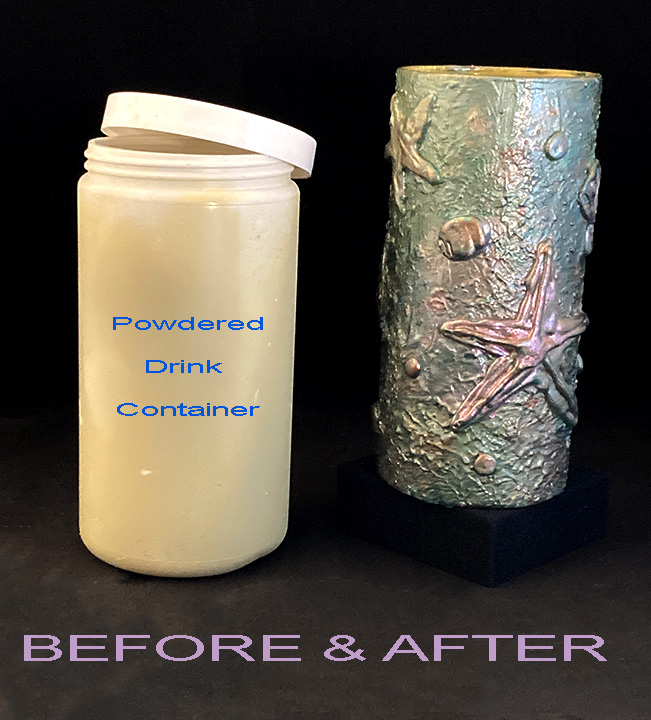
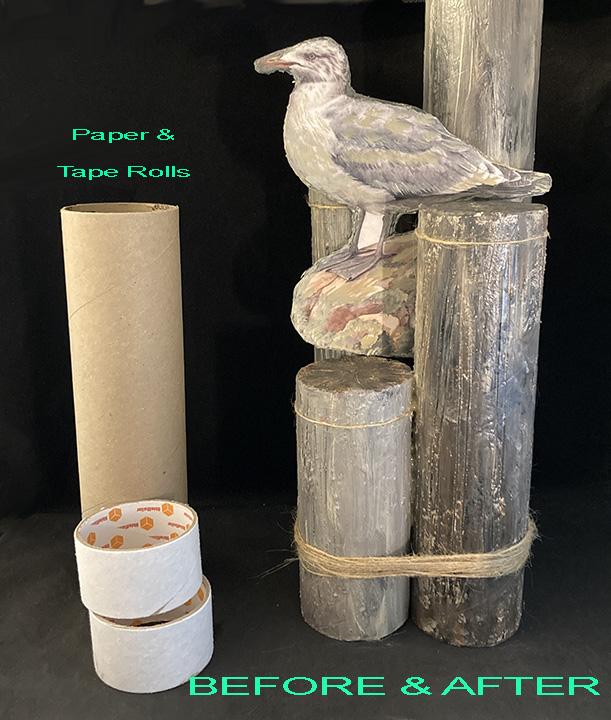
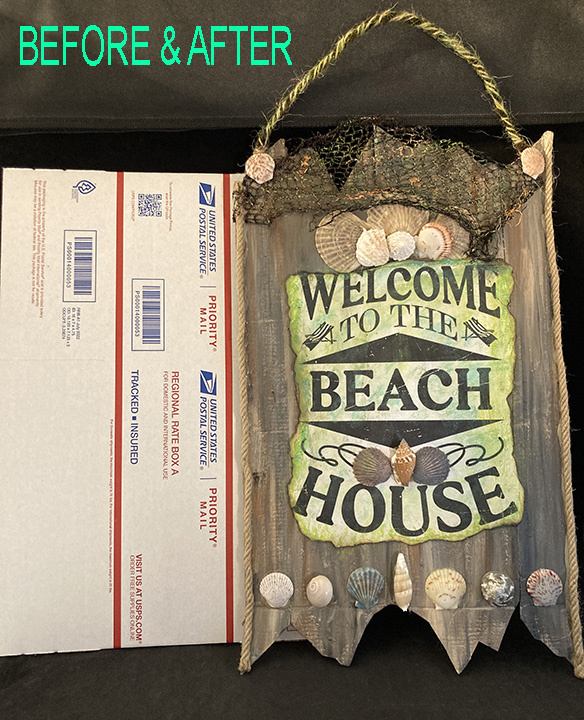
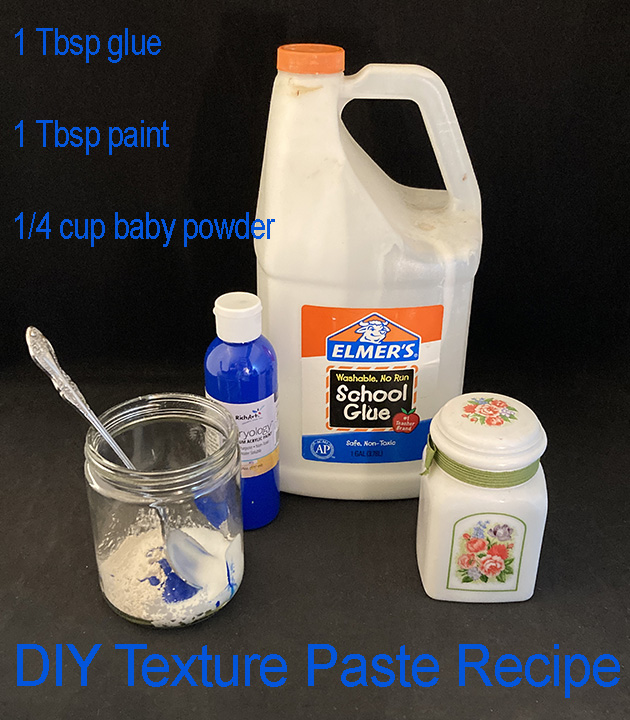
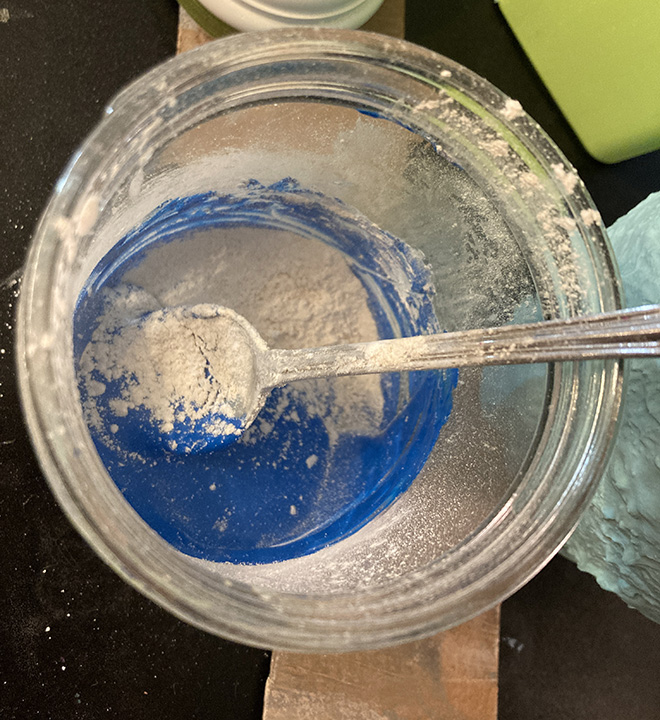
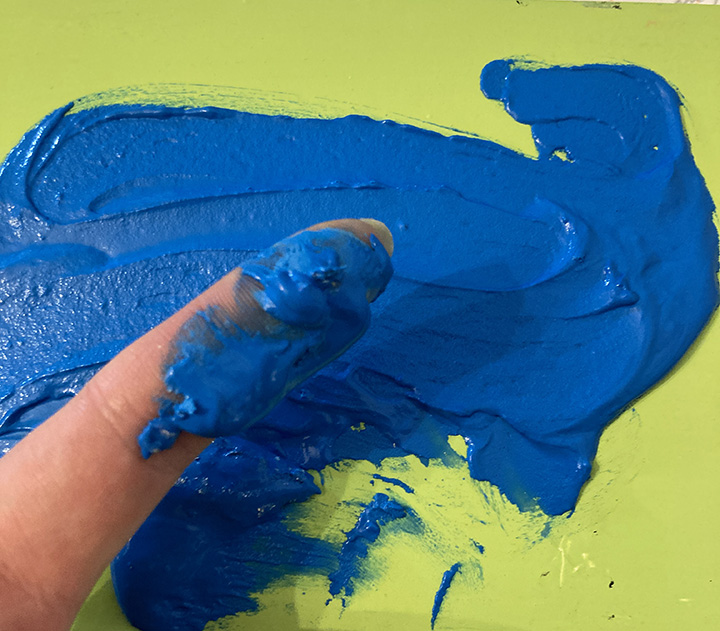
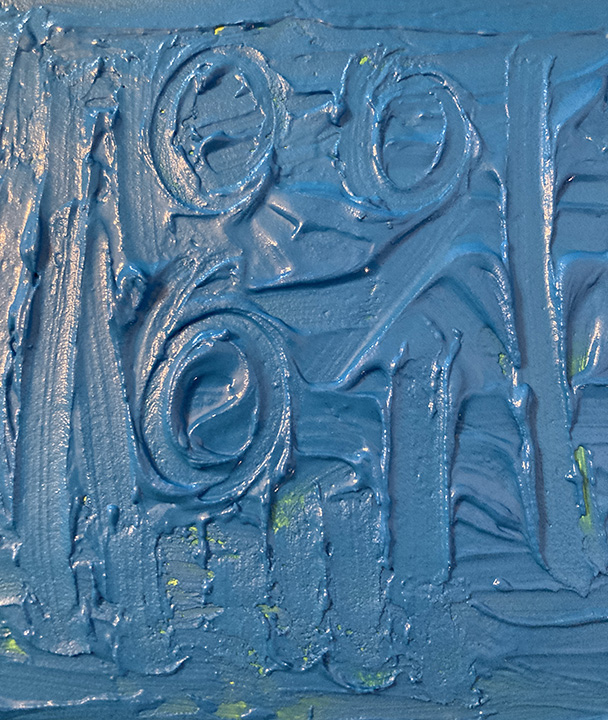
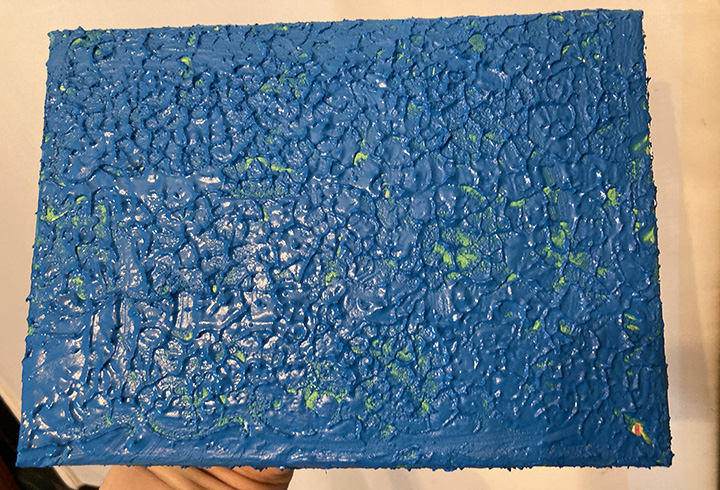
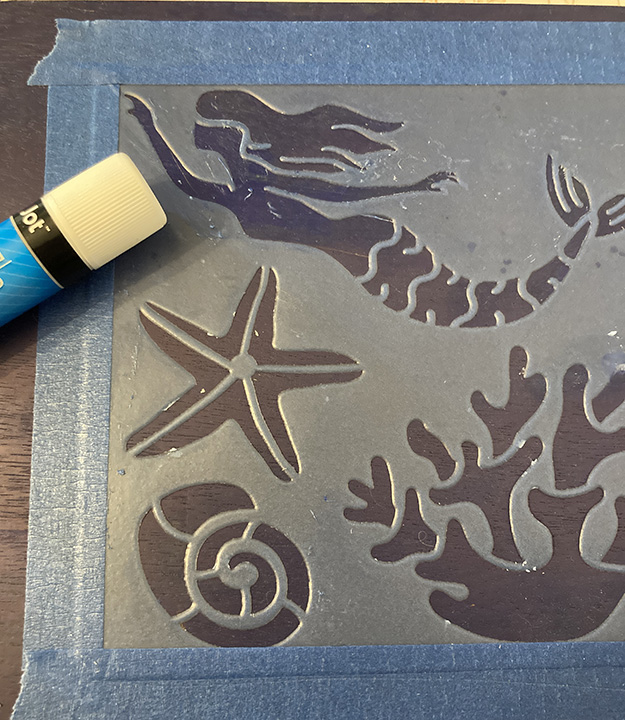
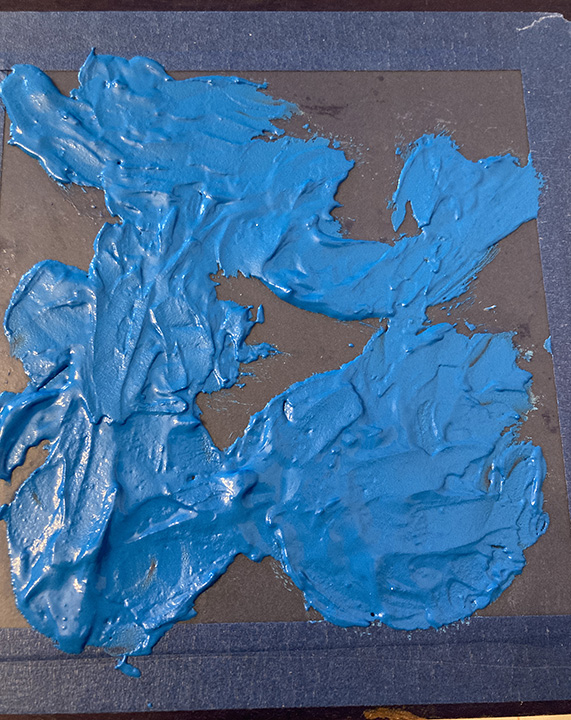
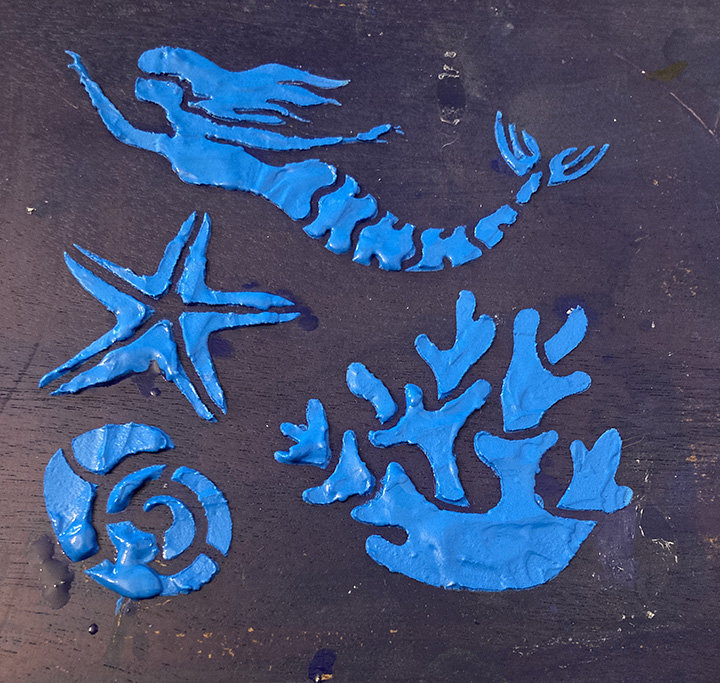
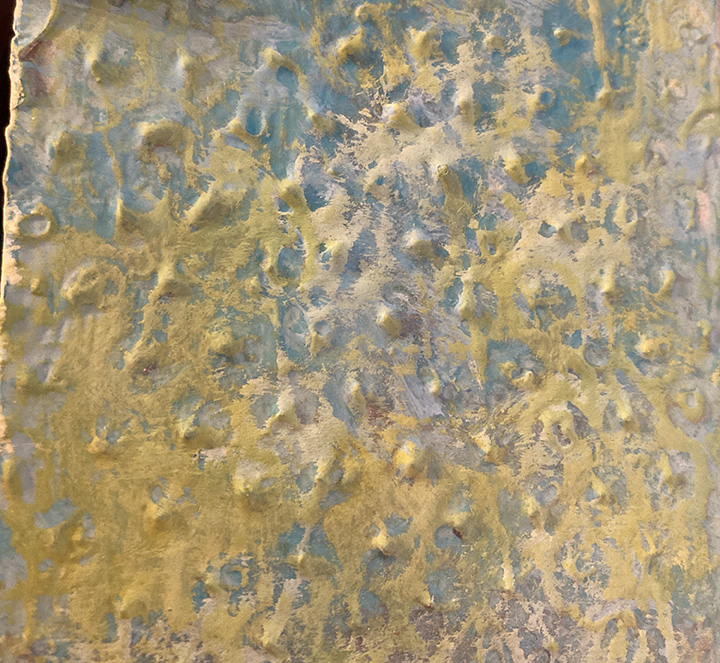
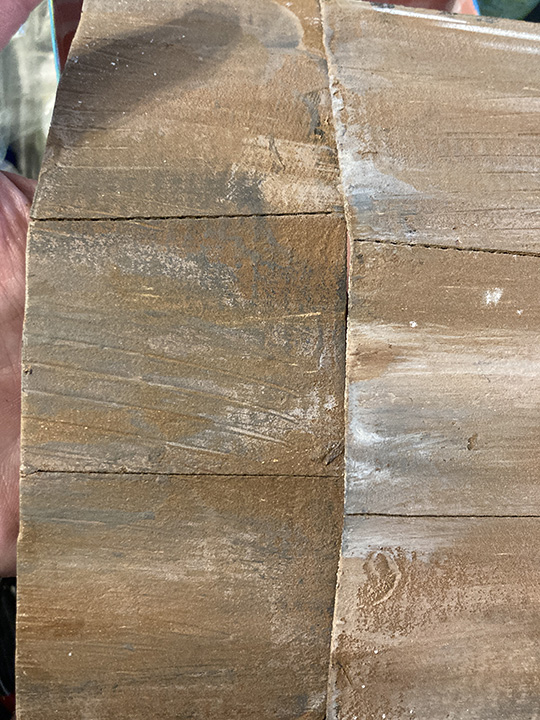
These photos were my inspiration: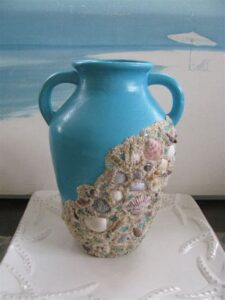
My versions are a little more “fantasy little mermaid” style but I think we came pretty close. Especially with the supplies we used. 🙂 Tell me what you think!
If you don’t have sea shells, you can make your own with salt dough and paint!
Salt Dough
2 Cups Flour
1 Cup Salt
1 Cup HOT Water
1 Tablespoon Cooking Oil
Mix hot water and salt together until the salt is dissolved. Add flour and kneed together, adding the oil so it’s not so sticky. Flour your surface and kneed the dough until smooth. Shape it into sea shells, etc. Microwave the dough for 10 seconds at a time until it’s dry OR heat your oven to 200 degrees, checking every 30 minutes for 2 full hours or until they are dry. You can also just let them air dry for a few days. I prefer the microwave. Video reference: DIY Faux Sea Shells Video
FREE CLIP ART FILES
Right click on the photo and open it in a new window to get the full sized image. Large sized downloads are at the bottom of the page.
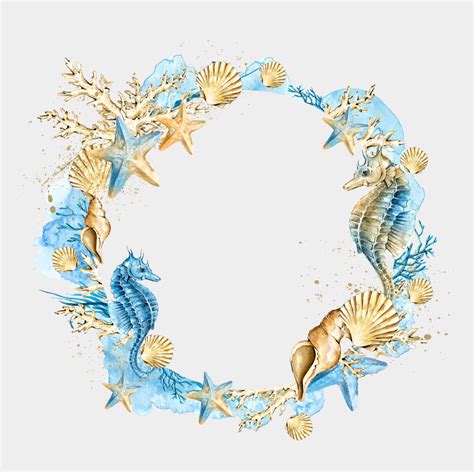



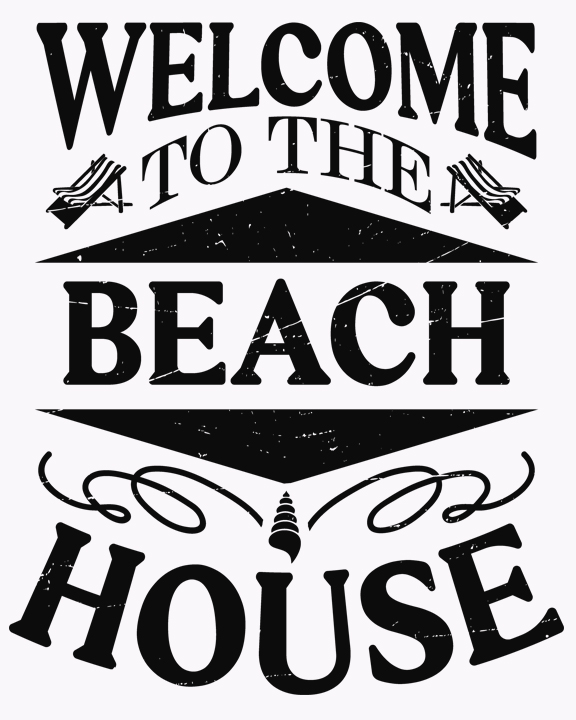

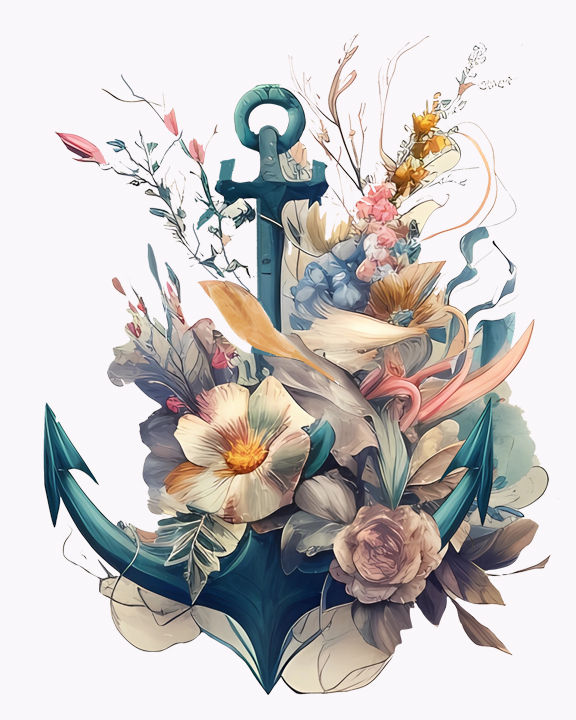
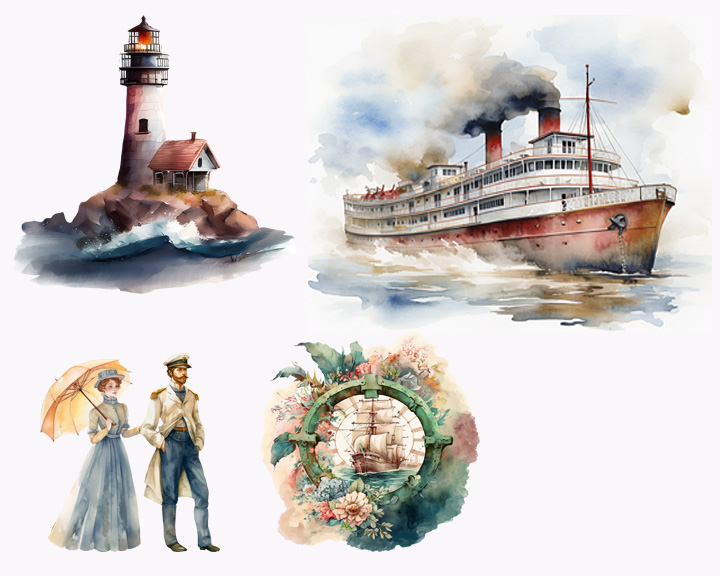
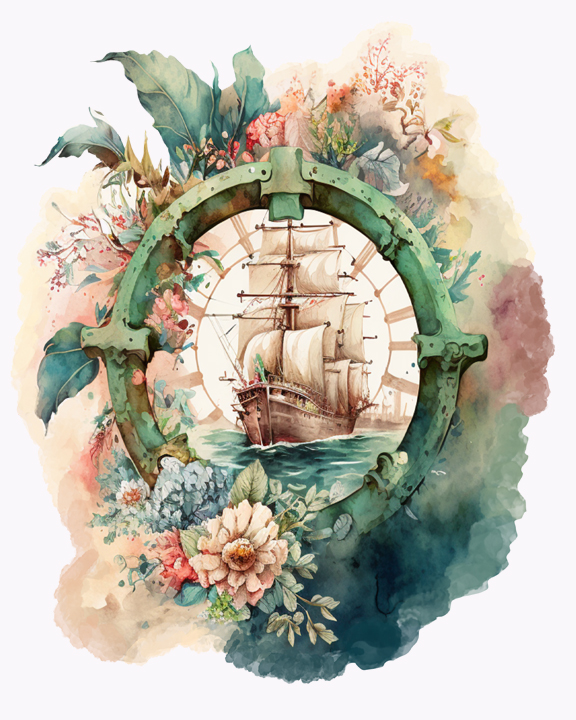
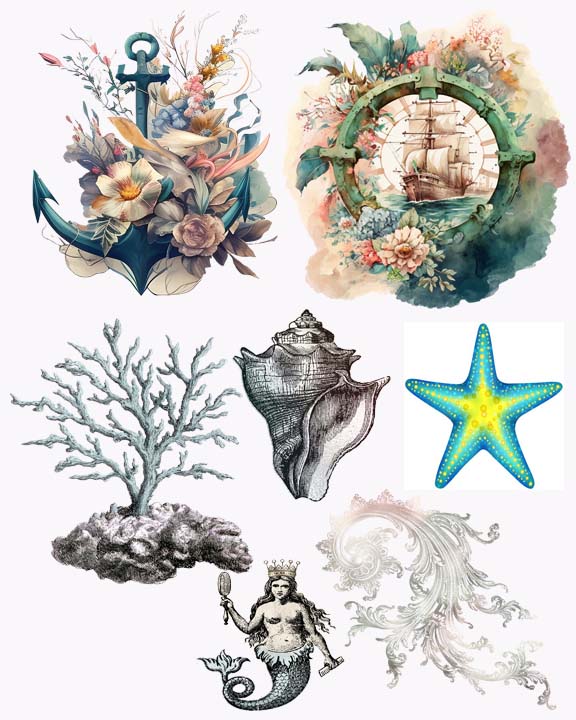
Here is a playlist of DIY beach themed videos for some great ideas.
Here is a playlist of painting techniques and recipes I used for the crafts we made.
I purchased a ton of clip art for this project so email me if you want more files.
FULL SIZED CLIP ART FILES
As usual, if you are in Massachusetts and can’t get out to the store due to health or are a little short on craft funds, email or text me and I’ll send you a FREE box of supplies. For everyone else, the boxes are $15 including shipping just to cover the cost of the supplies. That includes sea shells, rub on transfers, ribbon, pearls, print outs, etc. My email and paypal address is: [email protected]
Text or email me if you need any help or just want to visit about the show. I do love hearing from you. Here’s the studio # 413-512-3714 See you tomorrow on WWLP Mass Appeal! Big hugs from the Berkshires!
Love,
Malena
