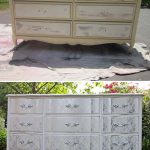
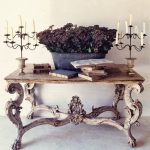
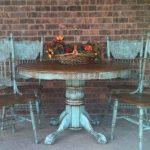
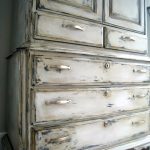
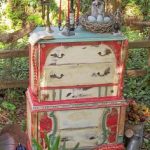
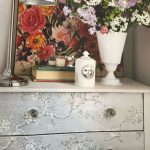
- Use lace and spray paint to achieve this look!
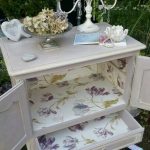
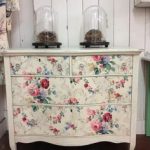
- Add fabric or wallpaper and adhere with Modge Podge.
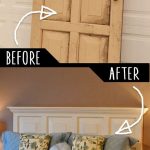
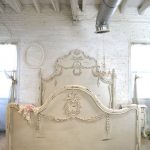
- Paint and old door and use as a headboard!
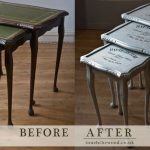
- Read about Transfer Gel!
- Shabby Chic Paint and Transfers!
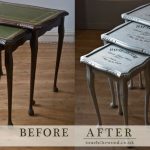
- Use this product to fix a table top.
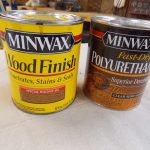
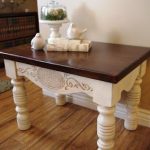
- Minwax & Shabby Chic paint makes this one table look Fancy!
- Buy some wood appliques from home depot.
- Add wallpaper with modge podge.
- Simple white paint.
- Gold accent paint!
- Add transfers for this effect!
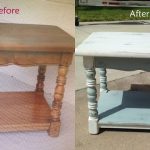
- Blue and white paint.
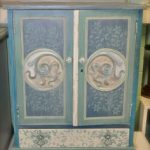
- Two colors of paint and transfers.
- Vinegar distressing
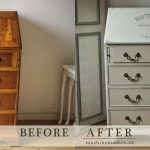
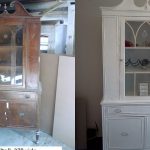
- Killz primer and white paint.
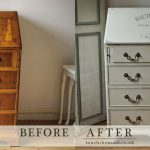
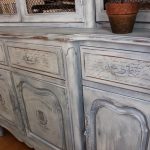
- Grey & white paint with transfers.
- Brown and cream paint.
- Teal over copper paint!
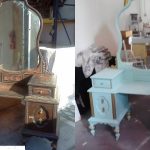
- One coat of light teal blue.
- Three colors of paint sanded.
- Great idea!
- Lots of hand painted details!
- Wall paper cutouts with Modge Podge!
- Fabric or wallpaper with Modge Podge & varnish.
We thought of calling my segments Cheap Chipps Tips because I am always trying to find ways to make things on a shoe string budget. My mentor Mr. Schieder has been teaching me some fantastic shortcuts on how to paint Shabby Chic furniture in far less time AND for less money! YEAH!!! I will be doing some of these techniques on Mass Appeal this Tuesday. As always, feel free to contact me if you need any help. We are always buying furniture to paint so if you have a piece you want to get rid of let us know. Why give it away when we will pay you something for your unwanted items?! We will pick up the furniture from your house so you don’t have to lift a finger.
Shopping List
Piece of Furniture
Plastic Tarp or trash bags (to protect your floor)
*Tools for removing hardware (pliers, screwdriver etc)
Medium grade steel wool
1 Fine sandpaper sponge (wet & dry) & 1 Medium sandpaper sponge (wet & dry)
2-3 Old T Shirts & Paper towels
Masking tape and scissors
Killz Primer/undercoat (optional but will provide a sturdy base for the paint)
2 Colors of dark spray paint (Lacquer, not water based!)
Acrylic Paint (You will need lighter colors so you have a lot of contrast.)
Paint brushes of various sizes (an angled brush is helpful for painting around hinges etc. The dollar store always has brushes.)
Clear furniture wax OR Spray on matte varnish
*optional
STEP ONE
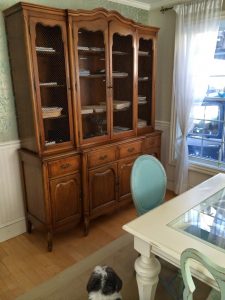
Start with a durable piece of furniture. If you’re going to the trouble to create shabby chic furniture, make sure what you use is sturdy. That is not to say you can’t use delicate wicker pieces or wrought iron tables with fine filigree details. It just means that the furniture should be in good enough shape to hold up under daily use. Sand your piece before you paint it, especially if it has been finished already. If the piece is a dark wood, is laminated or has varnish on it, use KILZ white primer. The spray can works best. Many people will tell you to skip this step but primer will make your painting permanent. When you sand the piece the primer will come off in the right places and the wood will show through when finished!
STEP TWO
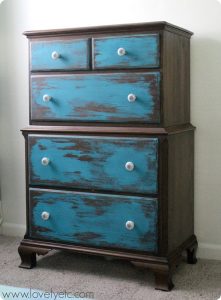 Take an old candle or a piece of wax and gently swipe at the furniture with the candle or piece of wax. This will leave a small places on the surface of the wood, wicker, or metal that will not hold paint. This technique will give a shabby chic look to the furniture. You can also use chapstick and brush it across the edges for a softer look.
STEP THREE
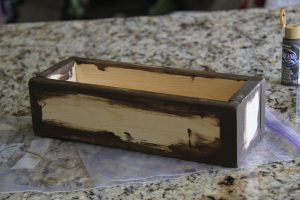 Spray a dark contrast color around the edges of the piece with lacquer spray paint. If you want raw wood to show through, just paint one coat. You CAN use regular paint but it will come off easier than spray paint.
STEP FOUR
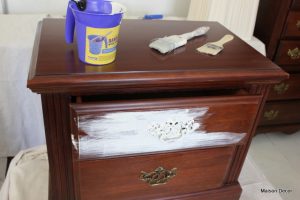 Use an acrylic or latex paint in a lighter color and paint two coats. Wait for the paint to dry for one hour per coat. Truly old furniture that has the look of shabby chic often has layers of paint where some of the layers underneath show through. To create this effect, paint the furniture using two or three colors of paint then sand off the top layers to reveal the paint colors underneath.
STEP FIVE
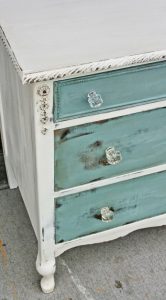 Take a quarter and rub off the acrylic paint around the edges. Then use a wet sanding sponge to start sanding around the edges. Use a fine grit so you don’t rub off the spray paint. This will make the piece look shabby chic. I found the easiest way to sand off latex paint and remove the brush strokes is to use medium grade steel wool. This takes off the top layer of paint but not the spray paint underneath. You can also use fine grit sandpaper. Take the sandpaper and gently rub off random areas of paint. This distressed look is the cornerstone of the shabby chic look. Also shabby chic furniture shows off bits of the wood underneath.
STEP SIX
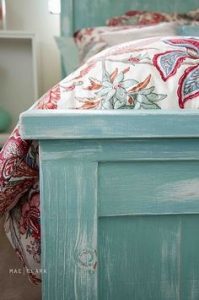 If you find you have sanded too much of the color off, you can always white wash the piece by adding water to the paint. Mix white paint or another light, delicate color of paint with water. Use about four parts paint to one part water. Stir to create a whitewash that you will use to paint the shabby chic furniture. By using a whitewash instead of full strength paint, you will get a better shabby chic look that doesn’t cover quite as well as full strength paint would. Let the whitewash paint dry.
STEP SEVEN
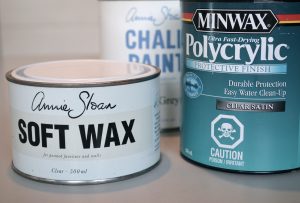 For a quick finish, use a good spray clear varnish in matte finish. For a more classic finish, buff on furniture wax then brush on a water-based polyurethane as a finishing coat that will keep the colors looking great and prevent yellowing. These finishing tips will help to keep the paint from chipping or rubbing off. Remember, shabby chic furniture is mean to look aged, you don’t need to use very much varnish.
HERE ARE A FEW EXTRA TIPS TO JAZZ UP YOUR PIECE!
GOLD LEAF TRICK
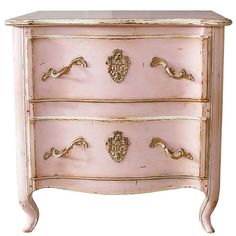 Take a can of gold spray paint and spray it on a plastic trash bag. While it’s getting tacky, spray adhesive on your item then put the paint side of the trash bag on your item. Pull it off and it will look like gold leaf!
Vaseline TRICK
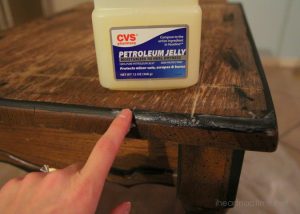 Just rub a little vaseline on any surface you want to show through your top coat. I did my corners and edges but you can add more or less depending on your taste! The Vaseline will keep your top coat from sticking. You can also rub vaseline on areas where you don’t want the paint to touch such as drawer pulls, hinges, etc. Paint as usual and the rub the vaseline off afterwards! Easy!
Vinegar TRICK
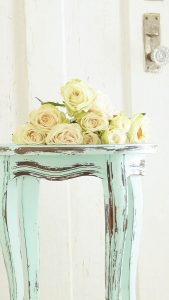 Mix equal parts of vinegar and water and pour it into a spray bottle. After your top coat of paint is dry, spray the vinegar mixture on the areas where you would normally sand to distress the piece. The paint should come off quite easily.
DRY BRUSH

Use a Dry Brush to paint the furniture. Lightly cover the surface, and make sure the brush is VERY dry. This piece from Unexpected Elegance was created using that technique.
TRANSFERRING IMAGES TIP#1
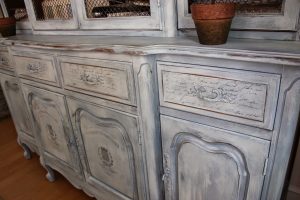 You can print out what you want using a laser jet printer, then apply with Artisan Enhancements Transfer Gel
that we sell online and in our shop. Let the image dry onto the piece overnight,
then remove the white paper with a damp scrubby sponge and the graphics are revealed!
The graphics float on the gel base that you used to “glue” the paper in position.
Its pretty easy and the results speak for themselves.
TIP #2
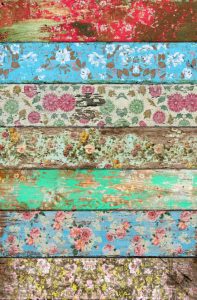 You can basically transfer anything on wood, from photographs to wallpaper pattern. It’s something anyone can do, and here is above the beautiful result you can get!What you’ll need:
-
acrylic gel medium : the beauty of this technique lies in the nature of the acrylic – you can adjust and modify the gel to suit your needs… whether using retarder to increase smoothness, mixing in acrylic pigment, or even mixing in other materials (I’ve seen everything from gold flake to sand mixed into the acrylic gel)
-
brush
-
water
-
an image to transfer. Print a photo out with a laser or inkjet print on regular paper (NOT photo paper). If your photo has any words on it, you will need to print it out as a mirror image.
How to do it:
-
Lightly sand the face of the wood pallet with a sanding block, and sweep off the wood dust
-
Paint a thin layer of gel medium over the entire front surface of the pallet with a bristled brush if you want your photo transfer to look more rustic. (If you want a more polished and complete photo transfer, paint gel medium on with a foam brush instead.)
-
Make the layer of gel medium as thin as you can without portions of it drying out as you paint. Then, quickly but carefully lay your photo face down on the gel-coated pallet.
-
Clean and dry your hands, and use a bone folder to gently press the photo flat onto the pallet, pushing out as many air bubbles as possible. (If any air bubbles remain, those portions of picture will not transfer.)
-
Wait at least 24 hours for the gel medium to dry thoroughly. Then, use a sopping wet washcloth to wet the back of the photo paper, and gently and slowly rub away the paper backing from the photo pigment with your fingertips and/or wet washcloth
-
After you rub away as much of the paper as possible, wait another 24 hours for your pallet and photo to dry completely.
Now the main difficulty will be to find the right image or wallpaper pattern you want to transfer! I suggest you to check out this page for printable patterns.
TIP #3
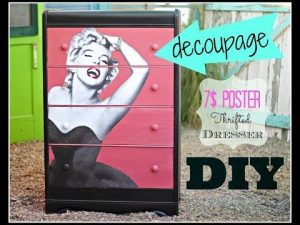 Modge Podge is the easiest way to adhere extras onto your piece. As long as you seal it REALLY WELL, it won’t peel or crack.
Take a piece of fabric, a poster, paper napkins, gift tissue paper or wallpaper and paint the Modge Podge on the back. Place the fabric on the wood and paint over it with Modge Podge. Let it dry for 2-3 hours and paint another top coat, then spray or brush on varnish to seal it. I have tons of professional transfers for purchase at the shop from a fancy design house in NY that went out of business in the 90’s.
The most important thing to remember is that customizing furniture is a personal experience, with each piece being unique. Just have fun and enjoy the process!
Happy Crafting,
Malena Chipps

2. Fill any holes left by the old handles, but remember to leave the hole where the new handle will fit. Leave to dry.
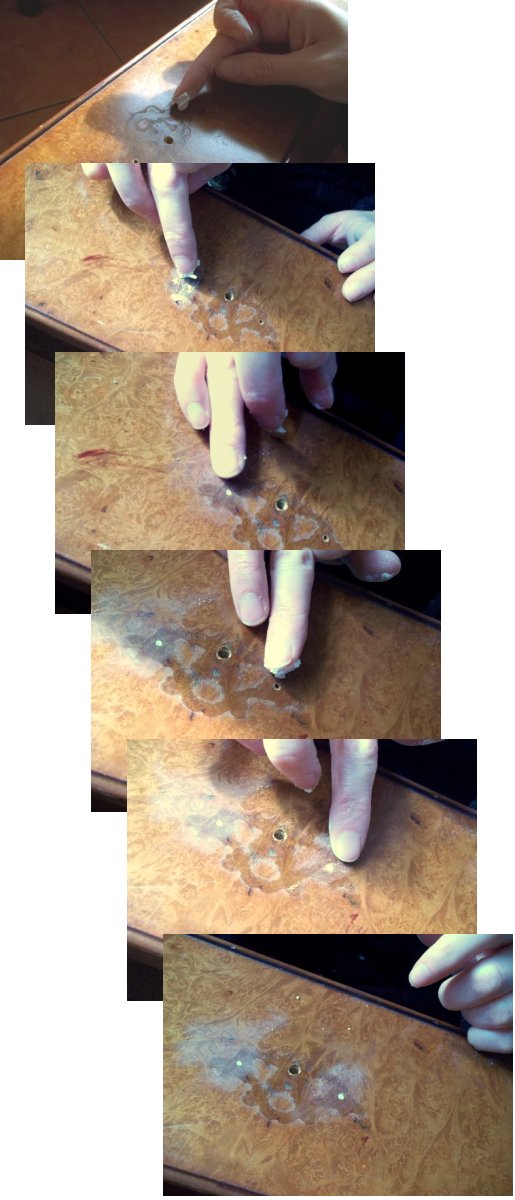
3. Protect floor with a plastic tarp and newspaper. If your piece of furniture is painted you may wish to remove the old paint with paint stripper otherwise key the surface with fine grade sandpaper (use a fine sandpaper as you don’t want to lift the grain, you just want to roughen/key the surface to that it will take the paint). Always work in an area that is well ventilated, the weather was dry and warm the day I sanded my bureau so I took it outside and worked on it in the back garden in a shady area (never work in direct sunlight).
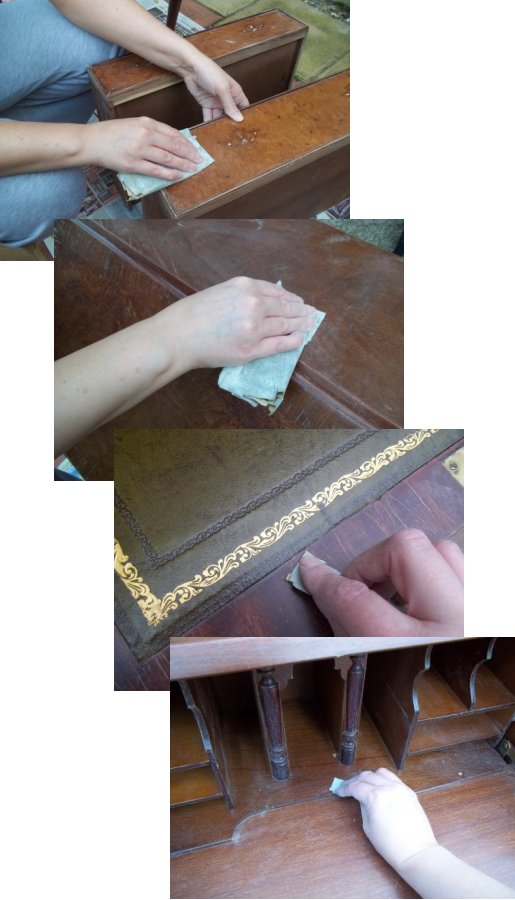
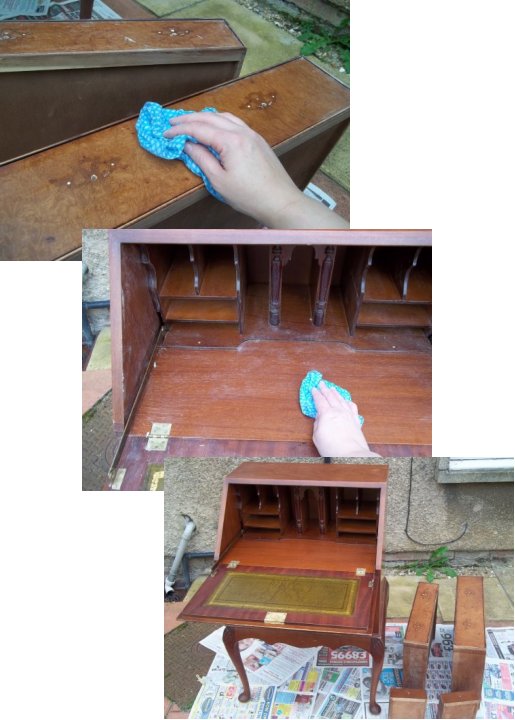
4. Wipe with a damp (not wet) cloth to remove dust etc. Leave to dry.
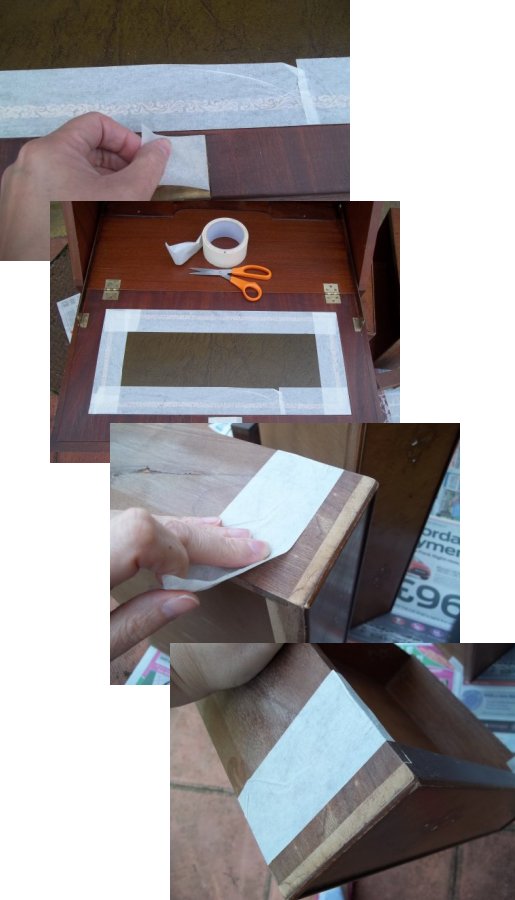
5. Protect areas not to be painted with masking tape.
6. Paint piece with primer and leave to dry (as I’m painting a bureau I need to paint it in two stages;
Stage One: The inside of the bureau and the drawer fronts (leave to dry)
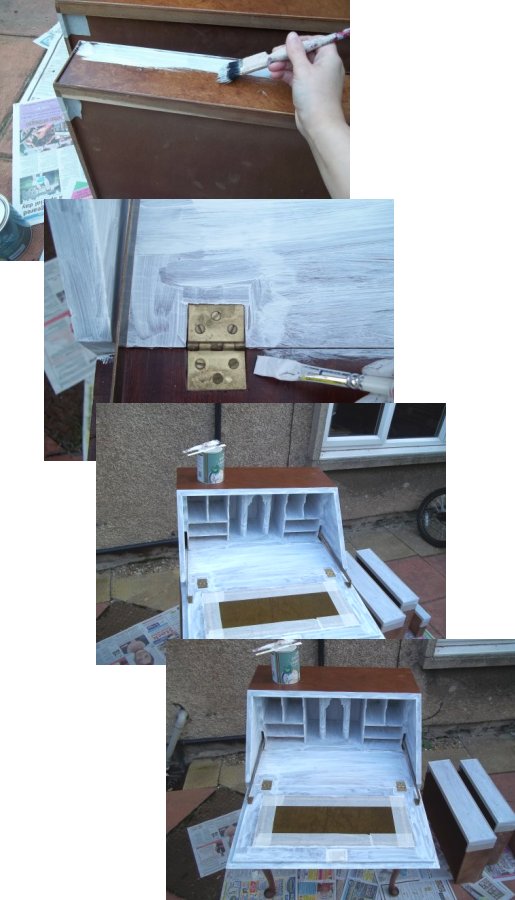
Stage Two: The outside of the bureau (leave to dry)
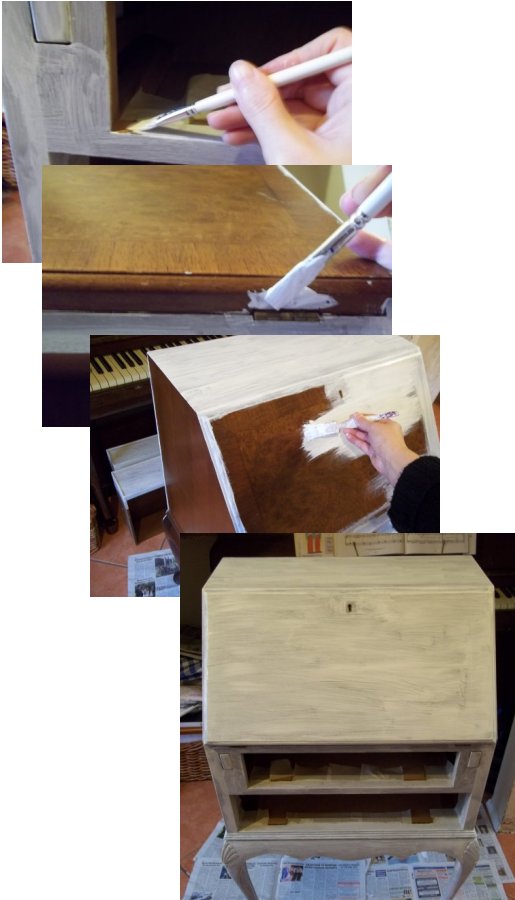
Don’t worry; your piece of furniture will look a bit messy at this stage with only the primer on as an undercoat. You will see a big difference once you start to apply the paint.
(It is sometimes difficult to find a primer the same colour as your chosen paint, for this reason some people chose to omit this stage. I prefer to prime as it provides a sturdy base for the paint and will make it more hard wearing. I have primed my bureau in white which is the most common colour for primer, this way you can see the effect achieved when distressing using a different colour primer to the top coat paint. Also my bureau was dark in colour and by priming with white first it made it easier for the colour to cover it.)
7. Paint with chosen coloured paint and leave to dry (follow directions on the tin). Two or three thin coats may be required for the best coverage of paint and to help your piece be more hardwearing. Again I needed to paint the bureau in two stages, leaving it to dry thoroughly between coats and before starting the next section;
Stage One: The inside of the bureau and the drawer fronts (leave to dry)
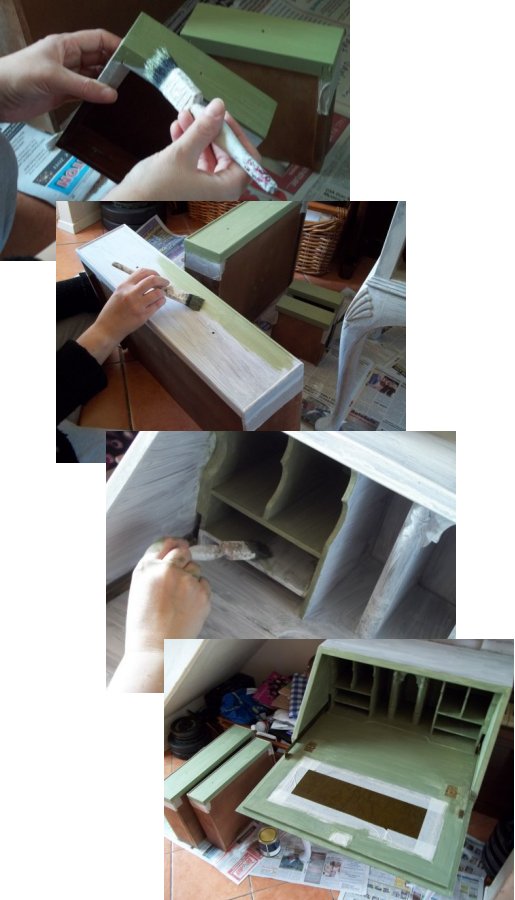
Stage Two: The outside of the bureau (leave to dry)
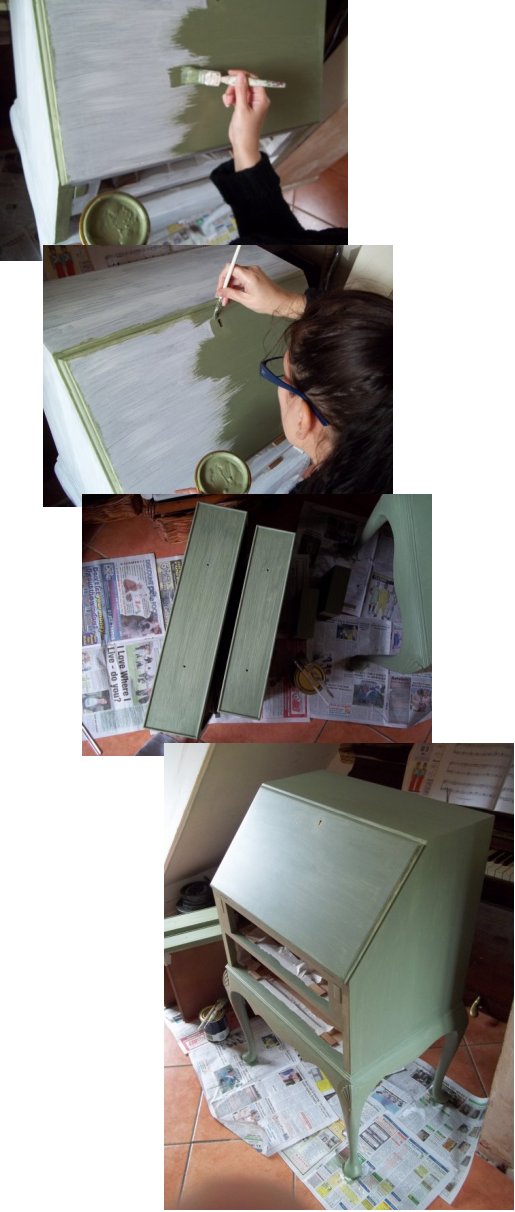
Repeat the two stages again. I painted the bureau three times.
8. Leave to dry thoroughly.
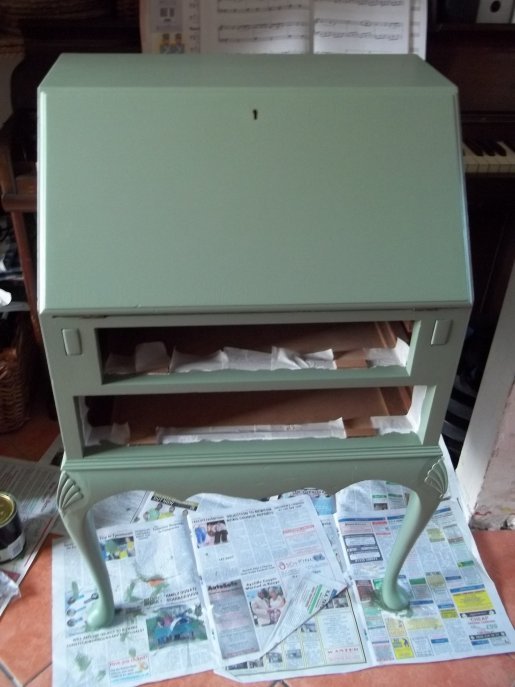
9. Carefully remove any masking tape.
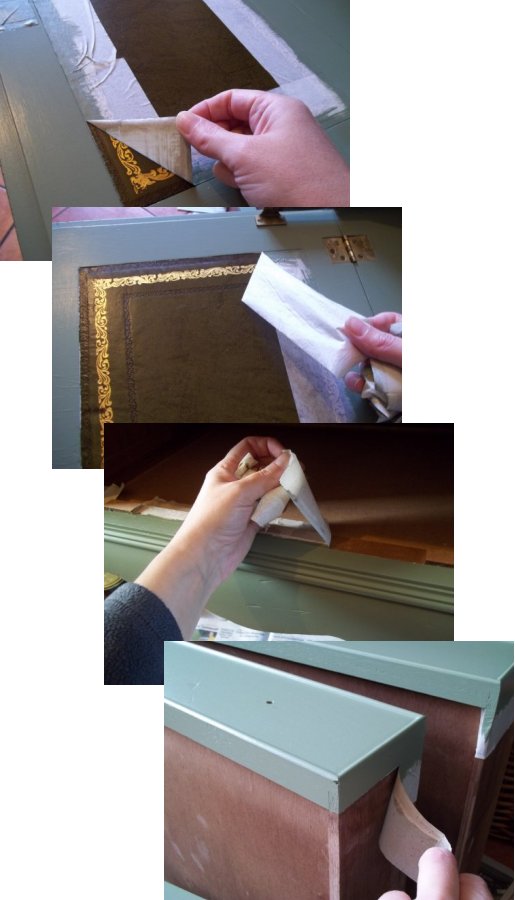
10. Now is the time to have a bit of fun. Distress your piece of furniture by rubbing off with sandpaper some of the paint revealing the wood beneath. Start with a rougher sandpaper than we used to key the surface earlier and then go over it with a finer sandpaper (like we used earlier), this helps the distressed areas to blend in more naturally. Think about where your piece of furniture would naturally get the most wear and tear and start sanding there. While distressing keep standing back to view your piece, this will help you to decide which areas you want to distress.

11. Wipe with a damp (not wet) cloth to remove dust. Place the drawers back in position and view your piece, if you think it needs a little more distressing then now is the time to do it before the waxing stage. When you are happy, take the drawers back out, wipe with a damp cloth and leave to dry.
(Don’t worry that you may be able to see some fine sanding scratches, the wax covers them.)
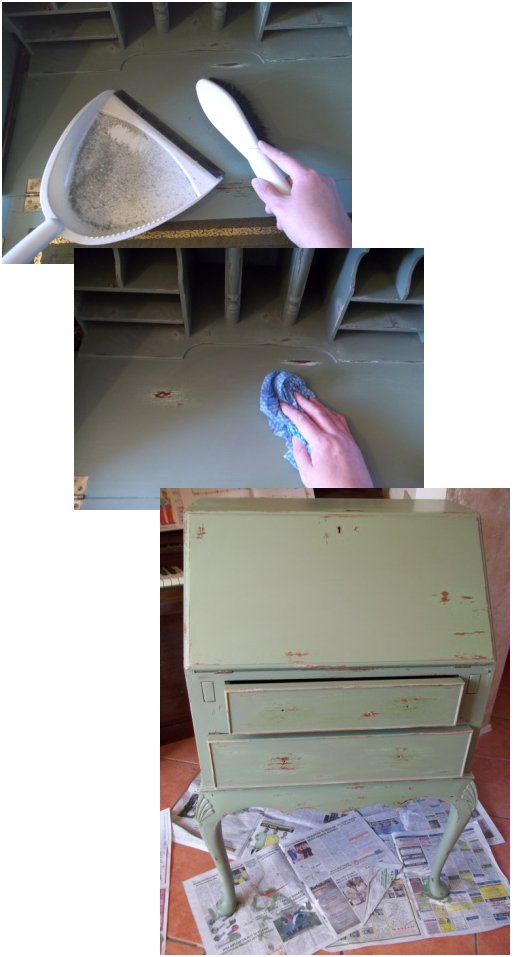
12. Apply a thin layer of furniture wax all over your piece of furniture; especially where there is exposed wood and leave until touch dry (always follow directions on the tin).
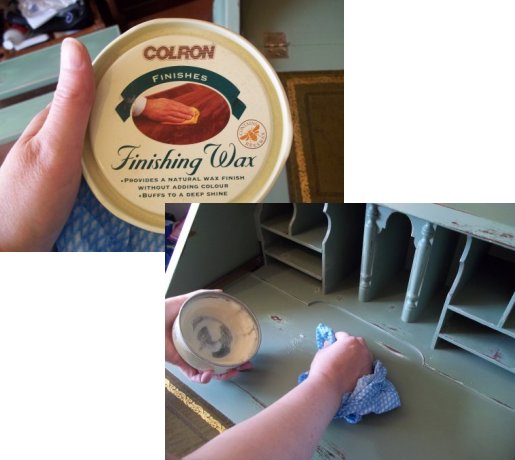
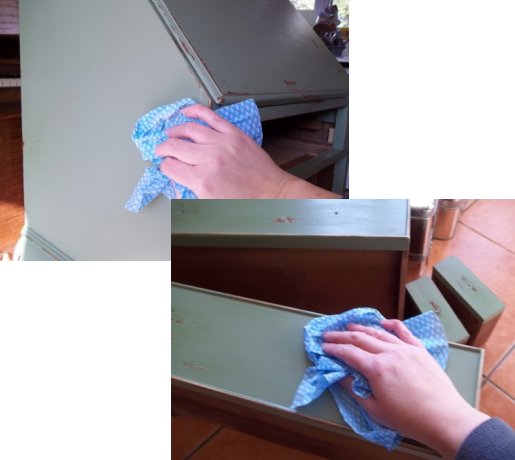
13. With a clean cloth buff (rub) the piece of furniture all over (it should not feel sticky). To provide continual protection for your piece of furniture, wax every so often (this depends on how much your piece of furniture gets used, for example a chair that gets constant use will need waxing more often that a mirror that just hangs on a wall)
14. If you are using new handles, attach following the directions that accompany them.
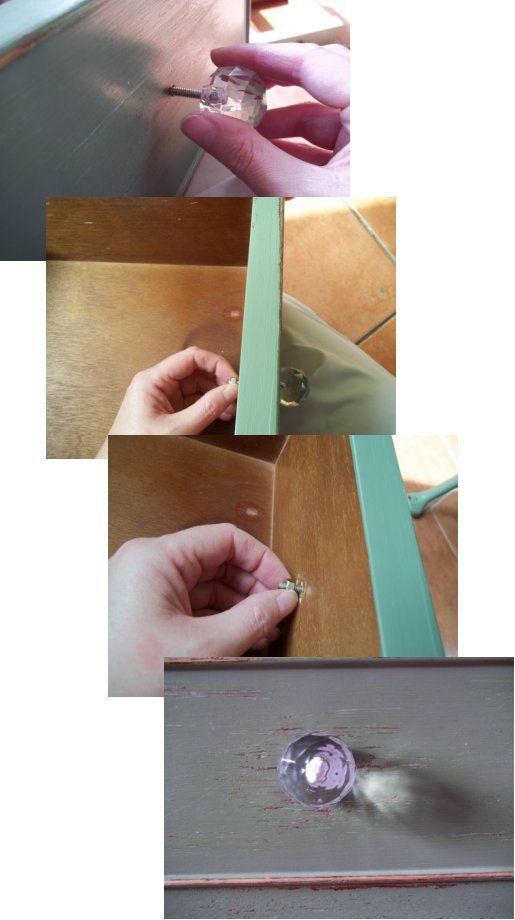
15. Stand back and admire all your hard work.don’t be surprised if you find yourself scouring charity shops and sale rooms for your next project to shabby chic.
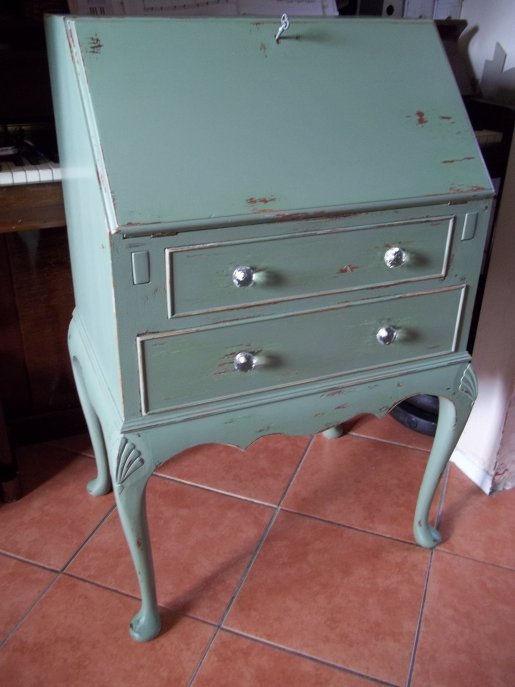
Photos and blog courtesy of: http://www.things-to-make-and-do.co.uk/other-stuff/how-to-shabby-chic-furniture/how-to-shabby-chic-furniture.html
