• We Buy Jewelry!
    • Shop
    • About Us
    • Blog
    • Contact

    Fancy That Antiques Buying and selling for a better community!

    DIY Jewelry Box and Ring Holder

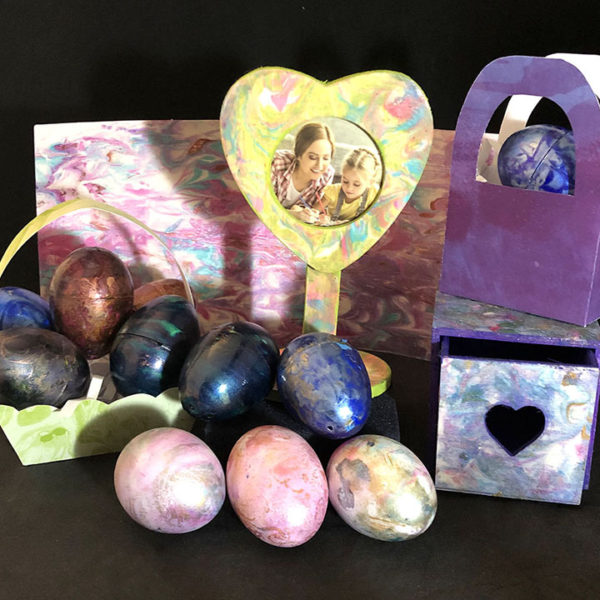
    Greetings neighbors! I hope you are all having a wonderful spring season. As we clean up, we all have old boxes laying around. Today I am going to show you how to use those to create a lovely jewelry box with a ring holder compartment. This box will keep your rings organized and easy to find. This is a easy project and won’t cost much! Here’s the supplies you will need:

    SUPPLIES

    Foam hair rollers (Dollar Tree)

    Cardboard, wood, plastic or tin box

    Scissors

    Hot glue and glue gun

    Decorative paper *Free download files at the bottom of the page.

    Fabric

    Ruler

    Cardboard or poster board

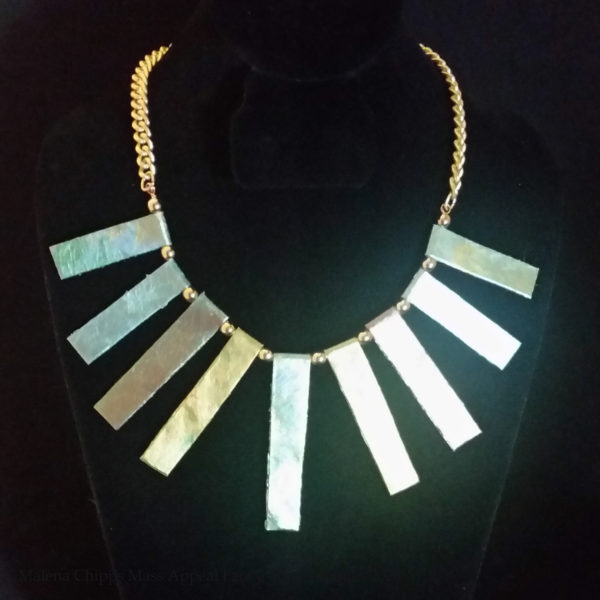
    OPTIONAL: Broken jewelry, rhinestones, lace, buttons, stickers, etc.


    INSTRUCTIONS

    These are the rollers you can buy.
    Here are the items I used. Any foam rollers will work. Heavy thick boxes work best.
    Here are more of the boxes I used for the samples I made.
    For a quicker project, you can buy these boxes at the Dollar Tree. They can be painted and decorated.
    Cut off the folded leaf portions of the box.
    Paint the box inside and out with acrylic paint.
    Measure the inside of the box and cut out a piece of cardboard.
    Cut fabric 1″ larger on each side.
    Fold in the fabric and hot glue tightly in place.
    This will be the bottom of the jewelry box.
    Separator panel is optional.
    Remove plastic from inside of the rollers.
    Hot glue rollers together to fit width of the box.
    Position them in the box to see how many you need.
    Cut fabric a little longer than the rollers.
    Glue a line across the top.
    Roll the fabric tightly.
    Glue the edge and let it dry.
    Fold in the ends and glue to seal.
    It should look like this.
    These are ready to glue inside the box.
    Glue in the bottom liner, then the rollers, then the separator panel.
    I used broken jewelry, flowers and decorative paper to decorate the boxes.
    Use E6000 permanent glue for jewelry bits and Mod Podge for paper.

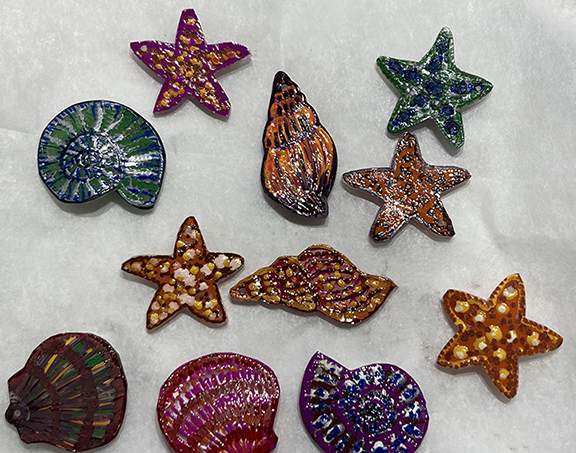
     You can use printed papers with mod podge glue and it works great. You can also layer broken pieces of jewelry by using E6000 glue.

    Here are some free downloads for you to print out and decoupage. I have tons of graphics so let me know if you want me to email you some more.

    th-3887988346Download
    Beautiful watercolor bouquet with roses. Hand drawn illustration.Download
    Moon9Download
    coral-and-light-blue-quatrefoil-digital-paperDownload
    Seamless floral pattern with red roses on dark background. Vector illustration.Download
    Floral-Vintage-Elements-Vector-Graphics-SetDownload
    Set of cherry blossom branches with pink flowers. Vector illustration.Download
    Vintage floral frame with roses and leaves on black background. 3d illustration.Download
    Vintage floral seamless pattern in Baroque style. Vector illustrationDownload

    I will see you on WWLP Channel 22 tomorrow at 10:30am.  Let me know if you need any help. I always have rooms full of this stuff so if you need anything, I probably have it. If you are in MA I can send it to you for free. Text or call the studio at: 413-512-3714 or email me at: [email protected]

    Thanks so much for watching our favorite local news channel.

    Big hugs from the Berkshires!

    Mrs. Chipps

    0
    Previous DIY Egg Carton Flowers & Egg Shell Crafts
    Next DIY Nautical Decor with Faux Wood, Ceramic and Porcelain Recipes

    Related Posts

    DIY Halloween Decor 2017

    Fairy Tree House DIY

    Easy Easter Baskets

    Copyright © 2023 Fancy That Antiques
    • Facebook
    • Instagram
    • Pinterest
    • Twitter
    Theme by SheShoppes