As a Mother, I always started worrying around the 1st of October about what I could do for my daughter’s Halloween costume. I couldn’t spend $75 at the Disney store for ONE day of fun, I just didn’t have the budget. Year after year my daughter and I would start dreaming up everything from warrior costumes to tiger costumes to avatar costumes and everything in between. I was determined to make her costumes that looked as good as what the “rich kids” had. Here are some of my old tricks to help all of you with Halloween. The best advice I can give you is to OWN IT! It doesn’t matter if you are wearing a trash bag, which I did at Comicon 2013 AND WON A COSPLAY AWARD! Own it. Be proud of your costume, regardless what it is. People at Comicon asked if my skirt was make of lame’! I was so excited, I had to tell them I made my skirt out of trash bags. I’ve never been one to shy away from the creative truth of being a cheap DIY craft nerd. You shouldn’t either. So, onward to trick or treating time!
Princess Crowns are a part of most Halloween costumes for girls.
One way to make a cute crown is with hot glue. Here’s what you will need:
SUPPLIES
2 Quart size freezer bags
Hot glue gun & glue sticks (3 packages)
2-3 Colors of glitter
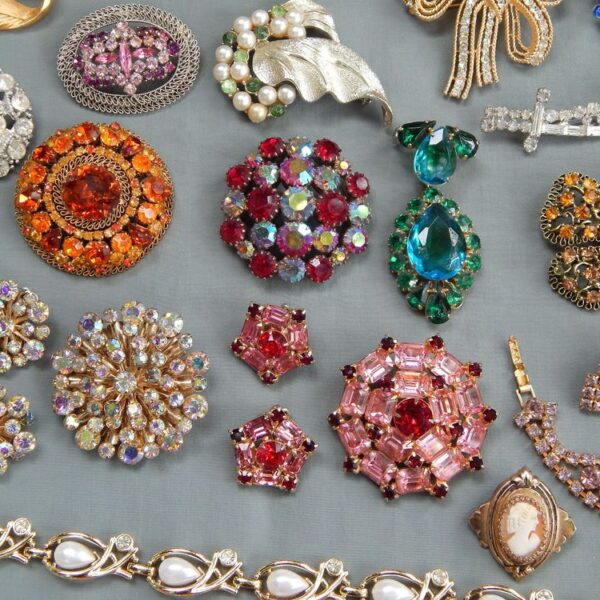
Rhinestones or old broken jewelry (You can always come to my shop and get a sandwich bag of jewelry for Halloween for $5 if you live locally.)
Tulle fabric 12 inches
1 Metal headband or ribbon to tie it on.
INSTRUCTIONS
Start by printing your your template, then lay the template down on a clean counter space. Cut the freezer bag top off and then cut off one side seam. Lay the freezer bag over the template. Cut a strip of tulle fabric to match the size of the template. Put it on top of the freezer bag. Now here comes the fun part! Start tracing over the template with the hot glue. While each section is still wet, sprinkle some glitter over the top so it melts into the glue. Allow it to dry and continue on to the next section. You can add broken jewelry and rhinestones if you like. Allow the whole crown to dry for about 15 minutes, then glue it on to your metal headband. You CAN just reinforce the bottom edge with more glue and then glue on ribbon on both ends if you don’t have a metal headband. If you want to give the crown a curve to fit the head better, take a hair dryer and bend it on both sides as the hair dryer gets it hot.
SAFETY TIP!! If you are doing this with a small child, have them wear gloves to avoid burning their wee little fingers as hot glue is very painful. You can put a bit of petroleum jelly on your fingers so the glue doesn’t stick to your hands.
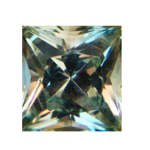
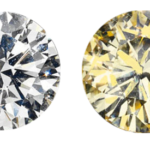
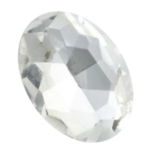
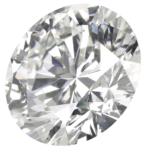
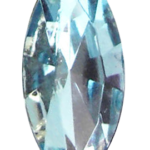
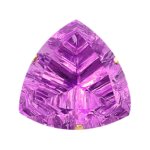
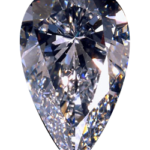
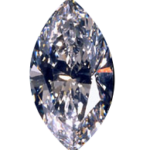
I’ve made a few with photos of REAL gemstones for you to print out!
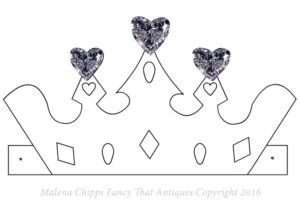
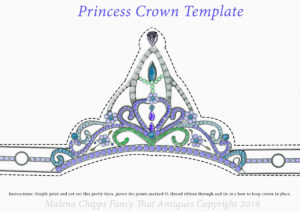
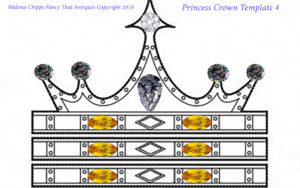
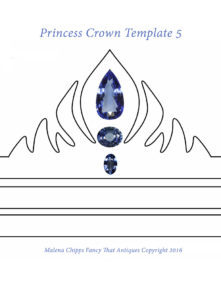
Here are some gemstones for you to print out and glue on.
We will also be making tutu skirts. This one was not my idea, but here is a fantastic tutorial and some awesome photos for reference. I will be showing you the technique tomorrow on Mass Appeal.
I have so many ideas for costumes I can’t fit them all in my 8 minute segment! But I will try to show you as much as I can. And just in case you didn’t have enough projects to do, here are some really cool angel wings to make.
Happy Crafting!
Malena Chipps

