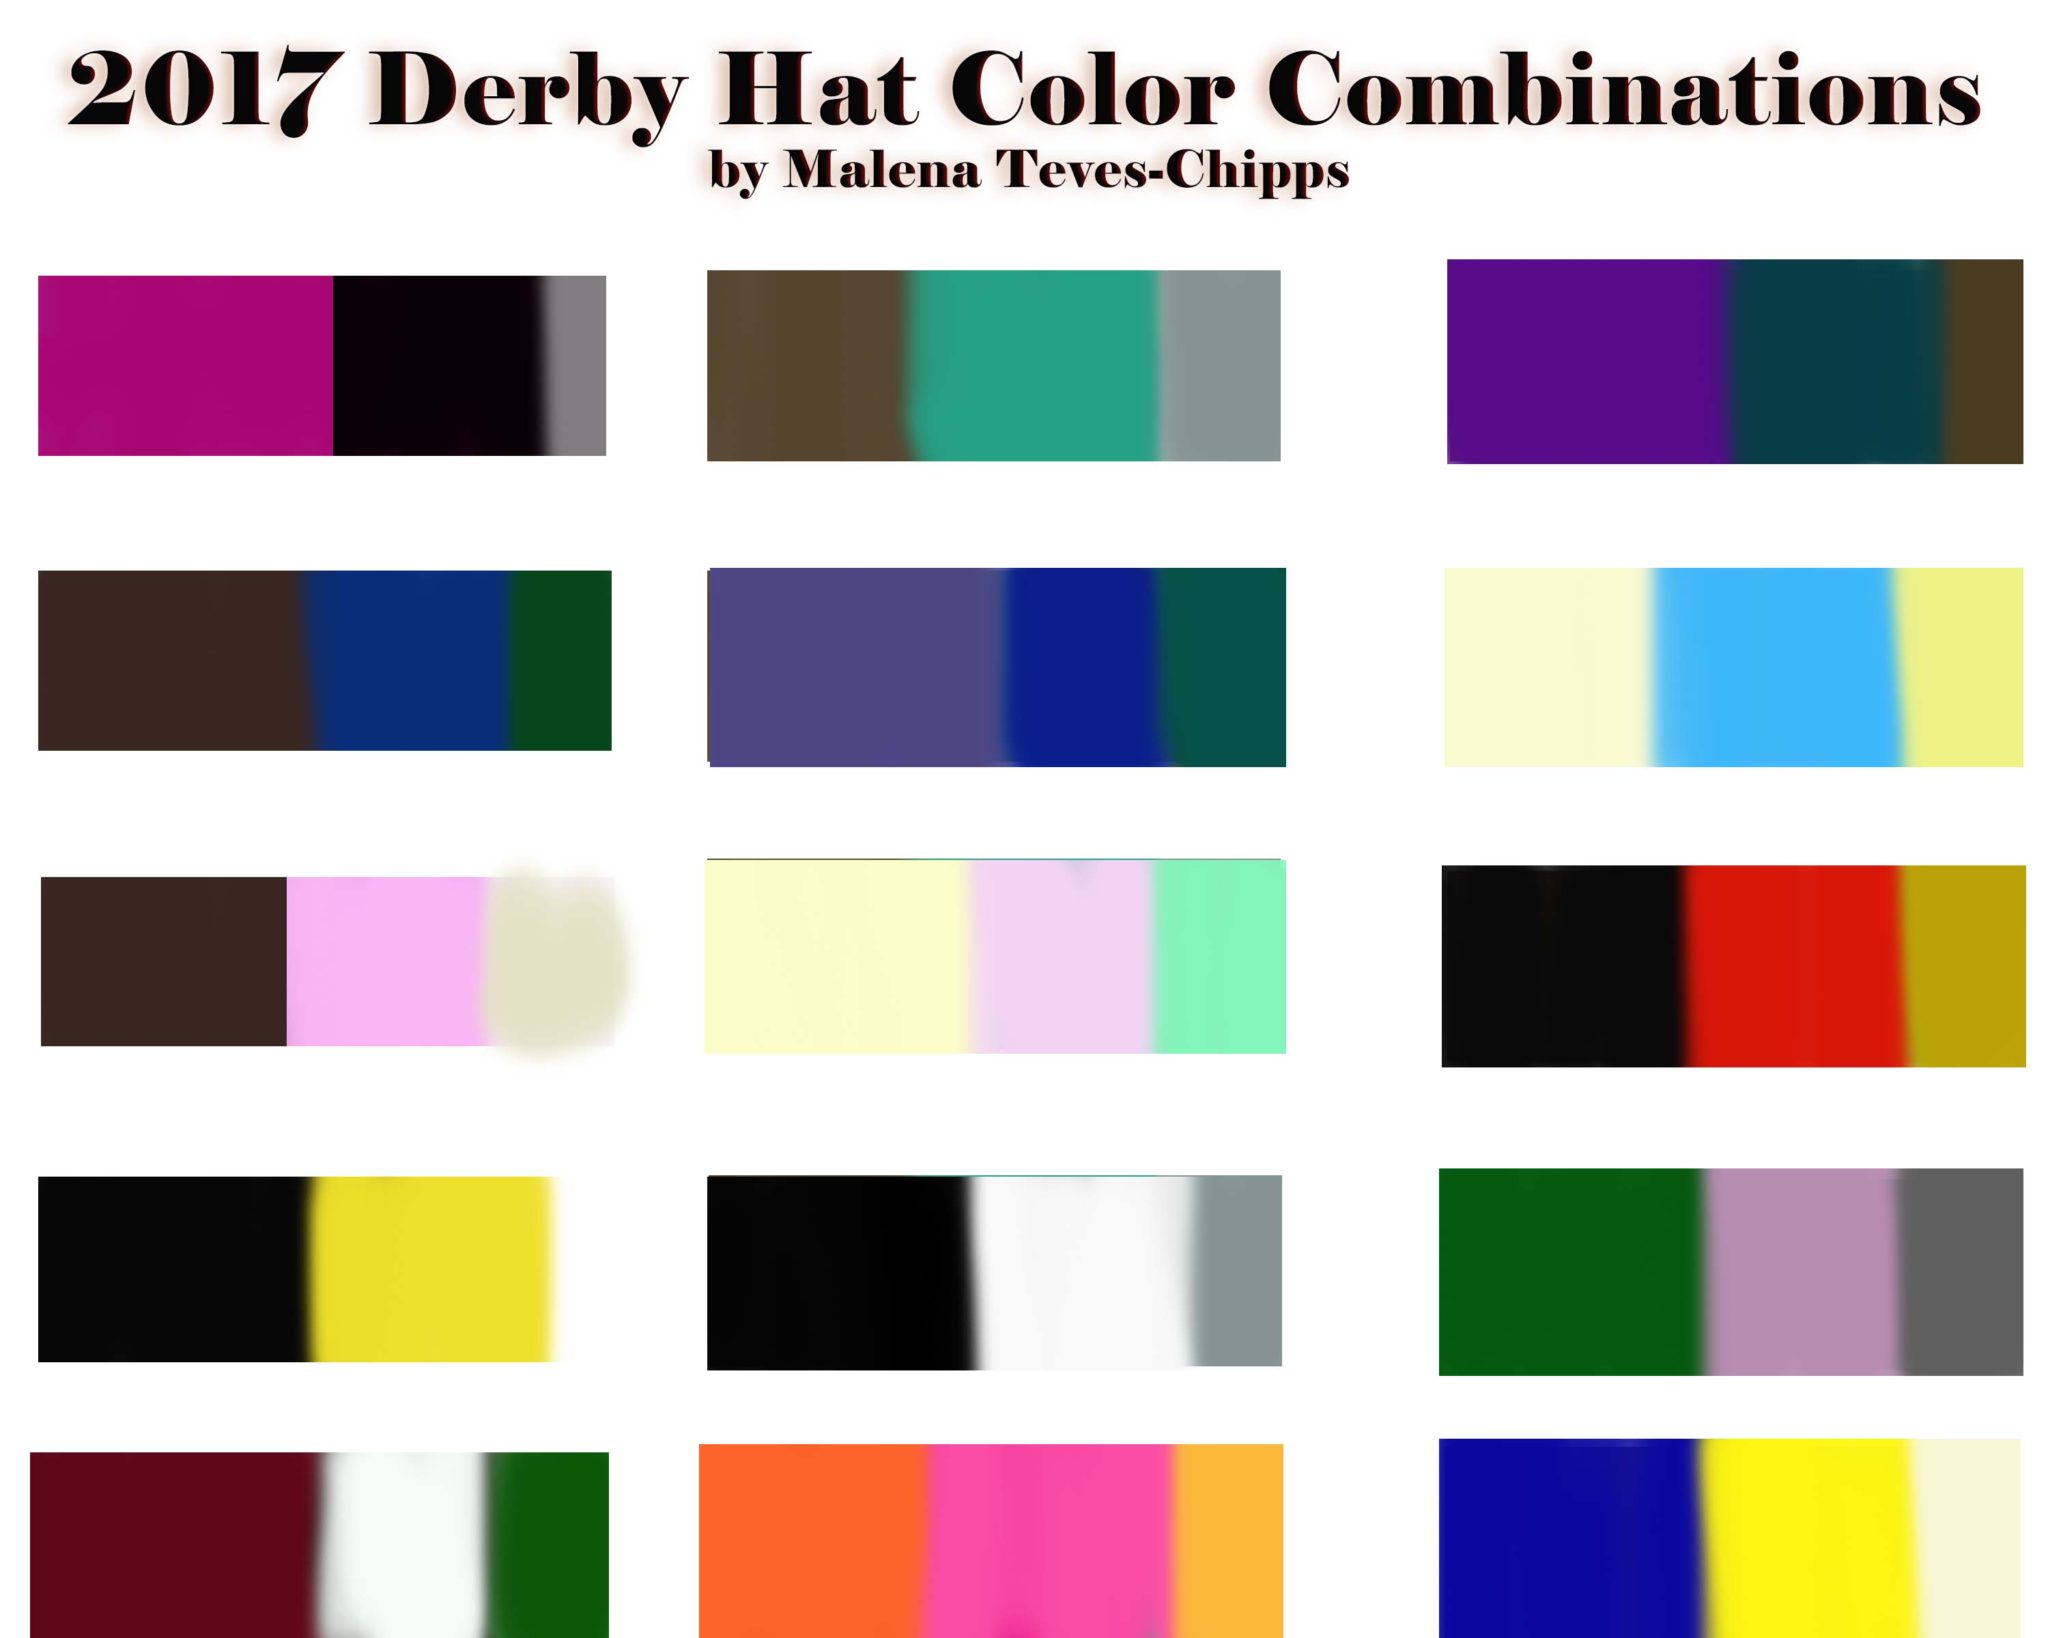
Derby hats are meant to make a statement! You can wear bold colors and coordinate your hat with your outfit. Florals are very in style for spring. Choose two colors and an accent color for shoes, jewelry and purses. Here are some great color combinations for the season:
DRESS/HAT/SHOES/JEWELRY
Your hat should be the boldest statement of all the pieces you wear. Let’s take the first color combination and work out an outfit.
Your hat will be pink and black. You can choose silver jewelry. Big bracelets or rings are better than big necklaces, since the necklace would compete with the hat too much. I would wear a black dress and pink shoes, but the opposite will work too. The old rule of matching your hemline to your shoes doesn’t really apply for derby day.
3 COLOR EXAMPLE
The second color combination on the left would be great for men too. I am bringing a hat that has a peacock theme. For something that audacious, you could wear a bronze dress and shoes with sapphire/emerald jewelry and a cobalt blue bag. Rhinestone shoe clips are fantastic for derby day.
PRINTS
If your dress is a floral print, take ONE color from the print and wear matching shoes and a handbag. The jewelry can be the accent color. The hat can have both colors in it. For example, #5 on the left. If you have a cream colored dress with roses on it, you could wear a red hat with red shoes and gold and emerald jewelry.
HATIQUETTE
You want to wear your hat tilted to the right side with your hair on the left. Don’t wear your hat higher than two fingers above the eyebrow. (I’ll show you tomorrow on video)
FASCINATORS vs. WIDE BRIMS
If you are a petite lady, wearing a tall hat will add height. If you are a plus size lady, wearing a wide brim hat will slim your face.
DIY HAT
Wide Brim
Derby hats are very pricey. After spending over $100 on flowers and feathers, now I know why. Tomorrow we will be making a wide brim hat from a cheap beach hat to show you how to make a show stopper! I will also show you how to make really nice silk flowers from satin fabric to help keep the cost down. Here are a few items you will need:
Scissors
Glue gun and glue
Feathers 1-2 colors
Flowers: 1 BIG, 3 medium, one small BUNCH
Costume brooch
Wide wire edged ribbon 1 color
Felt or heavy denim fabric
*Optional
Double fold bias tape
Pipe cleaner
You will want to stay with the three color rule for this project. In my opinion, stay away from sequins and big rhinestones EXCEPT in the center of the flowers.
STEP 1
Try on the hat and see where you want to put the centerpiece. Mark the front center with tape, and mark where you will be adding the centerpiece as well.
Step 2
Take your wire edged ribbon and glue it to the band of the hat. Only use a tiny bit of glue.
Step 3
Cut a circle of scrap fabric. This will be what you will glue the feathers and the flowers to, like a corsage. Take the flower off the stem and secure it with glue in the center so it holds together. Place the large flower in the center of the circle and glue down.
Step 4
Take your longest feather and glue it to the bottom of the circle. Think of a pyramid. The shorter feathers go on the top and the longer feathers go on the bottom. There are many ways to shape feathers. You can use a curling iron or break the spine of the feather with your fingers. (I’ll show you on the video) Obviously there are really no rules with millinery fashion, but I’m just showing you the basics.
Step 5 Glue the circle to the hat. If you don’t like the placement of something, use a hair dryer to heat up the glue. It will come right off and you can start over.
DIY BURNED SILK FLOWERS
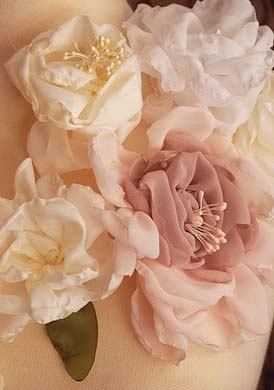
Synthetic fiber fabric like satin or organza. 2 COLORS
Lighter or candle
Scissors
Glue gun
Rhinestone brooch or earrings
STEP 1
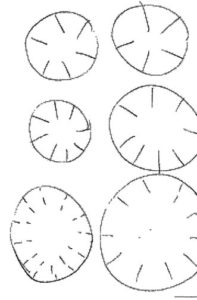
Cut 6 circles out of paper as shown. Cut into the circles like a fan. (The circles don’t need to be perfect) The deeper you cut into the circle, the bigger the petals will be. These work well for roses!
STEP 2
Take a candle and carefully melt the edges of the flower by putting the fabric over the flame. Once it starts to melt, you can start moving it around the flame for even coverage. The fabric will curl and pucker. Try not to let it catch fire.
STEP 3
Glue the largest layer, then the next and the next using a TINY dab of glue. Push the glue down with a pen in each layer so it makes a divot in the bottom. This is where you will put your brooch or earring at the end.
You can make as many layers as you want. I even make leaves and burn them for a natural look.
Well, this is enough info to get you started. I love the Derby, so I could go on forever about this! See you all tomorrow on Mass Appeal!
Love,
Malena
